Geoboards are a great addition to a Montessori classroom or math learning center. The work develops the three-finger grip, preparing the child for writing. There is also patterning, which helps develop mathematical thinking.
There are even beginning science concepts with the stretching of the rubber bands. You can’t go wrong with these boards! Their versatility and adoration by children is a plus. This DIY Geoboard has all that to offer plus the outdoors!

What is a Geoboard?
According to Wikipedia, it “is a mathematical manipulative used to explore basic concepts in plane geometry such as perimeter, area and the characteristics of triangles and other polygons.
It consists of a physical board with a certain number of nails half driven in, around which are wrapped geo bands that are made of rubber.” Geoboards come in many shapes and sizes using a variety of materials to ultimately explore the same math concepts.
The Benefits
Geoboards are found in both the sensorial and practical life areas of the classroom. Furthermore, this material begins to develop early math skills with an exploration of line segments and polygons. Furthermore, without realizing it, the child begins to develop key mathematical concepts such as perimeter area.
Within practical life, the child works hand-eye coordination and fine motor movement with developing muscles in the hands as kids pull the bands around the pegs. Sensorial allows the child time to explore creating geometric shapes and identifying patterns of color (if you use different colored bands). By the way, I adore this birch one from Montessori Services if you’re not the DIY type!
DIY Geoboard

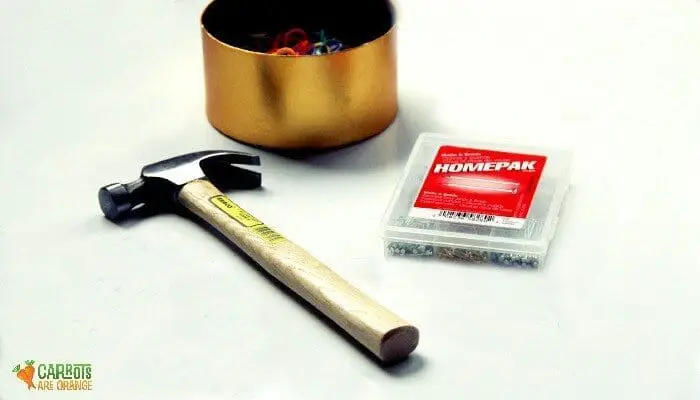
Materials
- Hammer – I supplied a small hammer in the event my boys would want to hammer their own nails
- Nails – I used small nails but you can use a variety of sizes
- Rubber Bands – I used the bands from our Rainbow Loom
. They were perfect. Small and super elastic. Plus you can’t beat the colors!
- Block of wood – We used a stump in our yard!

Approach
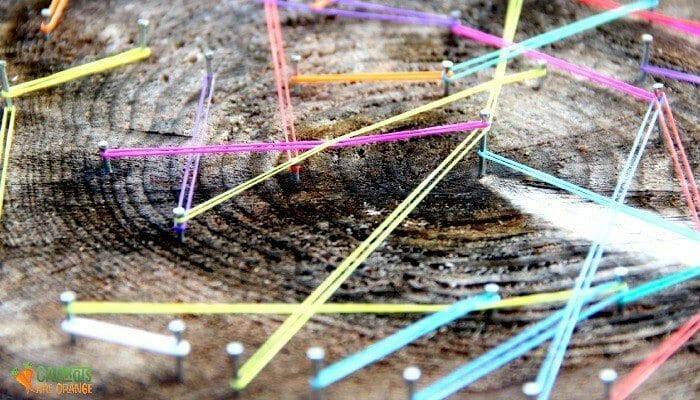
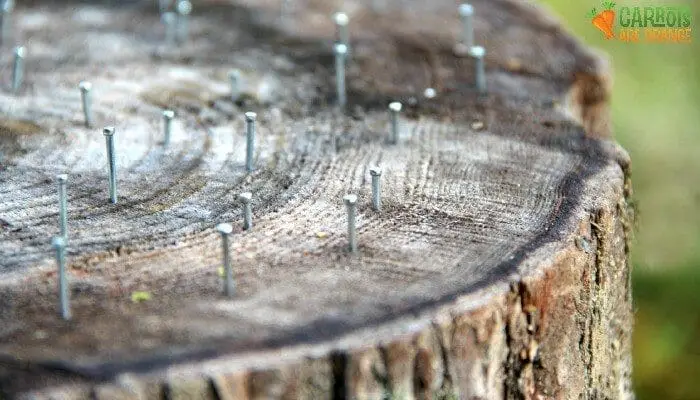
The approach is straightforward. Hammer nails into the stump. I circled the stump and continued inward. Invite your children to the activity. Demonstrate how to wrap the elastic around a nail head and stretch it to another nail head. Show how you can make shapes and patterns, stretch near and far. Use the pegs to form lines and to make discoveries about the perimeter area.

Geoboards are fantastic at home or in the classroom material. Plus, they are easy to make and inexpensive to buy. So, it is a win, win.
Marnie