This week I am working on Seasons Work for Preschoolers to help my boys learn the concept of the passage of time.
It's that time of year again! The leaves are changing colors, the air is getting colder, and school is back in session. That means it's also time for teachers to start teaching their students about the seasons. But where do you start? And what should you teach them? Read on to find out!

How do you teach seasons?
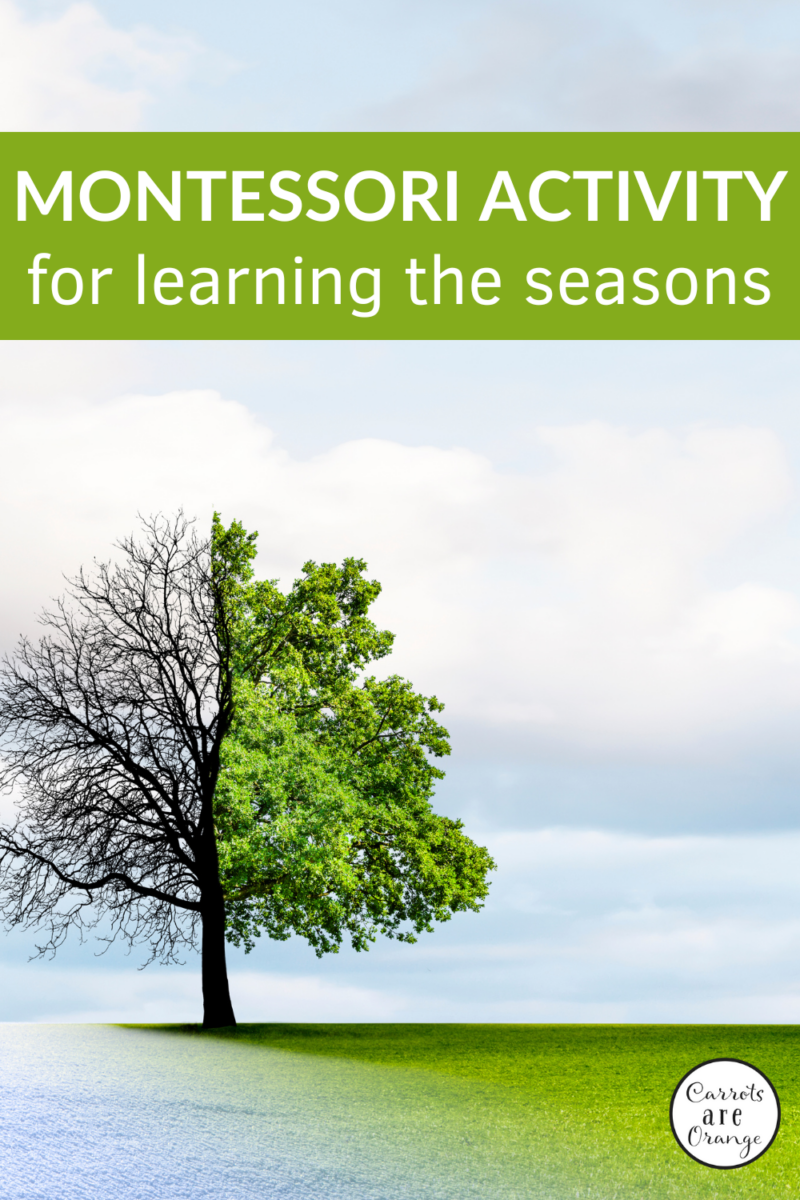
Montessori's approach to teaching seasons is beautiful and hands-on. It helps introduce the children to the concept of the four seasons with pictures to illustrate each.
How do you explain seasons to children?
Simply explain that as Earth moves around the Sun, it spins in a slightly tilted position (on an axis tilted 23.5 degrees from a straight-up, vertical position). This tilt causes our seasons because, through the year, different parts of the planet are angled toward or away from the Sun's light.
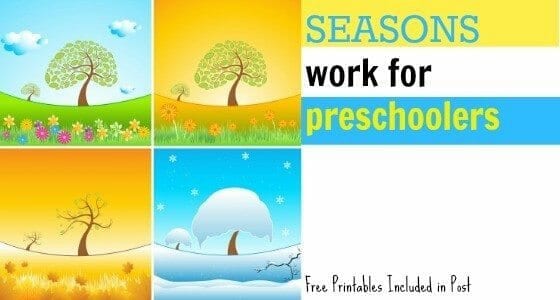
Learning Seasons with Preschoolers
Materials:
- Images of seasons
- Card Stock of four different colors matching the seasons (e.g., yellow, blue, green, and brown)
- Paper Cutter or Craft Scissors
- Laminator (always recommended for safe keeping)
- Laminating Pouches
- Glue Sticks

How to Teach Kids about the Seasons Activity
- Read The Year Comes Round: Haiku through the Seasons
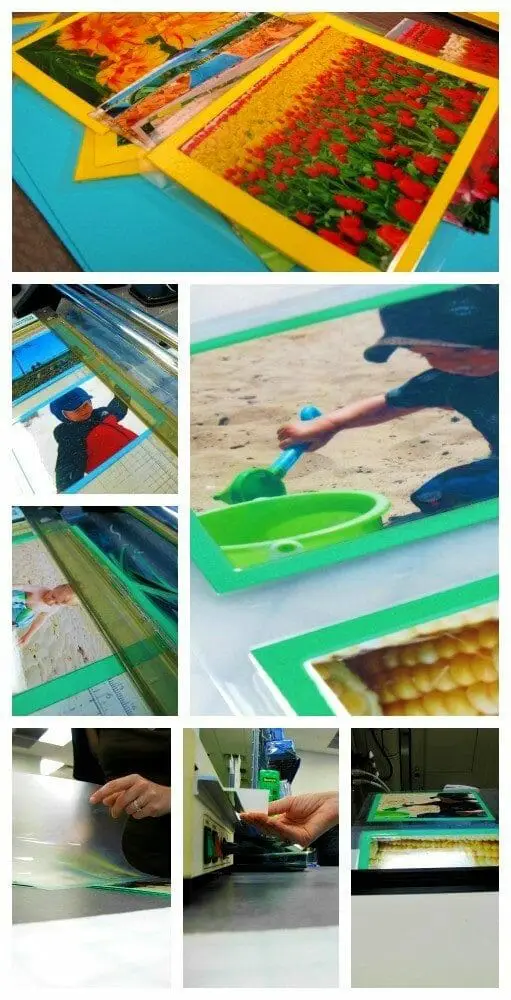
- Print your images (I had mine printed through Snapfish, but you can certainly use a printer)
- Cut your card stock to leave half an inch or so of space outside the image. I highly recommend using a paper cutter over scissors because it is easier to get a straight and clean cut. I recommend cutting all the card stock pieces you need before you move on to the next step of gluing the images. It'll be easier to keep the cards uniform in size that way.
- Glue your images onto the card stock matching that season's colored card stock (e.g., yellow = summer). Trim card stock if necessary.
- Position your cards in a laminating pouch so that you have enough of an edge to keep the card sealed nicely
- Put through the laminator.
- Press the edge of the cards to seal the cards in well
- Use a paper cutter to trim the cards, leaving enough space outside the card stock to keep a good seal. Use your first card as the template and cut the rest to match its size to maintain uniformity
When the child is ready, present the cards to him, or give them in a circle. I explained to my sons outside of the larger seasons project. We discussed each card, and the time of year the scene may take place. These cards are used as a simple sorting and language exercise.
I look forward to presenting the remainder of the work over the next few weeks. We will add moon phases, months, and other lovely seasonal work.
Have fun! Please leave a comment! I love hearing from you!
Marnie