Create a sensory basket for your toddler, preschooler, or even baby! Add texture cards and sound boxes to your basket and observe your child discover the sounds and textures.
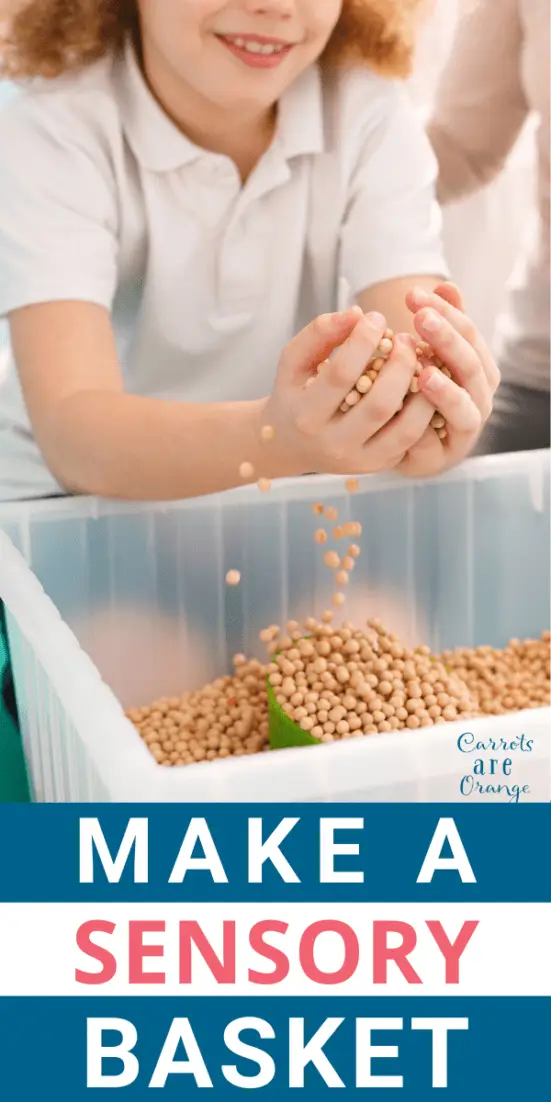
The sensitive period for sensory exploration begins at birth and ends roughly around 4 years old.
Dr. Montessori writes: “A child takes in information about the world through his senses. As the brain develops, it becomes able to discriminate between relevant and irrelevant sensory stimuli.
The most efficient way to accomplish this is for the brain to pay attention to all sensory stimuli. The most repetitive (and therefore most important) of these will strengthen neural pathways, while the less common, although initially detected, will not provide enough brain activity to develop sensitivity to them.
By age 4 or so, the brain has finished its “decision-making” about which stimuli are relevant, and worth attending to. Other stimuli will be ignored. This period, then, is important for helping the child attend to differences in sensory stimuli, which in turn can lead to a greater ability to impose a mental order on his environment.”
Pretty powerful stuff.
Sensory Texture Basket for Toddlers
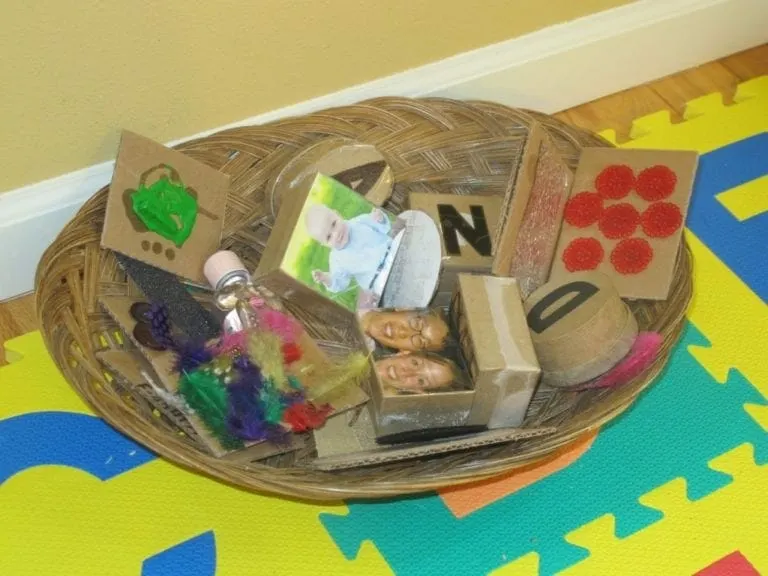
We're all about the sensory experience. Texture cards and sound boxes are a great way to achieve this experience. I've created various sound boxes and texture cards over the years. We collect each object in a “sensory” basket. Every day my sons find and explore this basket.
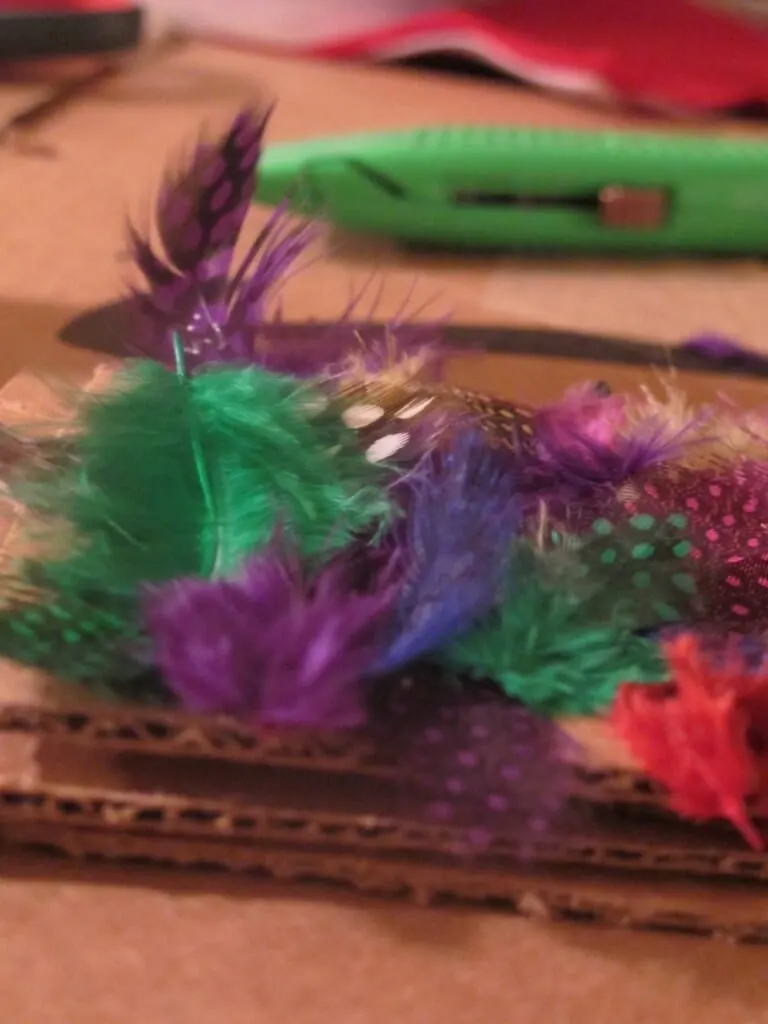
Make Texture Cards for Toddlers & Babies
Kids take in the world through their senses. Exploring textures is one way children achieve this exploration.
The best part about creating these sensory experiences for kids is that you'll find all sorts of odd objects great for arts, crafts and various other activities for a very reasonable price at consignment shops and simply around your home.
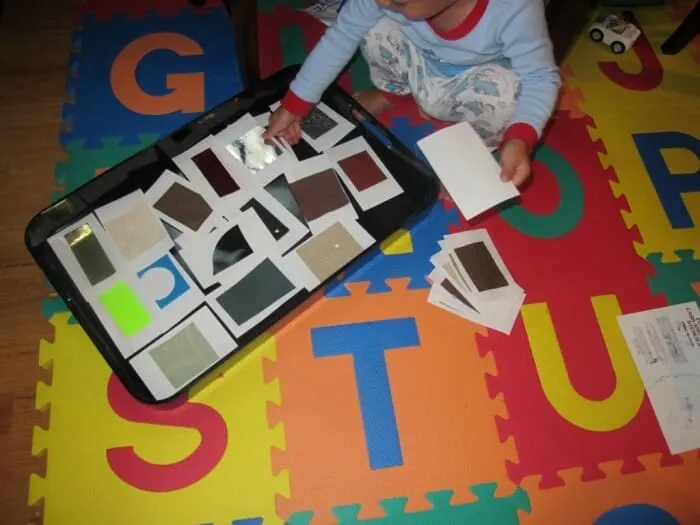
Years ago, I purchased the “art box” from a store called Creation Station (no longer in business). This box came with all sorts of goodies including material in a variety of textures in the forms of paper, ribbon, wrapping paper and fabric. My mind was going wild with all the activities I could create with this box.
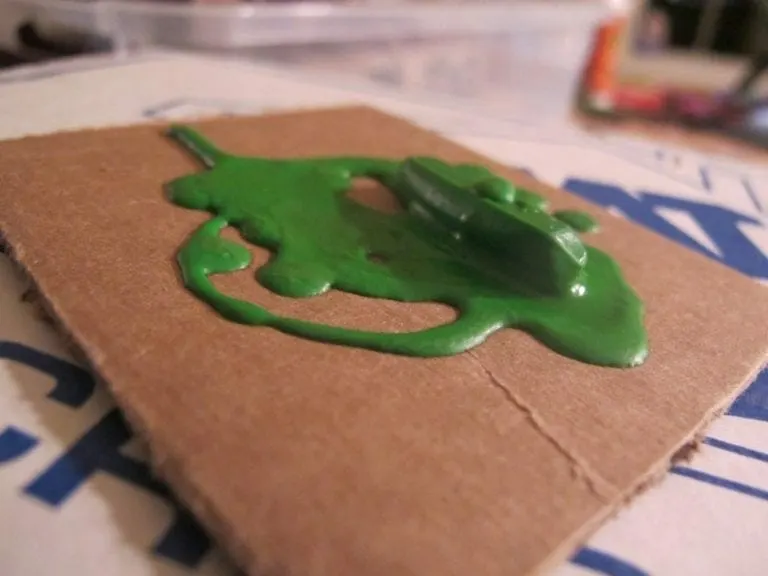
I created a set of texture cards from these materials. I love the way they turned out. So simple and inexpensive!
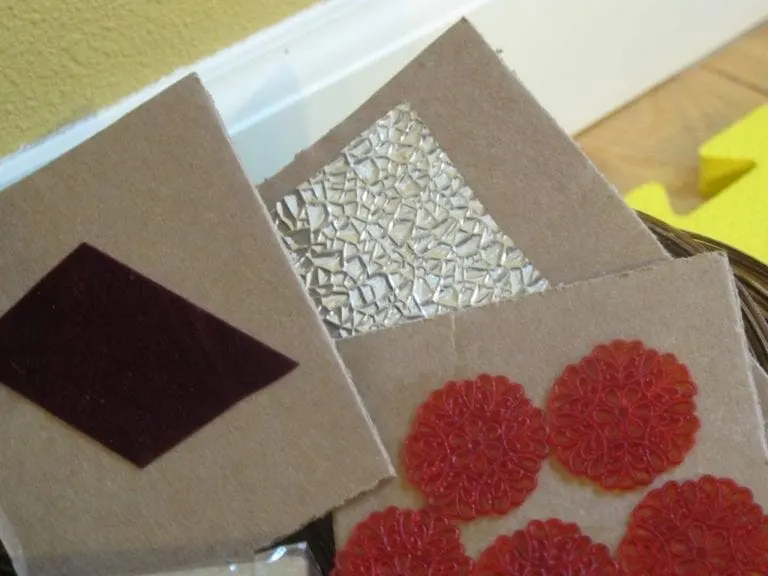
I took the materials and divided/cut each piece into two. Then I placed one “pile” neatly lined up in a tray and gave my son the other pile to sort and match.
As he matched up each piece of material I talked with him about what he was feeling with each piece.
Quite simple, yes, but a powerful and effective sensory exercise.
How to Make Texture Cards
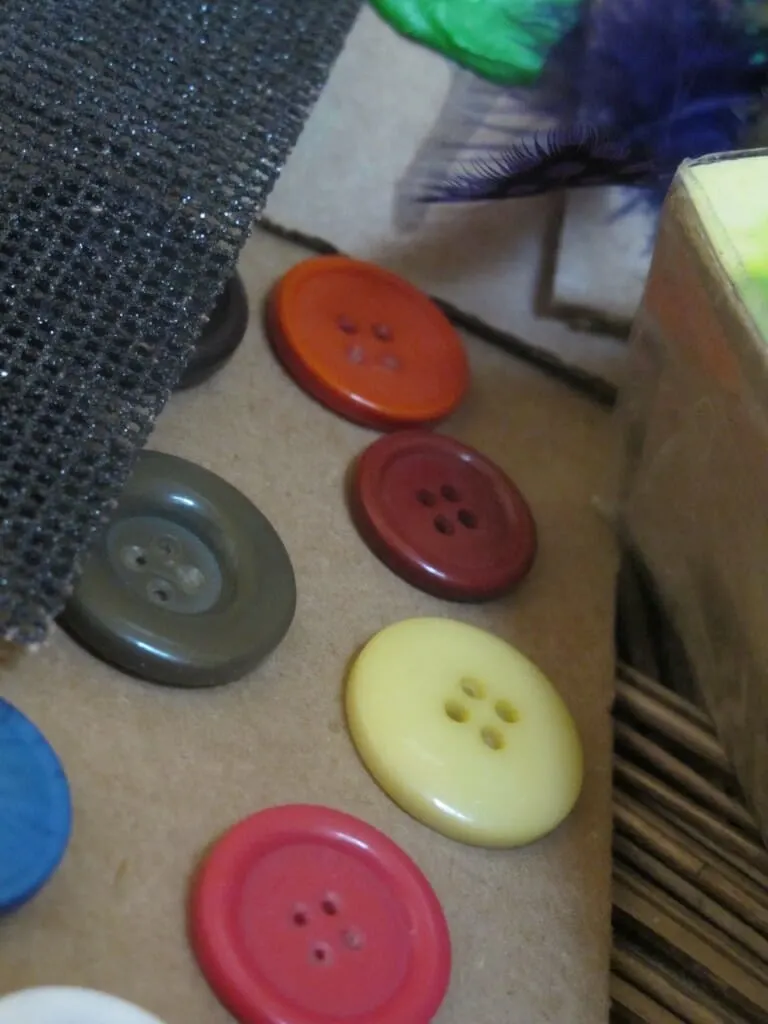
There is no one approach to creating texture cards. Grab card board, card stock or index cards. Rummage through your cabinets. Grab buttons, cotton balls, wax via a melted crayon, foil, fabric, foam letters, sand paper…
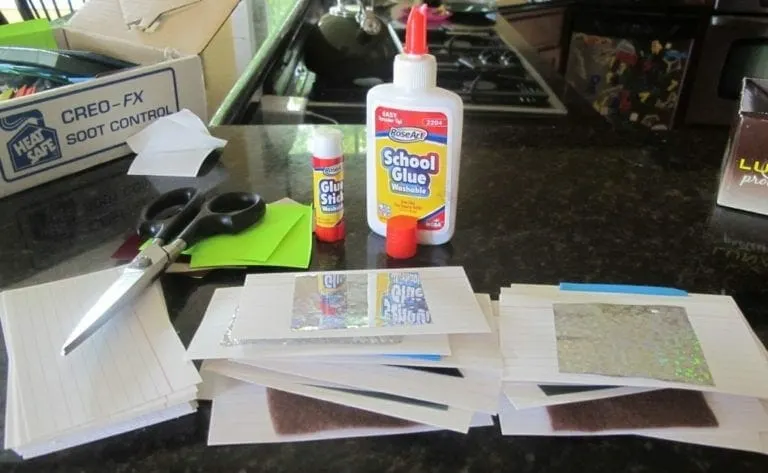
Your child can learn descriptive vocabulary like “shiny”, “soft”, “smooth”, “bumpy”, “rough”, etc. There are several variations using these texture cards: memory game and using a blindfold to match the textures.
How to Make Sound Boxes
Sound boxes are simple but carry a great impact with your developing child. Sound boxes help develop sound recognition and critical reasoning. 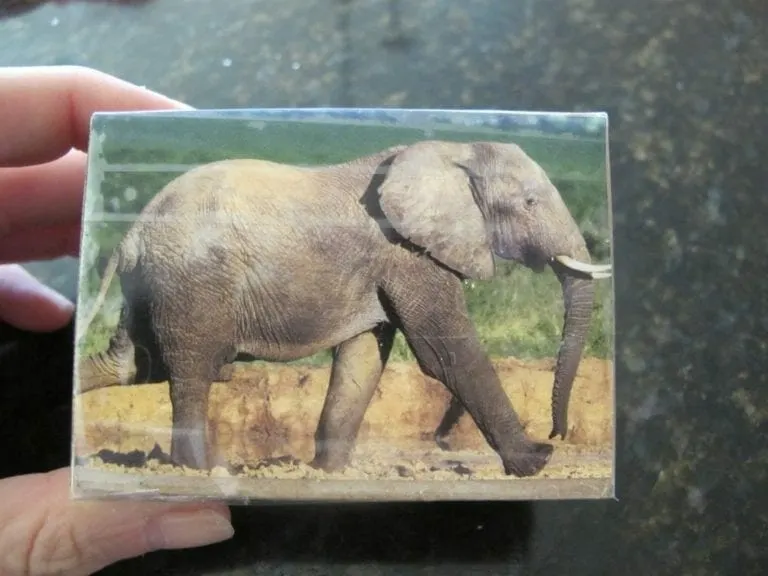 They can bring with them another layer of basic concept learning (e.g. letters). There is a lot of room for creativity with this project, so give it a whirl. The above image is our “e” sound box. Have fun. I think you'll be pleasantly satisfied and surprised at the result.
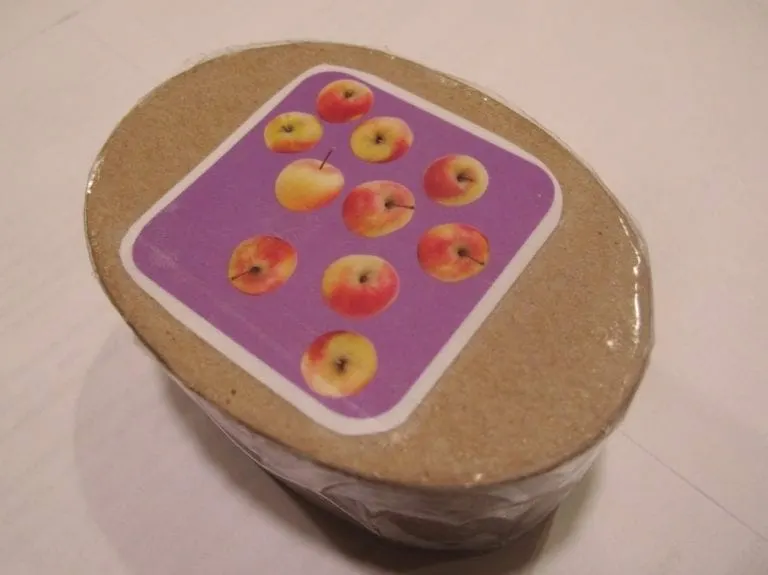
For the sound boxes, you need small card board boxes, tape, pictures and fill with anything you desire such as different shapes and sizes pastas, rice and miscellaneous household objects, like paperclips, for example.
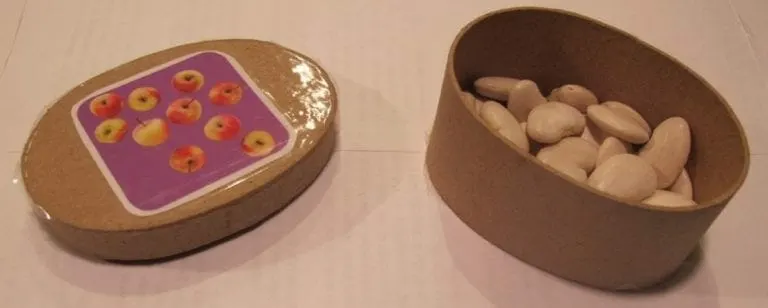
I decided to decorate the boxes with images and concepts. The box featured in this post is an image of Apples from an issue of National Geographic Little Kids.
Another theme I created was of images of our family and close friends. So, one box has a picture of my mom and brother filled with small pasta stars and another has a picture of my best friend filled with red beans.

Our family lives very far away, thousands of miles for the most part. So, finding all the ways we can to help our children get to know their family members is really important. Sound boxes are one way to accomplish this goal.

Materials for Sound Boxes
- Cardboard boxes (either ready made as I purchased or you can improvise with boxes around the home)
- Images of objects and people
- Tape
- Scissors
- Marker
- A filling: Beans, rice, pasta, salt
Creating a Sound Box
- Cut out an image in the shape of the box and cover with clear tape to protect the image.
- Use a marker to write the letter on the other side of the box
- Cover the bottom with clear tape.
- Fill the box with large white beans or some other similar object
- Close up the box with a few layers of clear tape to make sure it would stay shut even with the prying of a toddler.
There are other fun ways to decorate the box with colored sticker paper, tissue paper, etc and even use Mod Podge to seal the decoration.
The possibilities are endless…have fun!
Thank you for visiting! Come back soon!
Marnie
