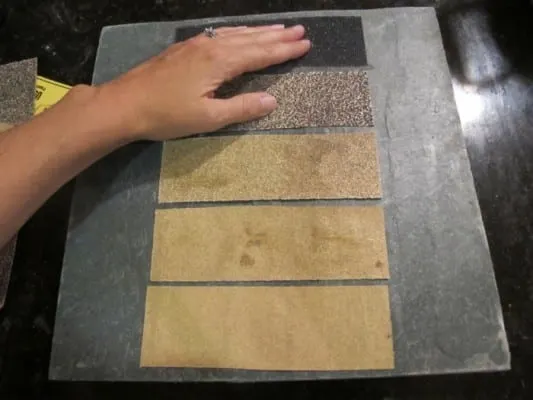
The Montessori Rough & Smooth Texture Board is a simple yet engaging DIY sensory activity that helps children explore and differentiate between different textures. This activity is designed to develop the child’s tactile discrimination skills and enhance their sensory awareness.
Creating a DIY Montessori Rough & Smooth Texture Board is easy and requires minimal materials. Here’s a step-by-step guide to make one:
We were very fortunate to have extra slate left over from having our porch finished this past year. The thing is, though, look around your house, I bet you can find something to use as a base. Wood, a piece of cardboard, etc.
DIY Montessori Rough & Smooth Texture Board
For the sandpaper, I went to a local hardware store but you could order online too. I wanted five grades to fill the slate base. You’ll need some sort of adhesive. I used wood glue because I had some lying around the house. Wood glue, funny enough, actually worked fine in my case. I am sure there are other adhesives that may work better or just as well.

How to Make a Rough & Smooth Board
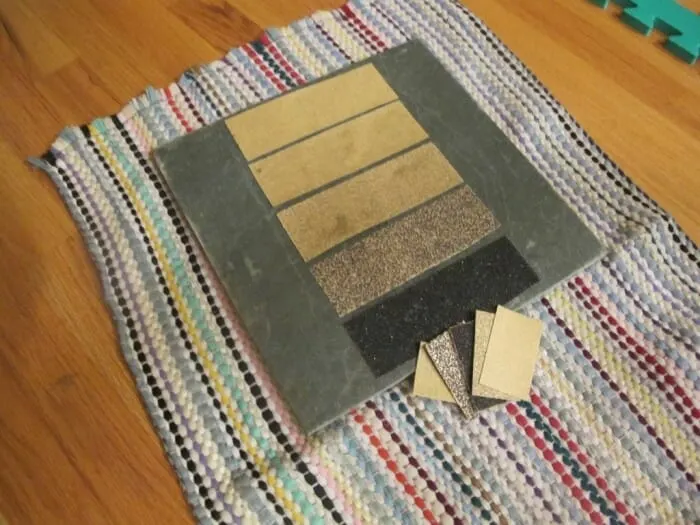
I cut five even pieces of sandpaper and glued the strips onto the slate and let dry overnight or a few hours. I let it sit overnight to be safe. I also placed a heavy book on the pieces to keep them down in the drying process.

Pretty, right? I saved enough sandpaper to cut out smaller pieces for my son to play various matching games (eyes open, eyes closed).

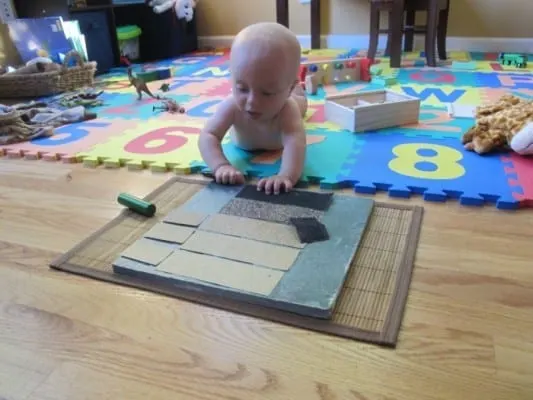
Even my seven-month-old enjoyed feeling the textures.

The Montessori Rough & Smooth Texture Board provides a hands-on sensory experience that enhances children’s tactile discrimination, vocabulary, and cognitive skills.
By engaging in this DIY activity, children develop their sensory awareness, refine their fine motor skills, and gain a deeper understanding of the world through touch.
