This post includes a lesson on the Red Rods. Red Rods are a fundamental material used in Montessori sensorial education. They are a set of wooden rods that vary in length but are all the same width and color. The rods are typically made of solid wood and are painted red.
The purpose of the Red Rods Montessori is to help children refine their visual and tactile senses, develop their understanding of size and proportion, and strengthen their ability to discriminate and order objects based on length.

Learn more about Montessori Sensorial in this elf-paced eCourse
Montessori Sensorial gives an order to a child's understanding of his environment. By isolating quality, sensorial is able to guide the child to better understand the world by “organizing” the senses.
In other words, helping the child makes sense of all that he is soaking up in his environment. I have written on Montessori Sensorial philosophy in the past. I hope you take the time to read up on Dr. Montessori's thoughts.

What are Red Rods Montessori?
The Red Rods are the 4th material in the sequence following Knobbed Cylinders, the Pink Tower, and the Broad Stair. The Red Rods are material the Visual Sense. Length is considered the quality isolated in the work. The materials include ten rods with the smallest rod is 10 cm, increasing by 10 cm until the largest at 100 cm.
The child will continue to work on visual discrimination and muscle memory of length. In a concrete way, by carrying the smallest red rod and eventually the longest red rod, he will understand that 10 cm is shorter (or less) than 100 cm.
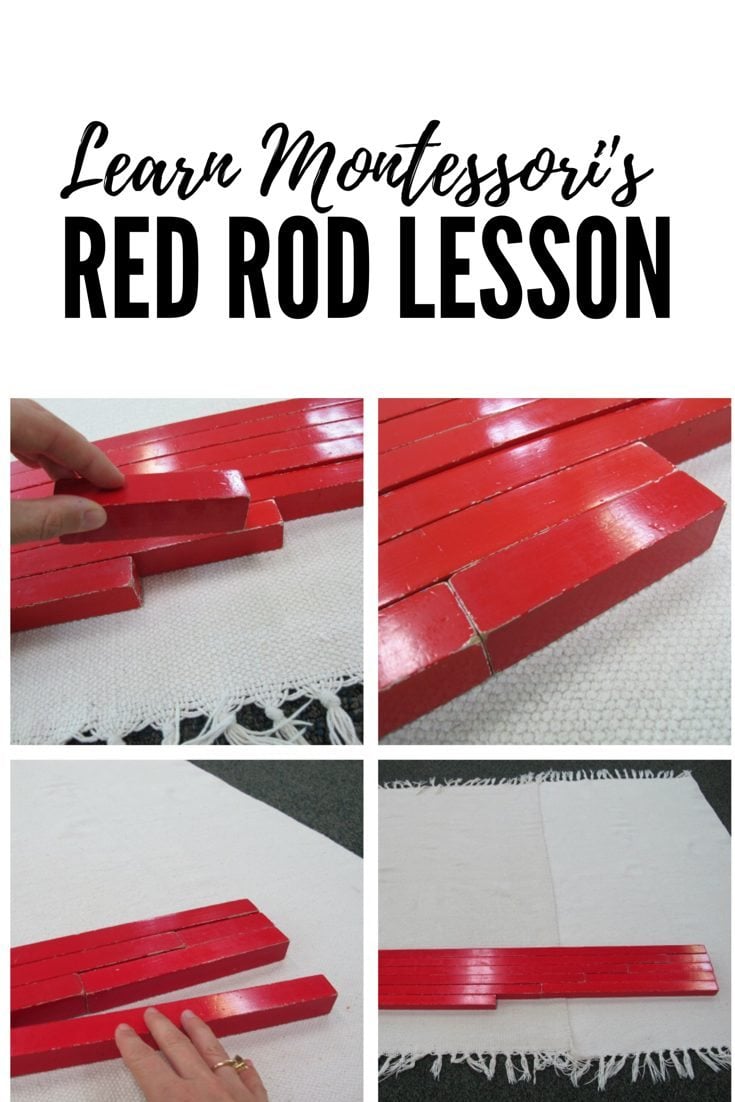
The Red Rods Lesson: Presentation I

Place a large mat on the floor and invite the child to do the work.
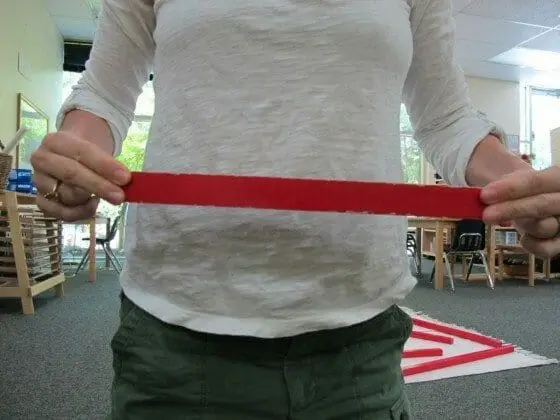
Carry each rod one by one horizontally with the index finger and third finger of each hand supporting either edge of the rod.
Grasp the three longest in the middle and carry vertically if necessary (easier for a small child).
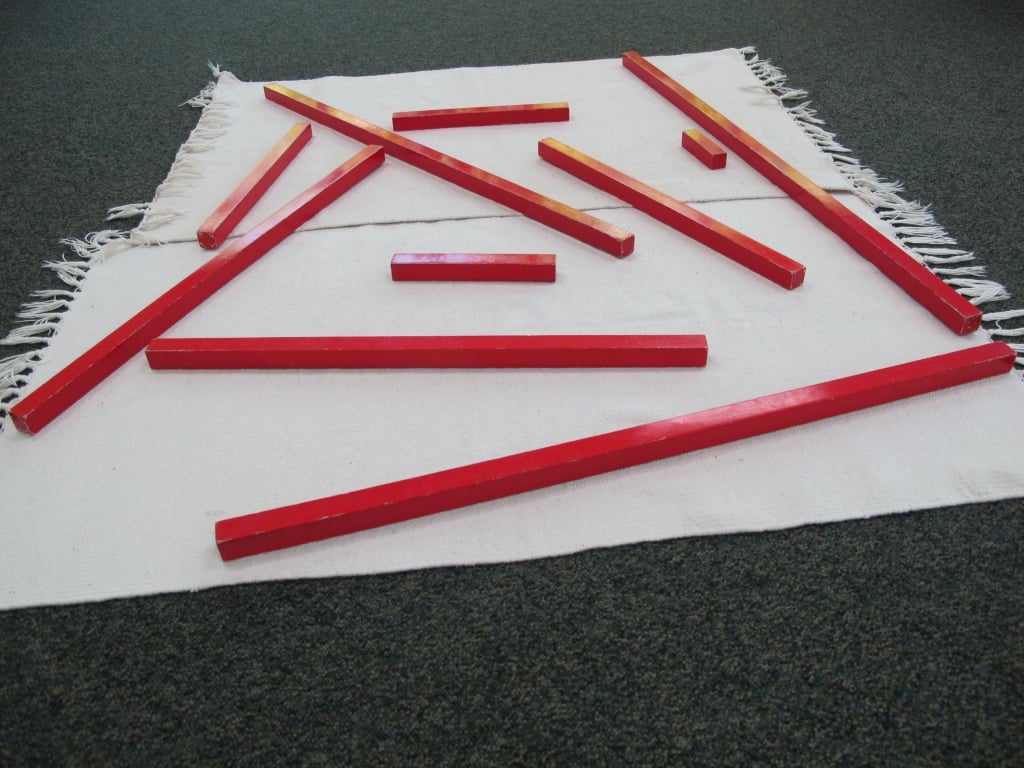
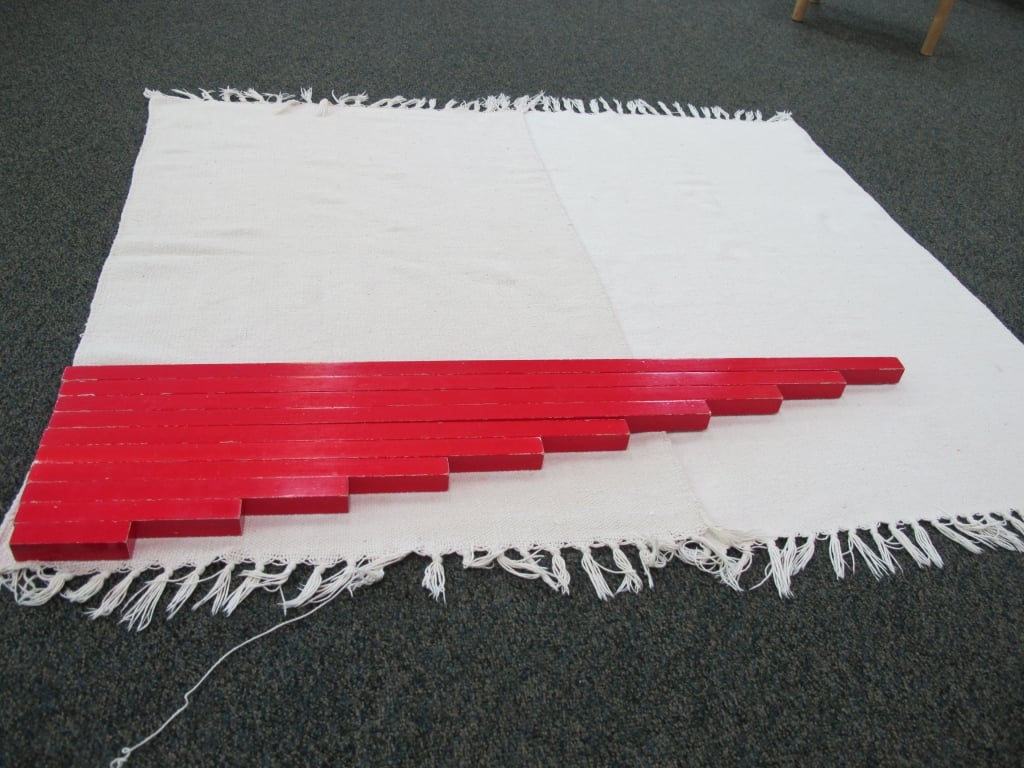
Arrange rods randomly on mat (s) with the shortest near the longest for contrast.
Look for the shortest rod and place it in the lower left corner.
Exaggerate and double-check that you have the shortest rod.
Continue to do this in increasing length until you have completed the stair.
Pause: “Longest. Shortest.”
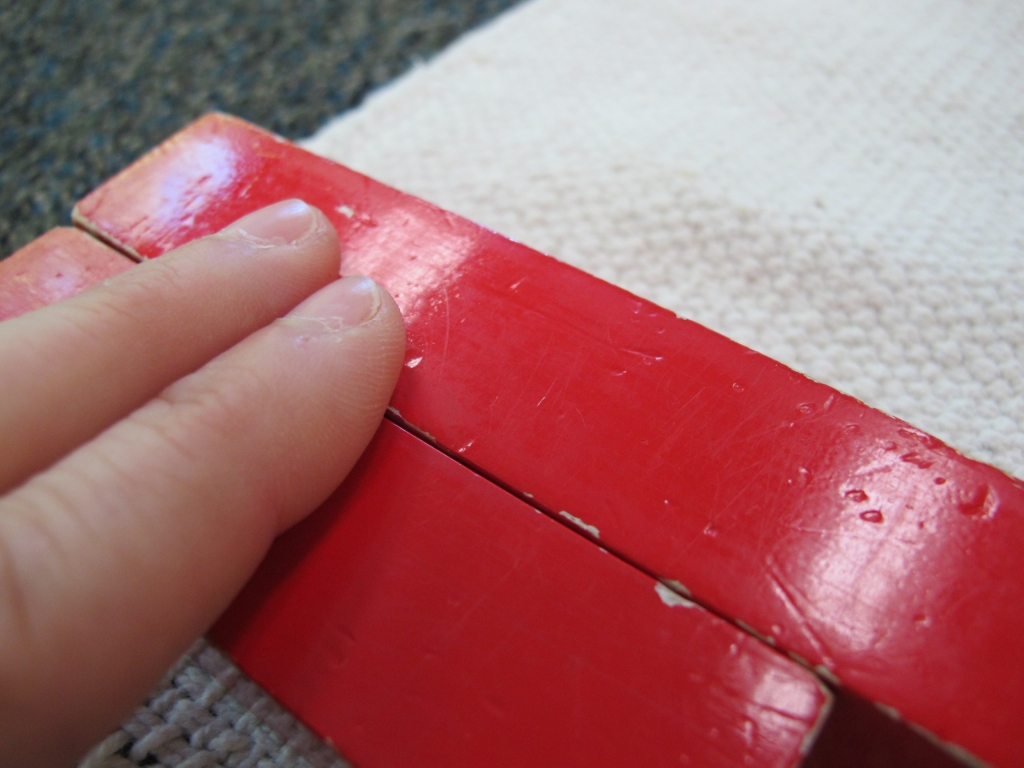
Run your index and middle fingers across the edge of two rods of the stair.
Place the rods at random: “Would you like a turn now?”
If not, return each rod one by one to the shelf.
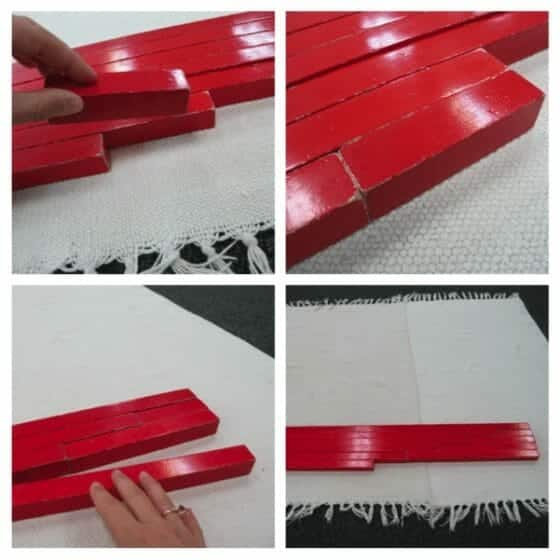
The Red Rods Lesson: Presentation II & III
Presentation II:
Same steps as Presentation I
Once the stair is assembled, take the shortest rod & walk it down the stair fitting it into place at the right of each rod.
Check the alignment of each newly created edge

The Red Rods Lesson: Presentation III
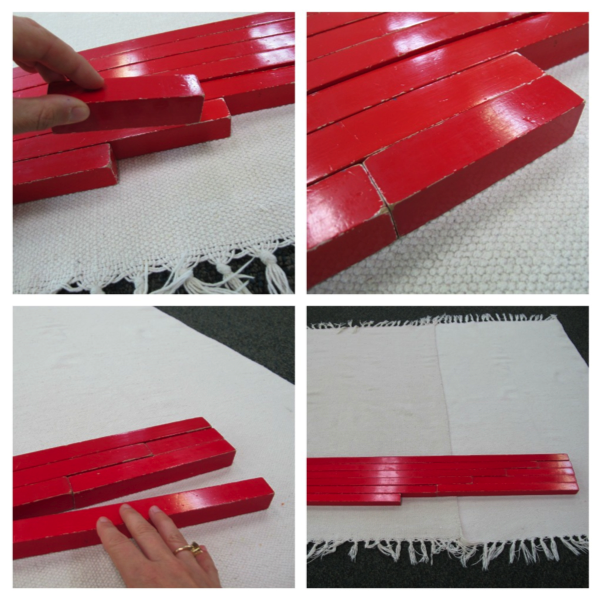
Same steps as Presentation I & II but once rods are assembled into the stair, stop & admire the stair, then take the shortest rod and place it to the right of the next to the longest rod above it.
Continue until you have five rods of the same length: “If we had one more of these it would fit here.”
Check the alignment of each newly created edge
If you would like to purchase Montessori Long Red Rods, this set is the one I purchased, and made me happy.
The Montessori Red Rods lesson is designed to provide children with a concrete and sensorial experience of length, size, and proportion. Through hands-on exploration and manipulation of the rods, children refine their visual discrimination, refine their ability to order objects based on length and develop a strong foundation for later mathematical concepts, such as measurement and comparison.
By engaging with the Red Rods, children are encouraged to explore and make discoveries independently, fostering their natural curiosity and a love for learning. The materials and activities in Montessori sensorial education, like the Red Rods, aim to provide a solid foundation for children's overall cognitive and sensory development.