I finally had a chance to try a bubble painting activity with my kids.
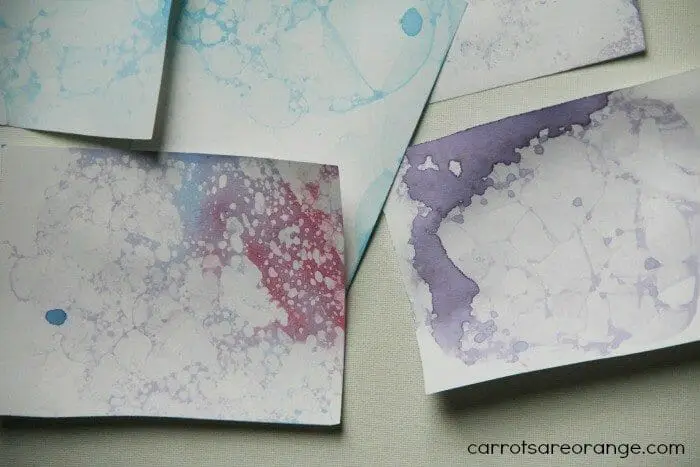
The activity with bubbles is not only easy to set up but kids have a blast with it. Not to mention the cool artwork as a result but we won’t focus on that so much since it is all about the process with kids, right?
Bubble Painting Activity with Kids
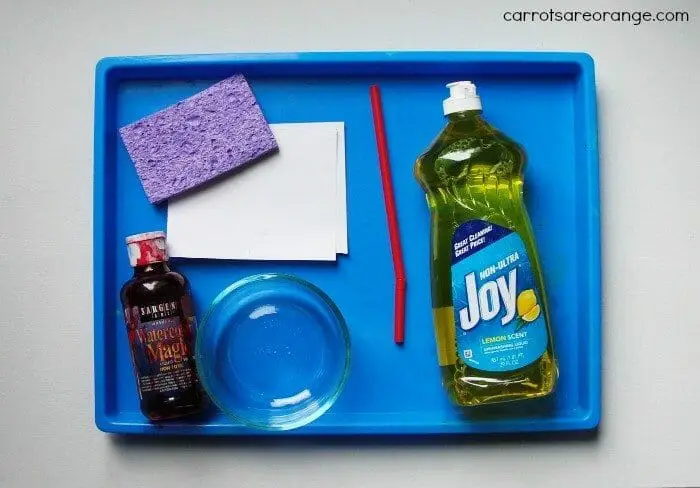
Bubble Painting Materials
- Tray
- Small Bowl
- Straw
- Liquid Dish Soap
- Paper (we used card stock and it worked well)
- Liquid Watercolor
- Sponge (optional but nice for pick up)

Bubble Painting Process
- Gather your materials
- Fill the bowl with a small amount of water
- Add liquid watercolor (we used blue, then added red to make a secondary color)
- Add dish soap
- Invite the child to the activity
- Demonstrate by blowing bubbles (watch the child’s delight)
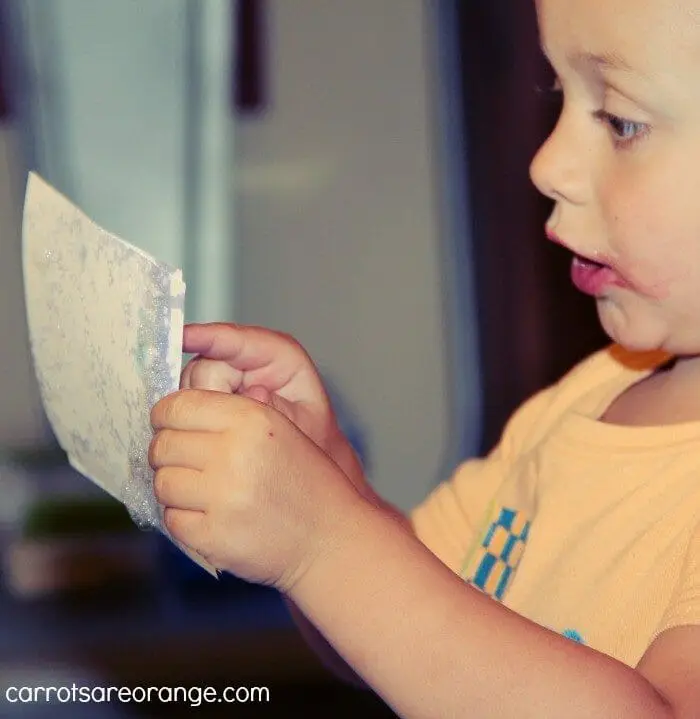
- Place a piece of paper on top of the colored bubbles
- Remove and allow time to dry
- Display

Discovery Questions
- What causes the bubbles?
- Why do the bubbles pop?
- What happens when we place the paper lightly on the bubbles? Not so lightly?
- How do big and small bubbles different in their design? Why?
- What happens when we place two pieces of paper on the bubbles?
- What happens when you blow hard? softly?
- What happens when you blow fast? slowly?
- What happens to the bubbles if you add another ingredient like flour? sugar? salt? a sponge?

Tips
- You don’t need much water and soap to create excellent bubbles for painting
- Cover your workspace. The activity has the potential to get messy.
- Use a baking rack for drying
- Remind the children to breath air out through their mouths into the straw (although a great teaching moment if the child sucks air into the straw as my five year old offered me!)


