Are you looking for a fun and creative way to tap into your artistic side? Look no further than these ideas for painting rocks! Painting rocks has become a popular trend, allowing people of all ages to embrace their inner artist and create unique and decorative pieces.
In this post, we will explore 10 creative and easy ideas for painting rocks that will have you grabbing your brushes and paints in no time.

From vibrant and colorful designs to intricate patterns and landscapes, there is no limit to what you can create on a simple rock canvas. Whether you are a seasoned artist or a beginner, these ideas are sure to inspire and ignite your imagination.
Not only is rock painting a great way to relax and unwind, but it also offers endless possibilities for personalizing gifts or adding a touch of art to your outdoor spaces.
So, grab your paintbrushes, gather some rocks, and get ready to unlock your inner artist with these 10 creative and easy ideas for painting rocks. Let your creativity shine and turn ordinary rocks into extraordinary works of art!
Benefits of Rock Painting
Rock painting is more than just a creative outlet; it offers a plethora of benefits that cater to both the mind and spirit. First and foremost, it serves as an excellent stress-reliever. Engaging in a hands-on activity like painting allows individuals to escape the hustle and bustle of daily life.
When you focus on the intricate details of your rock or the vibrant colors you want to use, it creates a meditative state that pulls you away from stressors. The rhythmic motions of painting can be soothing, helping to alleviate anxiety while promoting mindfulness.
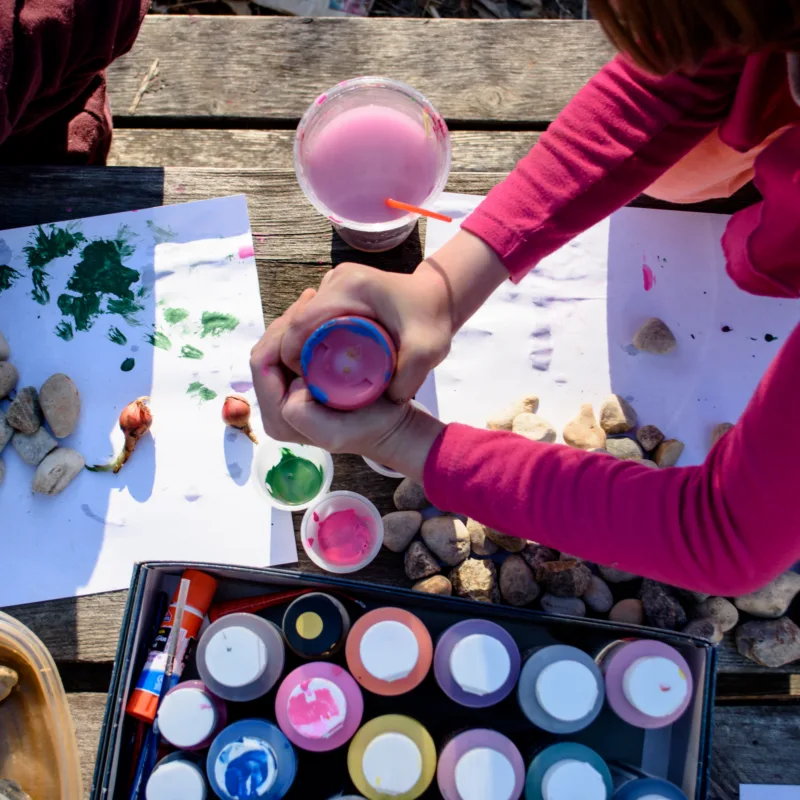
Furthermore, rock painting fosters creativity and self-expression. Everyone has a unique artistic voice, and painting rocks provides a blank canvas to explore that voice. You can experiment with colors, designs, and patterns without any fear of judgment.
This freedom encourages you to tap into your imagination and develop your artistic skills. Whether you choose to paint abstract designs or detailed landscapes, the possibilities are endless, and each creation is a reflection of your individuality.
Lastly, rock painting can help build community and connection. Many people participate in rock painting groups, sharing their work and experiences with others. This shared activity often leads to friendships and a sense of belonging.
Additionally, painted rocks can be hidden in public spaces for others to find, spreading joy and positivity in your community. It’s a simple act that can brighten someone’s day and create a ripple effect of happiness.
Materials Needed for Rock Painting
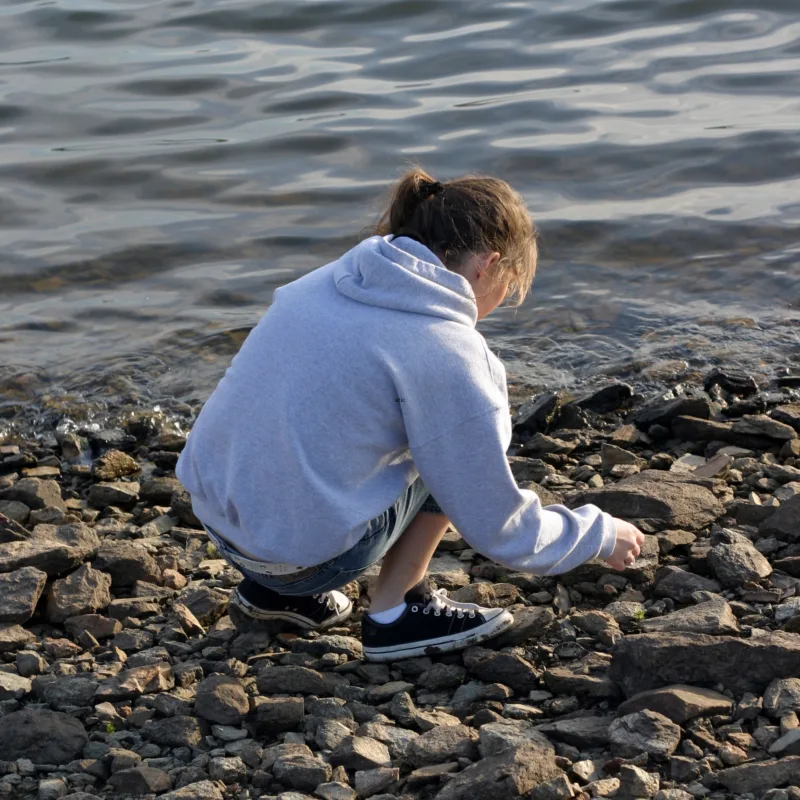
Before you embark on your rock painting adventure, gathering the right materials is essential to ensure a smooth and enjoyable experience. The first item on your list should be rocks themselves. Look for smooth, flat stones that are easy to paint on.
River rocks, beach stones, or even pebbles from your garden can work beautifully. Make sure to choose stones that are clean and dry, as this will allow the paint to adhere better.
Next, you’ll need a variety of paints. Acrylic paint is the most commonly used due to its vibrant colors and quick-drying properties. It’s also water-resistant once dry, making it ideal for outdoor projects. You can also opt for paint markers, which are great for adding intricate details and designs. Don’t forget to get a palette for mixing colors and water for rinsing your brushes.
In addition to paints, brushes of various sizes are crucial for different painting techniques. A flat brush is excellent for covering large areas, while fine-tipped brushes are perfect for detailed work.
You may also want to invest in a sealant to protect your finished rocks from the elements, especially if they will be displayed outdoors. Lastly, gather some paper towels or rags for quick clean-ups, and a workspace that you won’t mind getting a little messy.
Step-by-Step Guide to Painting Rocks
Once you have your materials ready, it’s time to dive into the fun part: painting your rocks! Start by selecting a rock that inspires you. Give it a good wash to remove any dirt or debris, and let it dry completely.
This preparation is crucial because a clean surface allows the paint to adhere better and results in a smoother finish. Once dry, you can sketch out your design lightly with a pencil. This step is optional but can help guide your painting process.
Now it’s time to apply the base coat. Using a larger brush, paint the entire surface of the rock in your chosen base color. This layer acts as a foundation for your design, so choose a color that complements the final look you envision.
Allow this layer to dry completely before moving on to the next step. Acrylic paint usually dries fairly quickly, but it’s best to be patient and ensure everything is set before adding more details.
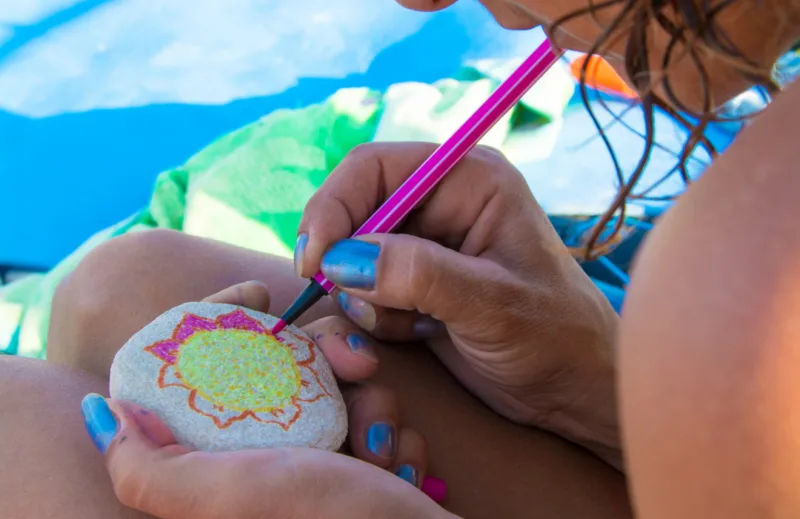
With your base layer dry, it’s time to add the fun details. Use smaller brushes or paint markers for intricate designs. You can create patterns, add words, or even paint small scenes. If you’re feeling adventurous, try layering colors for a more textured effect.
Once you’re satisfied with your artwork, let it dry completely before applying a sealant. This final step will protect your painted rocks from fading or chipping, ensuring they remain beautiful for years to come.
Different Techniques for Rock Painting
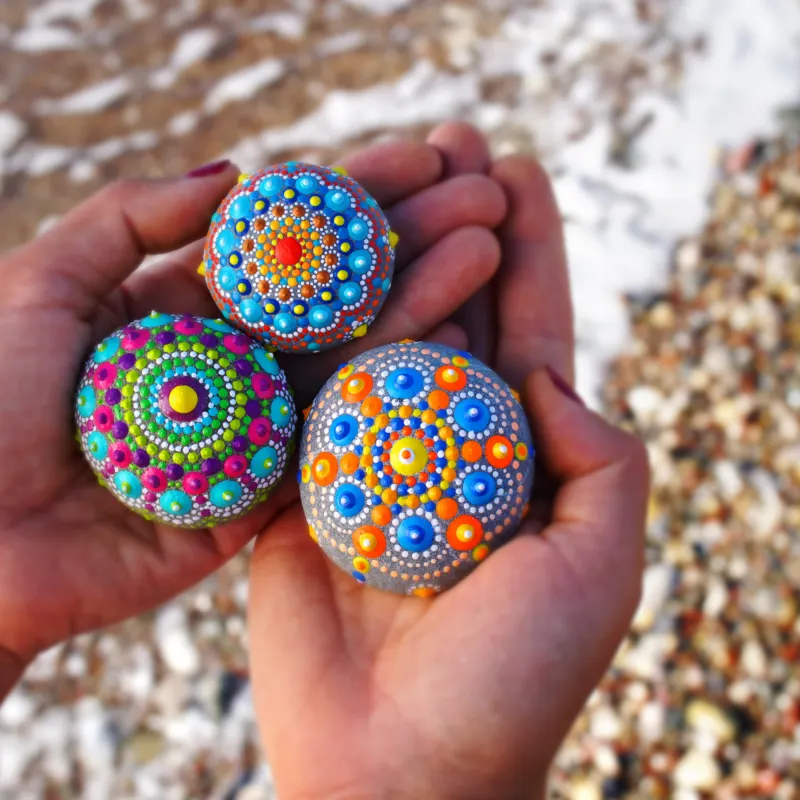
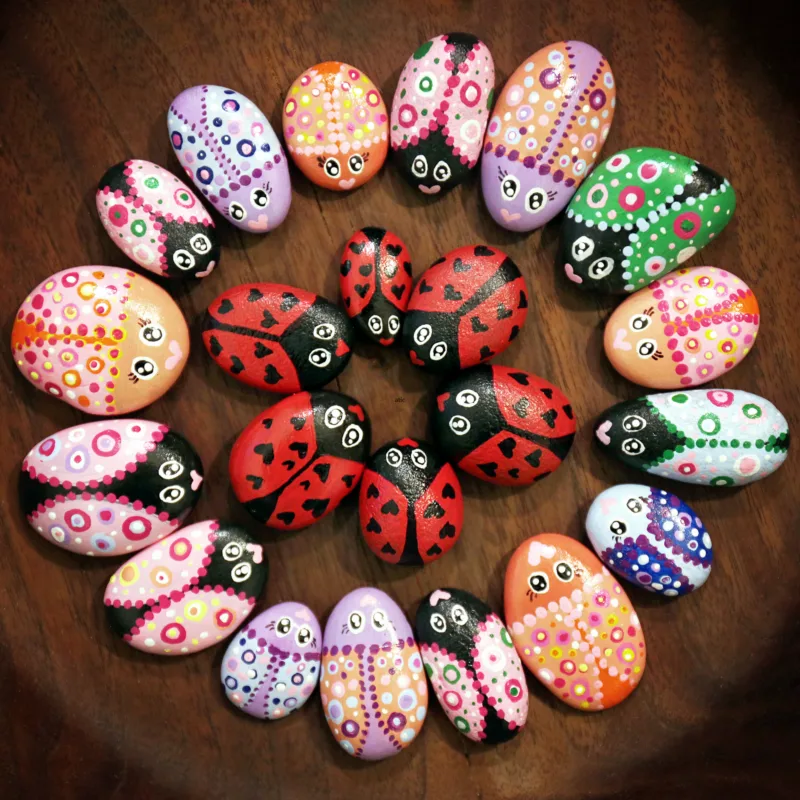
Exploring various techniques can elevate your rock painting skills and enhance your overall experience. One popular method is the dot painting technique, where you create intricate patterns using small dots of paint.
Using a dotting tool or the end of a paintbrush, you can create beautiful mandala designs or abstract patterns. This method is forgiving and allows for creativity without the pressure of precision.
Another technique to try is sponge painting. This involves using a sponge to dab paint onto the rock, creating a textured and blended effect. You can layer different colors to achieve an ombre look or create a more organic feel.
It’s a great way to cover a large area quickly and adds depth to your artwork. For those who enjoy a more structured approach, stenciling can be an effective way to add defined shapes and designs. You can purchase stencils or create your own using cardboard or plastic sheets.
Lastly, consider experimenting with layering and washes. By diluting your acrylic paint with water, you can create a wash that allows the texture of the rock to show through. This technique works well for backgrounds or creating a sense of depth in landscapes.
Don’t be afraid to mix and match these techniques; the beauty of rock painting lies in its versatility. As you practice, you’ll discover what styles resonate with you and develop your unique artistic flair.
Inspirational Ideas for Rock Painting
To get your creative juices flowing, here are some inspirational ideas that can guide your rock painting journey. One idea is to create a nature-themed rock garden. Paint rocks with designs that represent different elements of nature, such as flowers, trees, or animals.
These painted rocks can be arranged beautifully in your garden or used as decorative pieces on your patio, adding a splash of color and creativity to your outdoor space.

Another fun idea is to create motivational or inspirational rocks. Paint uplifting quotes or affirmations on your rocks and place them in areas where you often seek encouragement, like your desk or near your front door. These painted rocks can serve as daily reminders of positivity and strength. You can even hide them in public spaces for others to discover, spreading positivity in your community.
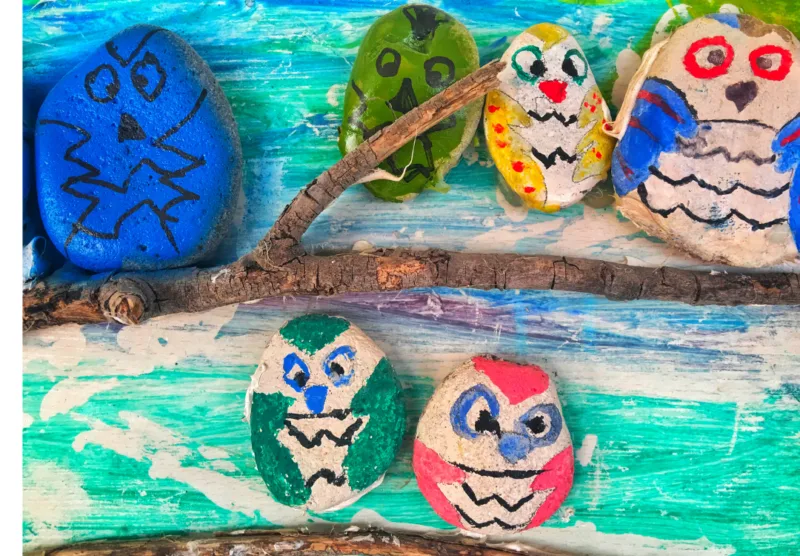
For a more whimsical approach, consider painting rocks to resemble your favorite characters from movies, books, or games. Whether it’s a beloved cartoon character or a mythical creature, these themed rocks can bring joy to both you and those who encounter them.
If you have children, this can also be a fun family project where everyone paints their favorite character, making it a bonding experience filled with laughter and creativity.
Tips for Beginners in Rock Painting
If you’re new to rock painting, a few tips can help you get started on the right foot. First, don’t be too hard on yourself. Remember that art is subjective, and the most important part is to enjoy the process.
Your first few rocks may not turn out as you envisioned, but each attempt is a step toward improvement. Embrace the learning curve and allow yourself to explore different styles and techniques.
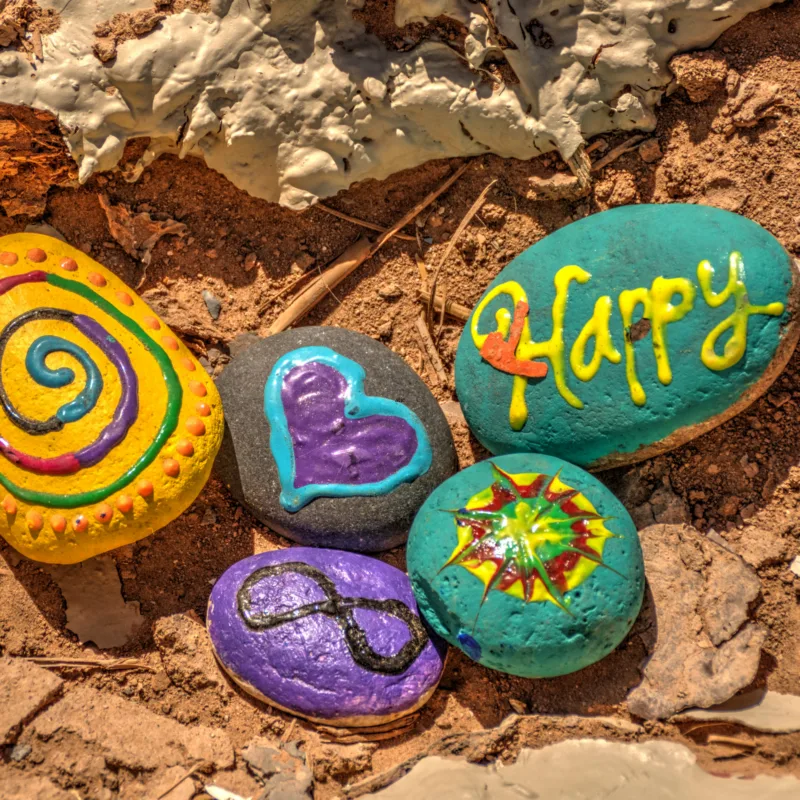
Another essential tip is to start with simple designs. As a beginner, it can be tempting to dive into intricate patterns, but starting with basic shapes and colors will build your confidence.
You can gradually work your way up to more complex designs as you become more comfortable with the painting process. Consider using online tutorials or instructional videos to gain insights from experienced artists.
Lastly, make sure to set up a dedicated painting space. A well-organized area with good lighting will make your rock painting sessions more enjoyable. Keep all your materials within reach, and don’t forget to protect your workspace from paint spills.
Having a comfortable environment will allow you to focus on your creativity without distractions, ensuring a fulfilling rock painting experience.
Displaying and Preserving Your Painted Rocks
Once you’ve completed your masterpiece, showcasing your painted rocks can add a personal touch to your home or garden. Consider creating a designated display area, such as a shelf or a small table, where you can showcase your favorite pieces.
Arrange them in a way that highlights their colors and designs, creating a visually appealing display that draws the eye. You can also incorporate other decorative items, such as plants or candles, to enhance the overall aesthetic.

If your painted rocks are meant for outdoor display, it’s crucial to take steps to protect them. After painting, apply a clear sealant to guard against the elements. This protective layer helps prevent fading from sunlight and protects against rain or snow.
Choose a sealant specifically designed for outdoor use to ensure your rocks remain vibrant and intact. Reapply the sealant periodically, especially after harsh weather, to keep your artwork looking fresh.
Additionally, consider hiding some of your painted rocks in public spaces as part of a community treasure hunt. This not only spreads joy but also engages others in the beauty of rock painting. You can leave a note or a small message on the rock to encourage the finder to share their discovery online. This act of sharing your art can create connections and spark interest in rock painting among others.
Unleash Your Creativity with Rock Painting
Rock painting is a delightful and fulfilling activity that can unlock your inner artist. Whether you’re seeking a calming hobby, a way to express your creativity, or a method to connect with others, this art form offers endless possibilities. With just a few materials and a dash of inspiration, you can transform ordinary rocks into extraordinary works of art that reflect your personality and creativity.
As you embark on your rock painting journey, remember to embrace the process. Allow yourself to experiment with different techniques and designs, and don’t worry about perfection. Each rock you paint is a step toward honing your skills and expressing your unique artistic voice. Share your creations with others, join communities, and engage in events that celebrate this joyful art form.
So, gather your materials, let your creativity flow, and embark on this colorful journey of rock painting. With each stroke of paint, you’ll not only create beautiful pieces but also cultivate a deeper connection to your artistic self and the world around you. Happy painting!
