I earn commissions from my affiliated links. Please see my disclosure policy for more details.
Do you want to capture your kids' attention and introduce innovative, super cool learning activities into the classroom or homeschool? Look no further! Dry ice experiments are an exciting way to make scientific concepts come alive for students of all ages.
Not only do these experiments empower children with fun ways to experiment and explore – but they also impart valuable lessons about the world we live in. In this post, we'll explore how dry ice can be used to create some awesome science experiments that bring teaching moments straight from the lab into any learning environment.
Whether you're a teacher looking for at-home activities for students, or parents seeking creative ideas to keep their curious learners engaged – get ready: You're about to take STEM education on an unforgettable adventure!
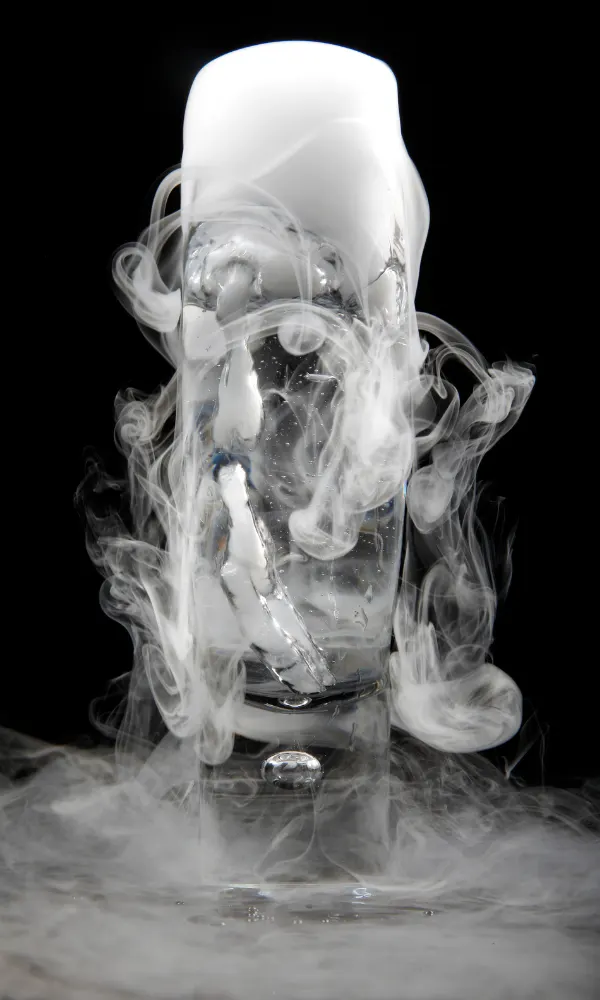
Dry Ice Experiments
Dry ice is a great way to add excitement to any science experiment. Here are some fun experiments that will have your kids learning and having a blast at the same time. Be prepared for some chilly fun!
Wondering what to do with dry ice? This post includes three easy & cool dry ice experiments to introduce children to the amazing science behind this extraordinary substance!
My sons are almost six and four and a half years old. Both are obsessed with science, at this point, I am introducing basic science concepts. My main goal is to ignite a desire to learn more.
I want my children to ask questions and to want to do the “next” thing.
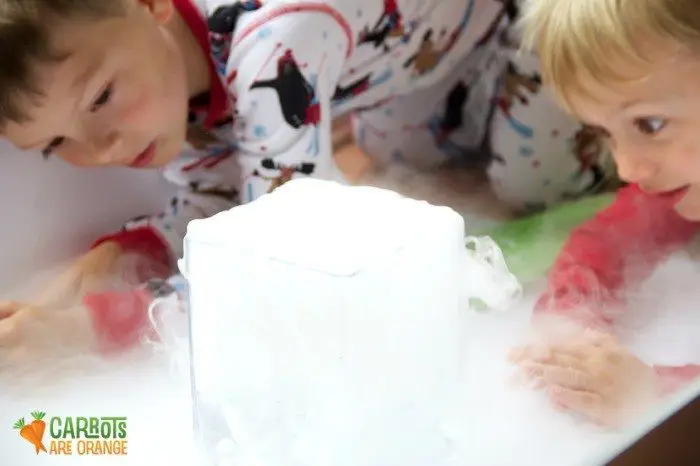
One additional goal at this juncture is to introduce the idea of scientific thinking and design.
Quite simply asking the child:
- What is the plan?
- What do you think might happen?
- Why?
- What could/should we do next?
- How would it change if we did xyz?
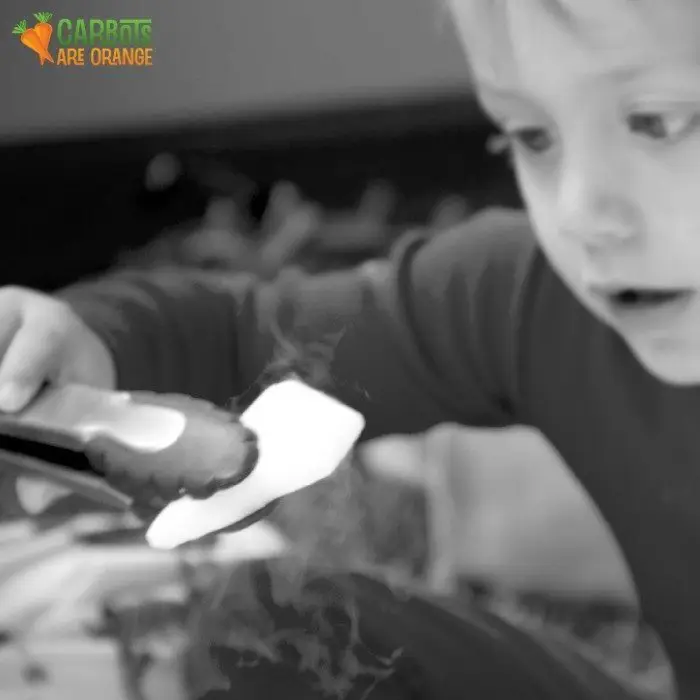
SAFETY TIP: Don't handle dry ice directly with your hands because it is really, really cold and will burn skin on contact. Therefore, use tongs or heavy duty gloves. Above all else, you can't play with dry ice.
Check out these Science Activities with Dry Ice
Compare and Contrast
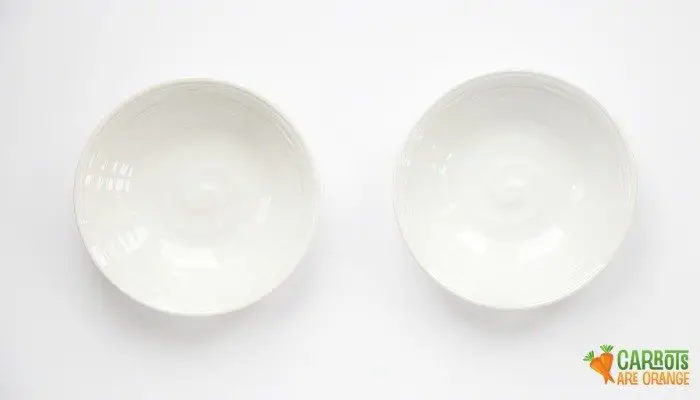
You need two bowls containing regular ice and dry ice. We order groceries from Amazon Fresh. They always provide bags of dry ice in our cooler items. Place a bit of regular ice in one bowl and a bit of dry ice in the other bowl. Set a timer for ten, fifteen, and then sixty minutes. Observe what happens to the ice in each bowl.
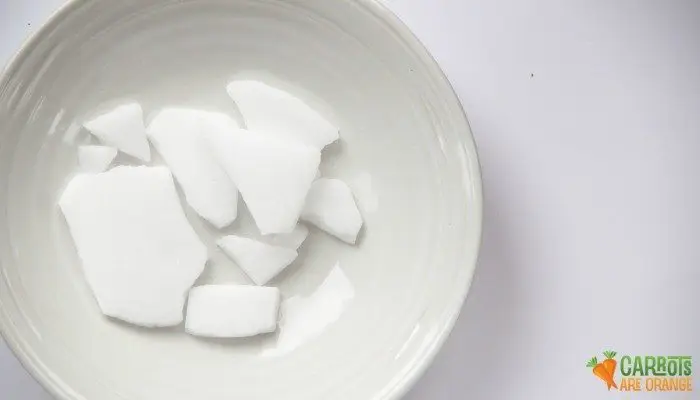
TIP: Use a large short storage container as a base for this activity, or take it outside!
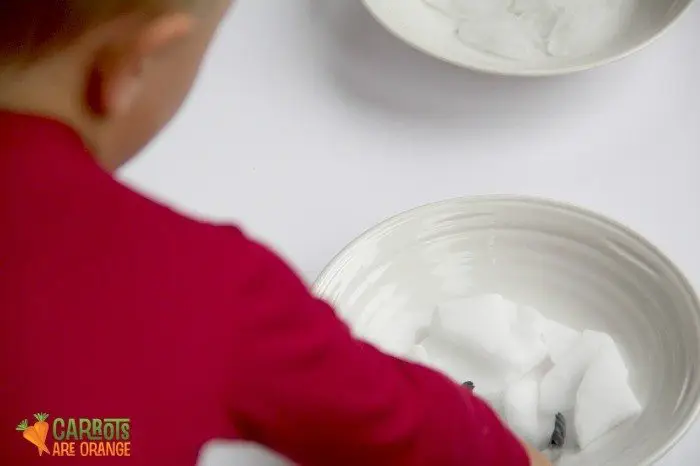
Warm Water & Dry Ice
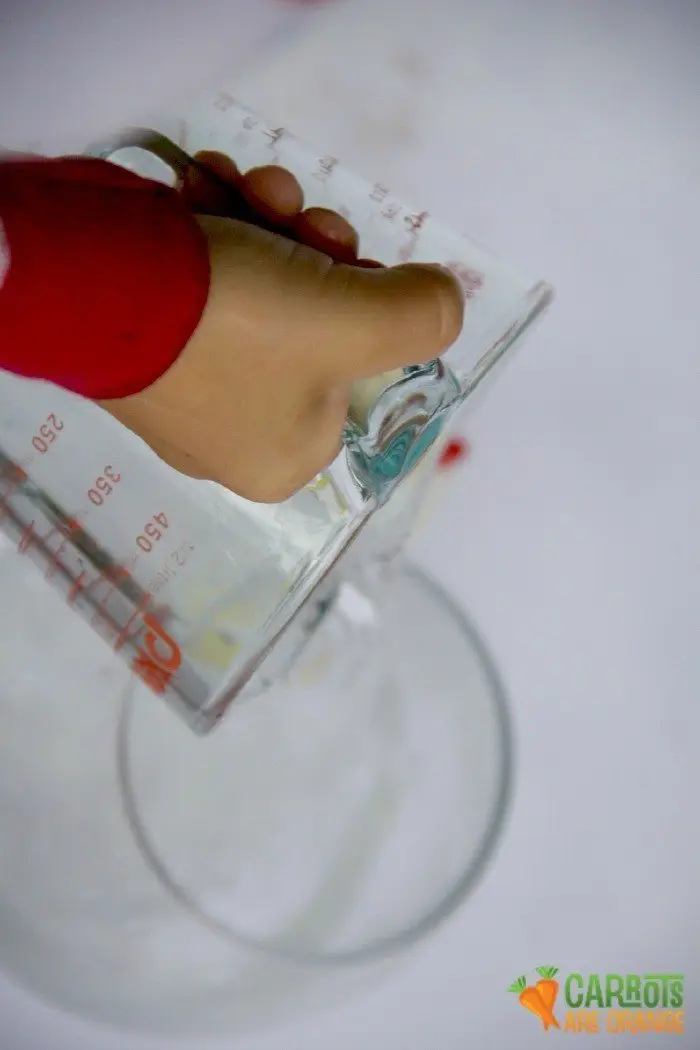
You need a bowl or wide-mouthed jar or vase. Use your tongs to place a chunk of dry ice into the container. Use a measuring cup or simply a drinking glass with warm water.
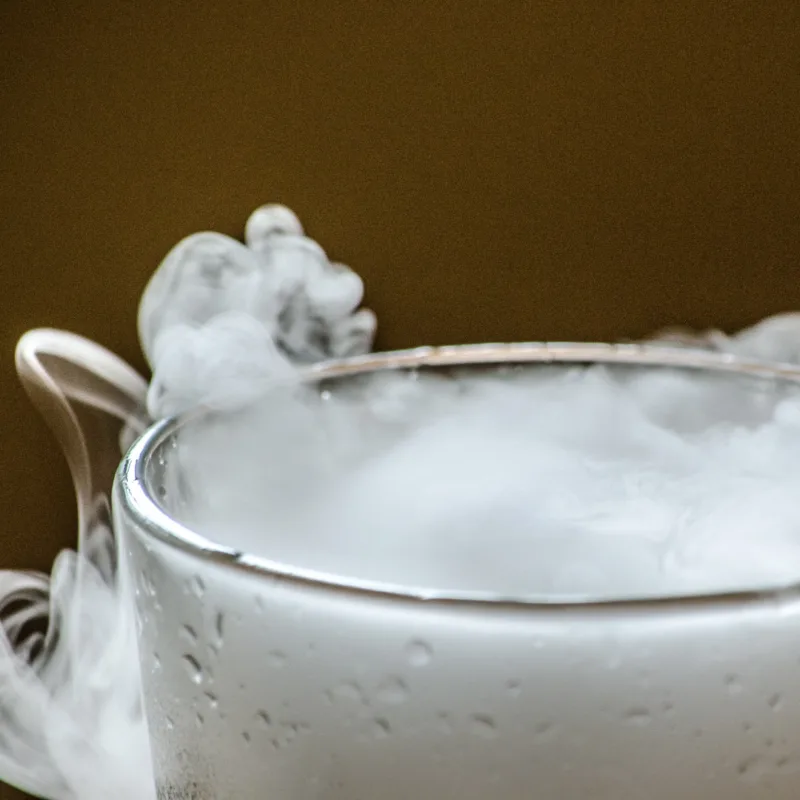
Pour the warm water into the container with dry ice. Watch what happens, examine, and take notes. If the “smoke” dies, add more warm water.
What is Dry Ice?
Dry ice is the solid form (frozen) of carbon dioxide. It turns into a carbon dioxide gas instead of a liquid as it breaks down. Carbon Dioxide is the primary gas in our planet's atmosphere.
When dry ice “melts,” it turns directly into carbon dioxide gas. Dry ice sublimates, which means it breaks down directly into gas rather than a liquid form. Sublimation occurs at the rate of 5-10 pounds per 24-hour period in a cooler or ice chest!
What is the Temperature of Dry ice?
A block of dry ice has a surface temperature of -109.3 degrees. For this reason, many people and companies use the substance to keep products cold.
Where Can I Purchase Dry Ice?
Lucky for us, we order groceries and often have dry ice on hand. However, you can buy dry at local grocery stores such as Safeway. Even Walmart, Target, and Costco carry dry ice. Therefore, you want to pick it up as close to the time when you'll be using the dry ice.
It has a short life due to its constantly changing form from solid to gas. As a result, you can't store dry ice. After identifying where to buy dry ice, you want to be sure to buy it in block form to do science experiments.
Furthermore, dry ice won't cost you much, and you don't need a ton of it. Typically it'll cost somewhere around $2 per pound. Also, be sure to have a carrying vessel on hand, such as a cooler, into which you'll put dry ice. Above all else, besides not directly handling the dry ice, be careful about placing dry ice in your freezer (like I wouldn't do it if I were you) because it can mess with your freezer.
Warm Water, Dish Soap, & Food Coloring
Check out this dry ice bubble!! We used the same approach but added a few drops of dish soap and food coloring to make our dry ice bubble. The result is simply fantastic to watch.
In this science experiment, dry ice does not turn into a gas cloud. Instead, the soap bubbles trap the cloud resulting in a great effect that kids love! The dry ice bubbles burst either on their own or with the help of little hands, allowing the cloud to escape.
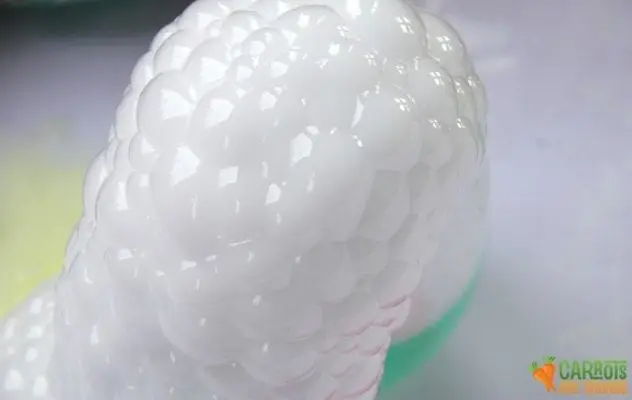
This version of the science experiments using liquid dish soap to make a dry ice bubble was by far my favorite.
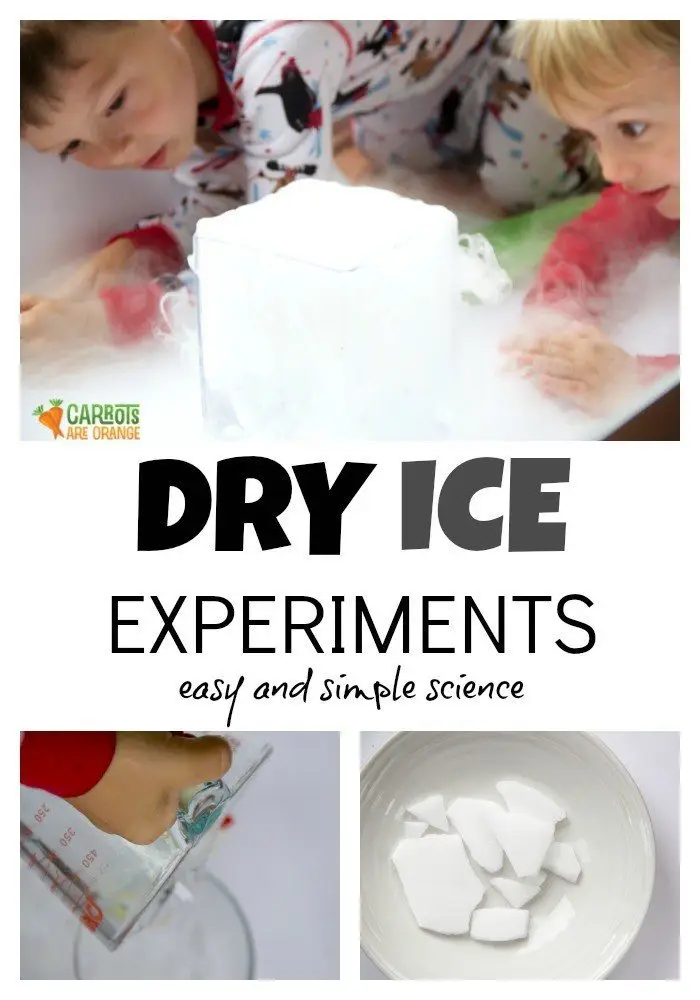
Other Dry Ice Experiments
- Use boiling water
- Put dry ice into a balloon (you will need to use the pellets or break the block of ice)
- Use ethanol & freeze a flower.
- Use a plastic cup, plastic wrap, & rubber bands to make smoke rings
Resources for Further Science Learning
Check out these AMAZING Dry Ice Experiments
Related Reads
Would you like to download 9 Ways to Help Your Child Think Like a Scientist?
No problem! Fill in your information and we'll send your download on over to you. Super easy. Straight to you. It is like magic!

