Ready to bring science-filled fun into your home with some electricity experiments for kids? It's likely that you already have most of the materials necessary within arm's reach, and you'll be able to get started right away.
By involving children in conducting basic electrical experiments at a young age, you can help cultivate their interest in science and introduce intriguing concepts such as magnetic fields, circuits, and currents – all without having to leave the comfort of your own home!
Get ready to explore these super easy science experiments!
Electricity experiments are the perfect ones for budding scientists, which is pretty much every child, so curious about the world and how “things” work. You know we're a bit science obsessed as seen with our Friction experiment and Balloon Rocket.
The activity is ideally suited for kindergarten and up but can be adjusted to work with a slightly younger child and certainly an older child. My 3.5-year-old is definitely intrigued but my 5-year-old “got it”.
Here is a wonderful activity to add to your arsenal of electricity experiments with kids.
Electricity Experiments with Kids

Scroll Down Below for a Free Printable to Use with this Activity
What is Electricity?
Well, let's start with an electric charge. Think about it like this: all matter is made up of atoms. Atoms are either positively charged protons, negatively charged electrons, or neutrons, which carry no charge at all.
If an object is charged, it either attracts or repels (pulls or pushes) other charged objects. Like charged objects repel and oppositely charged objects attract.
The behavior of an object that has been charged is dependent upon whether the object is made of a conductive or a nonconductive material.
Conductors are materials that permit electrons to flow freely from particle to particle. An object made of a conducting material will permit a charge to be transferred across the entire surface of the object.On the other hand, insulators are materials that prevent the free flow of electrons from atom to atom and molecule to molecule. If the charge is transferred to an insulator at a given location, the excess charge will remain at the initial location of charging.
Related Post: Easy Science Activity for Kids: Make an Awesome Pulley with Kids!

Helpful FREE Resource for this Activity
Battery Electricity Experiment
The purpose of this activity is to test materials to understand what materials conduct or resist or “insulate” electric current.

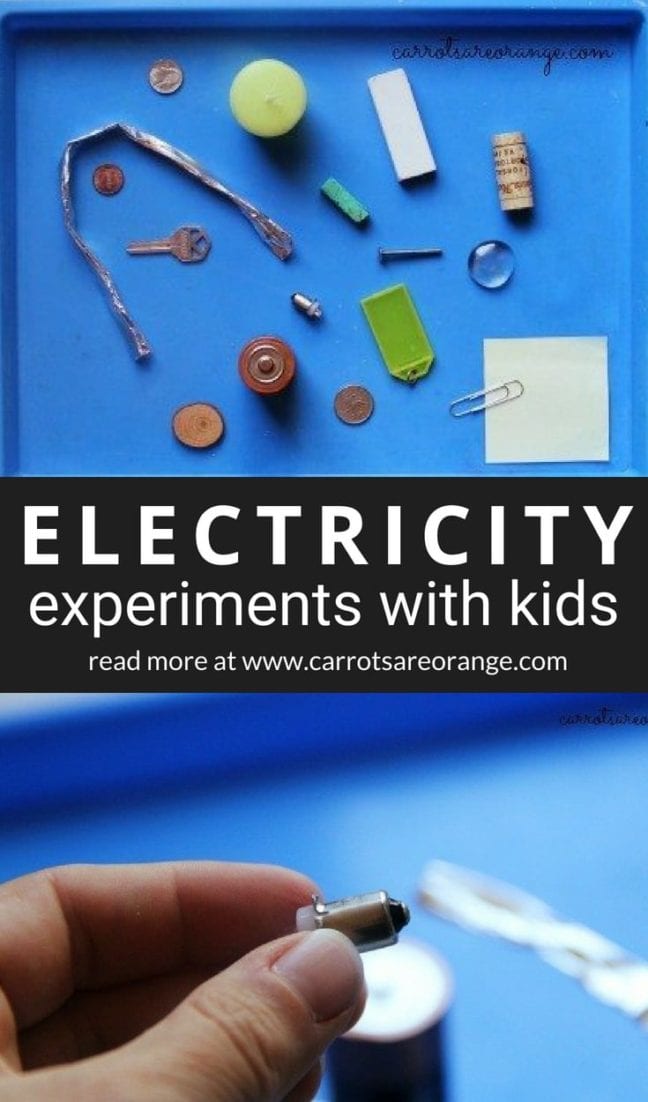
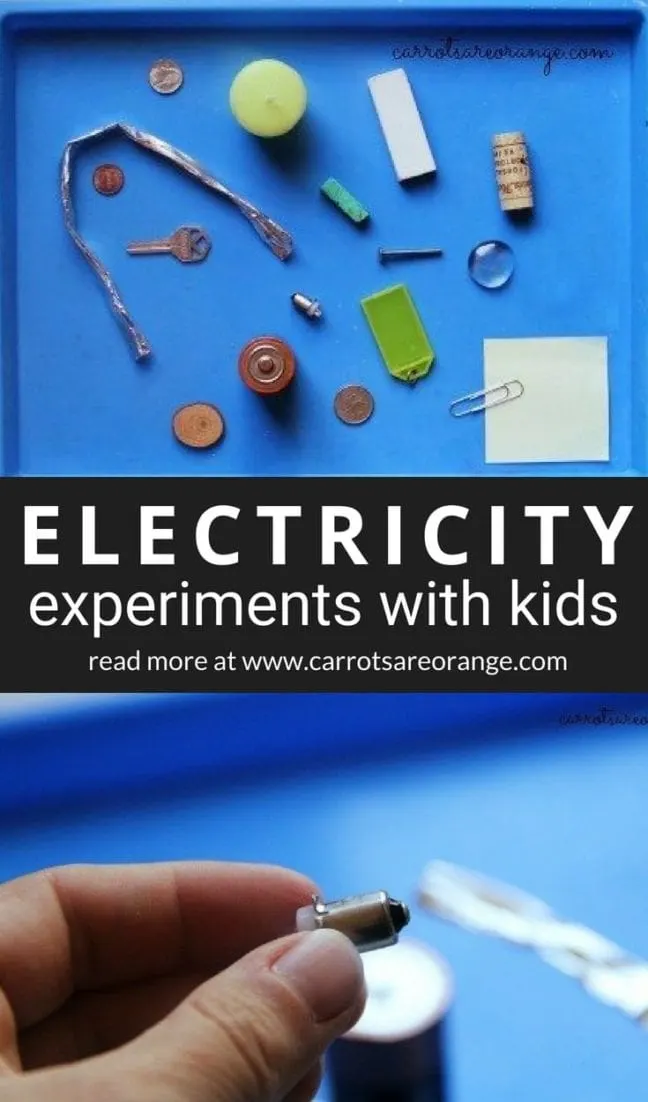
Electricity Experiment Materials
- Battery
- Small Bulb
- Aluminum Foil (folded lengthwise and “rolled” up)
- Tray or table for workspace
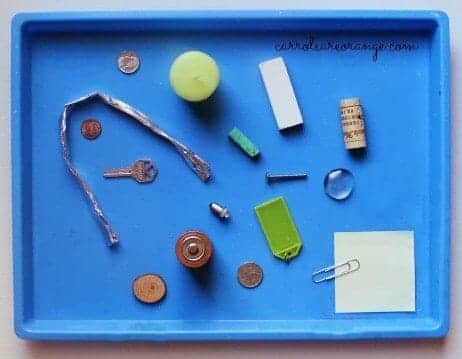
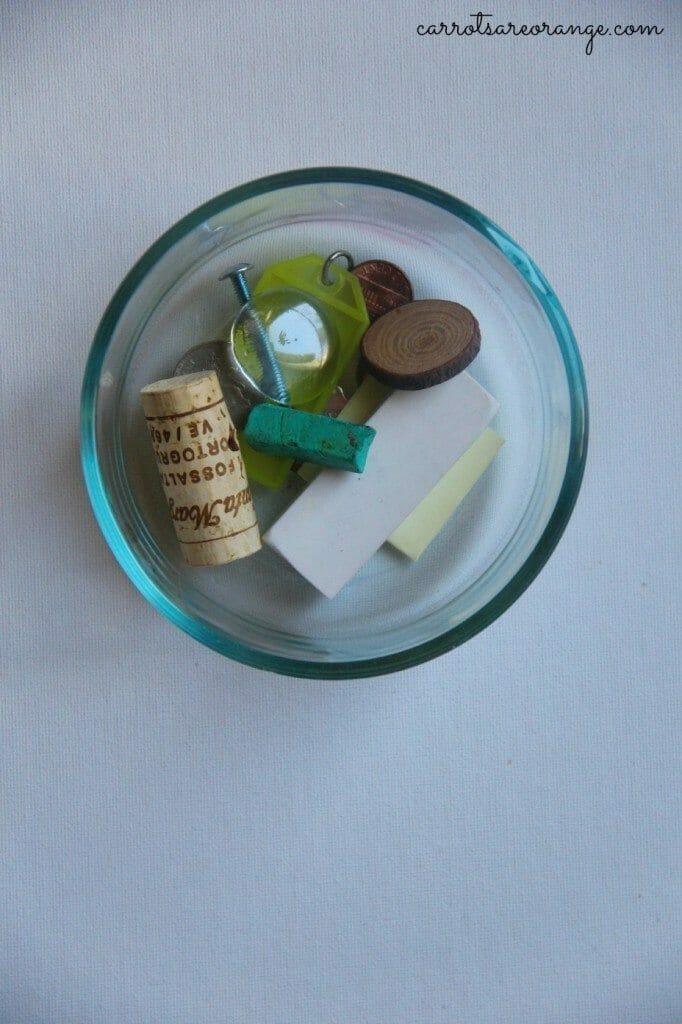
- Objects to test such as a key, an eraser, a coin, a nail, a piece of chalk, a piece of wood, and a candle. Older children can test materials such as aluminum, copper, nickel, and tin.
- Paper and Pencil to record results
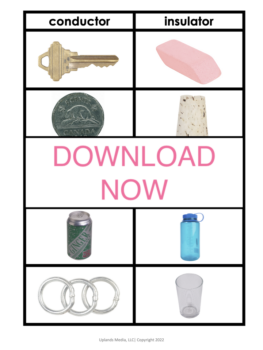
- Conductor and Insulator Sorting Worksheet

Electricity Experiment Approach
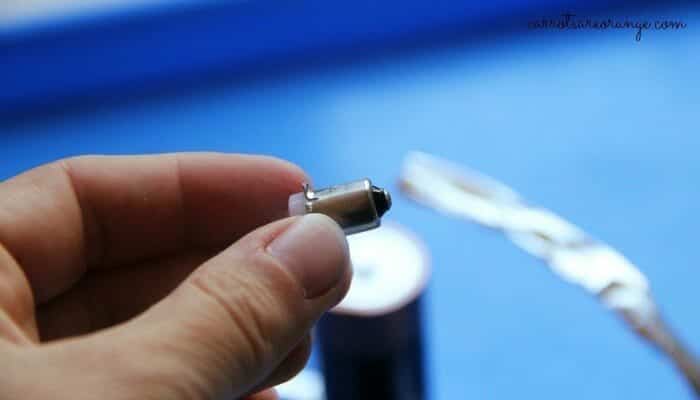
- Gather battery and bulb (I used an old flashlight bulb and battery)
- Seek out materials and objects to test (I found many useful testers around my home)
- Play on tray or workspace
- Present to your child
- Explain the activity in detail and words appropriate to the child's developmental stage
- Point to the battery, the bulb, and the foil
- Ask the child to roll the foil
- Point to the bowl of objects (for younger students)/materials (for older students) and talk about conductivity and insulation
- Test objects by placing the object between the battery and the bulb, then touching the foil to the base of the bulb. The bulb should light up (or not).
- Encourage children to take notes about the objects/materials and their observation
Further Science Learning
- In preschool or kindergarten, sort the objects/materials into conductors or insulators
- For elementary, make a graph of weakest to strongest conductors (since conductivity is a matter of degree)
- Ask questions about the materials that insulated best, or did not insulate well
- Brainstorm a list of objects or materials that might conduct (or insulate).
- Roll the foil for the great fine motor work
- Hold the object or material as you test with the foil (or vice versa)
- Ask the child ahead of time what objects he believes may conduct electricity, and why
- Assess the child's learning by testing a clothespin (or another object with both insulator and conductor attributes). Is it a conductor or an insulator? Which parts of the clothespin will light the bulb?
Pin for later!