Are you looking for a fun, hands-on way to help your child learn about textures? Then check out this Montessori Sensorial Activity with Rough and Smooth Boards!
It's a great way to introduce your child to new textures and help them develop their sensory skills. Plus, it's fun and easy to do! So give it a try today!
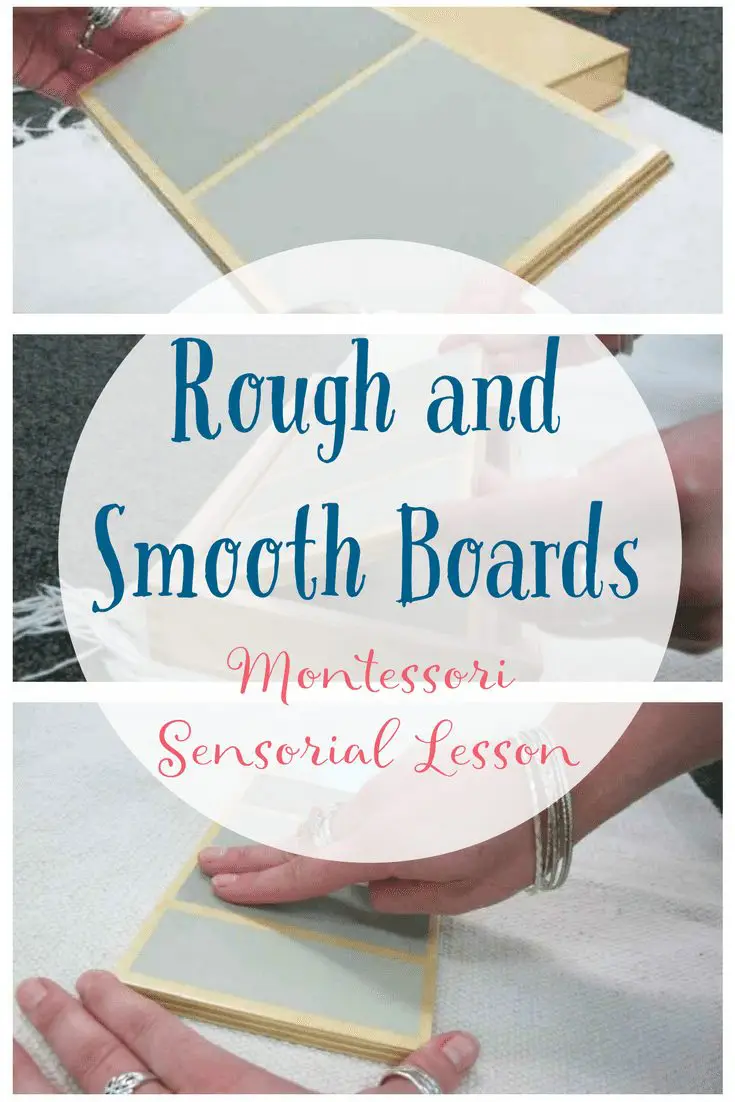
Rough and smooth boards fall within the Haptic Sense of the Montessori sensorial works. The boards allow children to explore their sense of touch and learn to feel the difference between textures.

Rough and Smooth Boards Montessori Sensorial Lesson
One of the critical pieces of Montessori is giving a lesson. There is a defined way of introducing work to a child. How the material should be handled, the words used, and the positioning of the material about you and the child are all important when delivering the lesson.
Nothing is set in stone, but these are the parameters within which a child learns a new work.
With tactile sensorial work, the first step must always be hand washing.

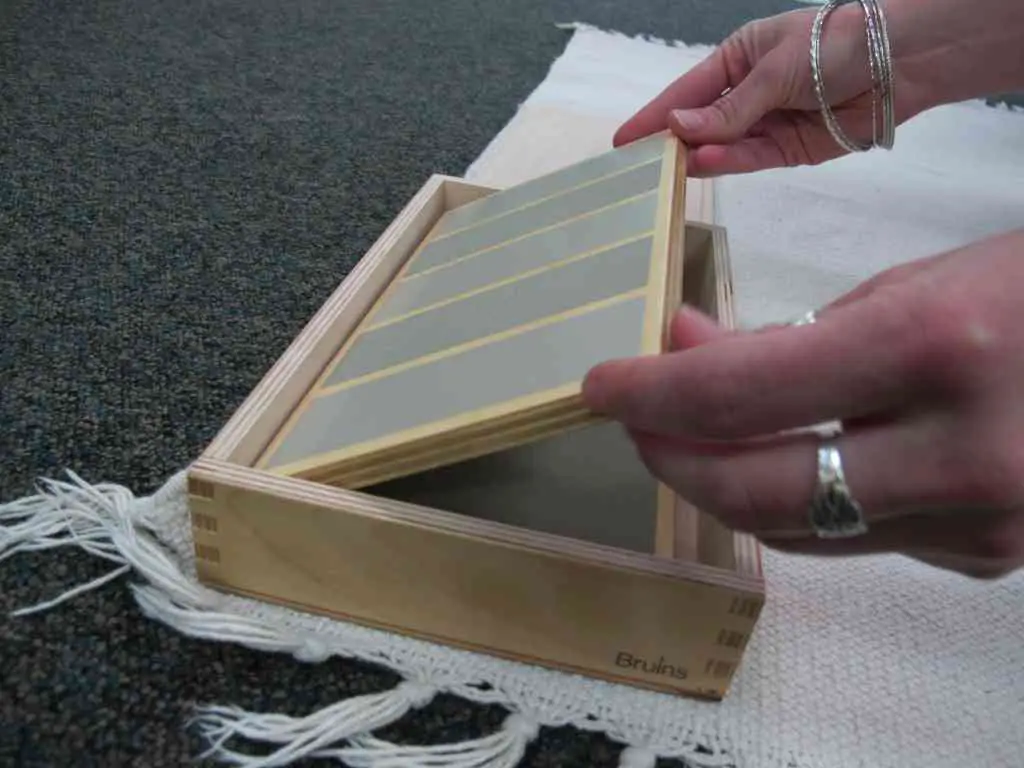
Next, remove and handle the material by carefully gripping the sides. Move slowly to place on the mat.
For the first board, run your fingers down the left side of the board and say, “rough.” Then run your fingers down the right side of the board and say, “smooth.”
For the second board, run your fingers down each panel and say, “rough, smooth, rough, smooth, rough.”

For the third board, start on the left and move right, “rough, less rough, less rough,” and so on until the last time you say “smooth.”

Tips for the Rough and Smooth Boards Activity
- Economy of words is important. Less is better. Stick to “rough” or “smooth” and avoid “this panel feels rough…” etc.
- Always offer the child a turn to feel the board.
- Look away when you feel the board, and let the child know you're going to “use your fingers to do this work.”
These boards aren't expensive, and they're also easy to create on your own. Have you taught a Montessori sensorial lesson using rough and smooth boards?
Marnie
