Ahoy, fellow enthusiasts of medieval mayhem and modern marvels! Today, we embark on a journey into the fascinating realm of catapult designs. These incredible contraptions have a rich history, catapulting us from the days of castles and warfare into the realm of cutting-edge engineering.
So, buckle up, mateys, as we uncover the secrets behind these magnificent machines and explore how they've transformed through the ages.


Catapult Designs Through the Ages
The Origins of Catapult Designs
Let's hop in our time machine and journey back to ancient Greece. Picture this: it's 399 BC, and you're in the workshop of the brilliant inventor, Dionysius the Elder. He's tinkering away, and lo and behold, the first catapult design springs to life! Dubbed the “stomachion,” this primitive contraption used twisted ropes and torsion to fling objects.
Did you know? The word “catapult” itself hails from the Greek “kata-pelte,” meaning “to hurl down.”
Fast forward to the Roman Empire, where the ingeniously engineered “onager” catapult stole the limelight. Imagine a wild, kicking donkey (yes, that's what “onager” means), but one that could launch stones with devastating force. These early catapult designs laid the foundation for the magnificent machines we know today.

The Catapult Renaissance
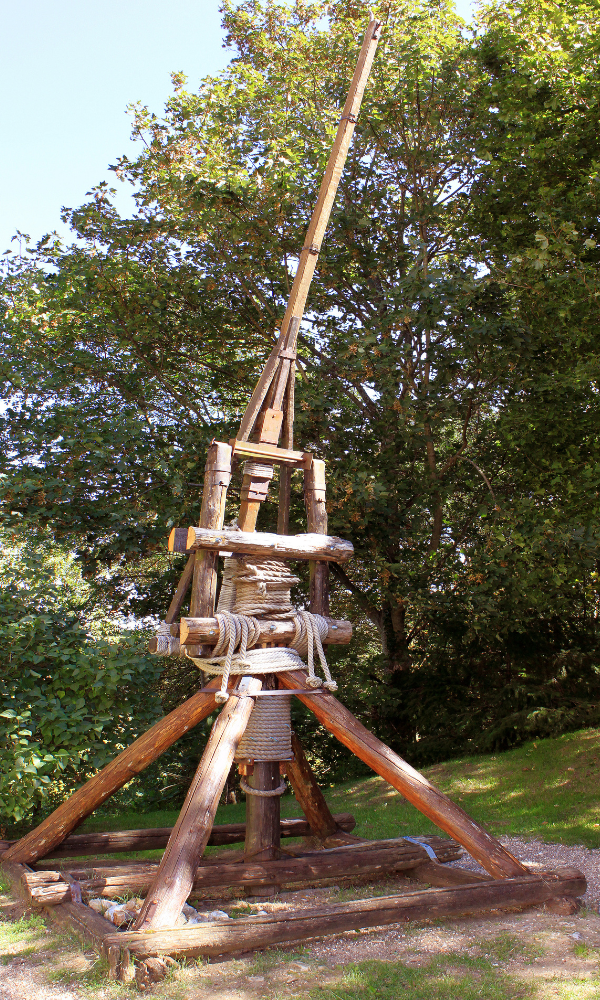
Now, let's zip ahead to the Middle Ages, where castles stood tall and knights fought valiantly. Catapults, often perched atop castle walls, became the stars of sieges. The iconic “trebuchet,” with its swinging arm and counterweight, emerged as a formidable weapon.
The secret sauce? Physics, my friends! These contraptions leveraged potential energy, flinging heavy projectiles with astounding accuracy.
As the centuries passed, catapult designs continued to evolve. Engineers and military minds refined their craft, experimenting with various designs, materials, and power sources. The ultimate goal? To hurl things farther, faster, and with greater precision.
Modern Catapults: From Warfare to Innovation
Catapults in the Modern World
Fast forward to the present day, and you'll find catapult designs have taken a leap beyond warfare. These incredible contraptions have found new life in industries you might not expect.
- Aviation: Ever heard of an aircraft catapult? These steam or electromagnetic wonders launch planes off aircraft carriers with astonishing force. It's like a high-stakes game of catch but with multi-million-dollar jets!
- Space Exploration: Even NASA gets in on the action! They've employed a “slingshot” maneuver to accelerate space probes and rovers, using celestial bodies' gravity as their own cosmic catapults.
- Fun and Games: Catapults aren't just for grown-ups! The humble desktop catapult has become a favorite among office pranksters and students alike. Miniature versions make learning about physics a blast. Plus there are loads of fun catapults to build!


Catapult Designs for the Future
So, what's next for catapult designs? Well, the sky's the limit—literally! Engineers are exploring novel ways to harness energy, precision, and automation to push the boundaries of catapult technology.
- Electromagnetic Catapults: Imagine catapults that use electromagnetic fields to launch objects without the need for physical contact. These electromagnetic marvels could revolutionize transportation and logistics.
- AI-Powered Precision: Artificial intelligence is stepping into the fray, enabling catapults to calculate launch trajectories with unprecedented accuracy. Think of pinpoint deliveries and flawless launches.
- Eco-Friendly Catapults: In an age of environmental consciousness, catapults are going green! Solar-powered catapults, anyone? These sustainable contraptions could revolutionize the way we launch objects into space.

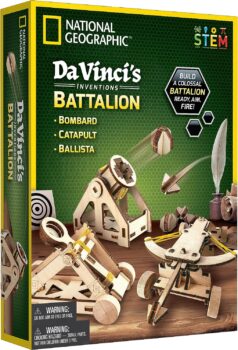
The DIY Catapult Revolution
Catapult Designs for Kids & Adults
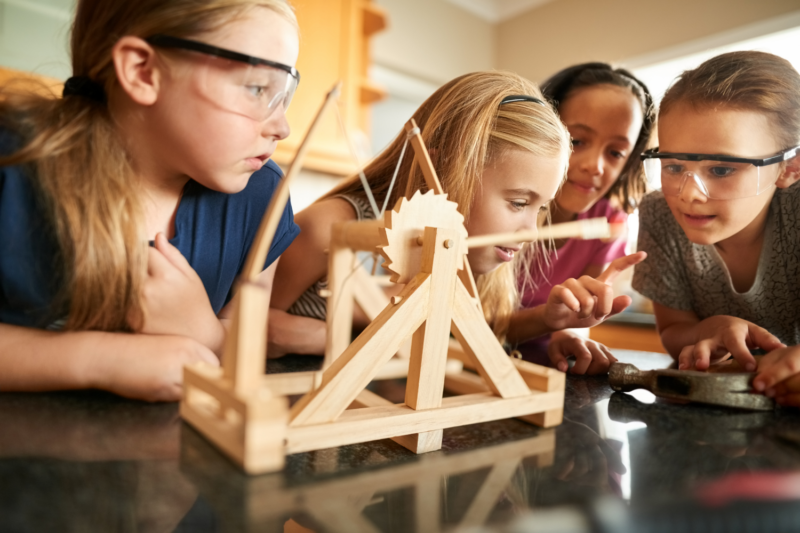
Now, let's pivot to something hands-on and downright fun: building your very own catapult! Whether you're a science enthusiast, a teacher, or just looking for a weekend project, this is for you.
#1 – Popsicle Stick Catapult
Using just popsicle sticks, rubber bands, and a plastic spoon, children can construct a miniature machine that demonstrates basic principles of physics. When loaded with a small object and released, the catapult's spoon arm converts potential energy into kinetic energy, launching the object into the air with excitement and learning in equal measure.
- Materials: Popsicle sticks, rubber bands, a plastic spoon, and a small object to launch (like a mini marshmallow).
- Instructions: Create a basic frame by stacking two popsicle sticks on top of each other and securing them with rubber bands at one end. Attach a plastic spoon to the other end with rubber bands, forming an arm. Place your launch object in the spoon, press down on the arm, and release to launch.
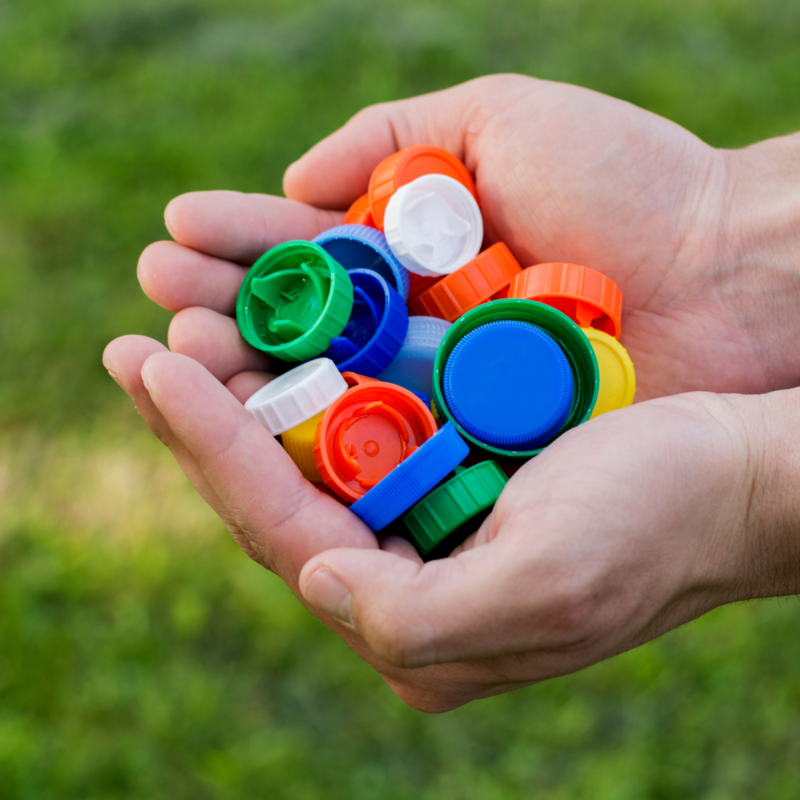
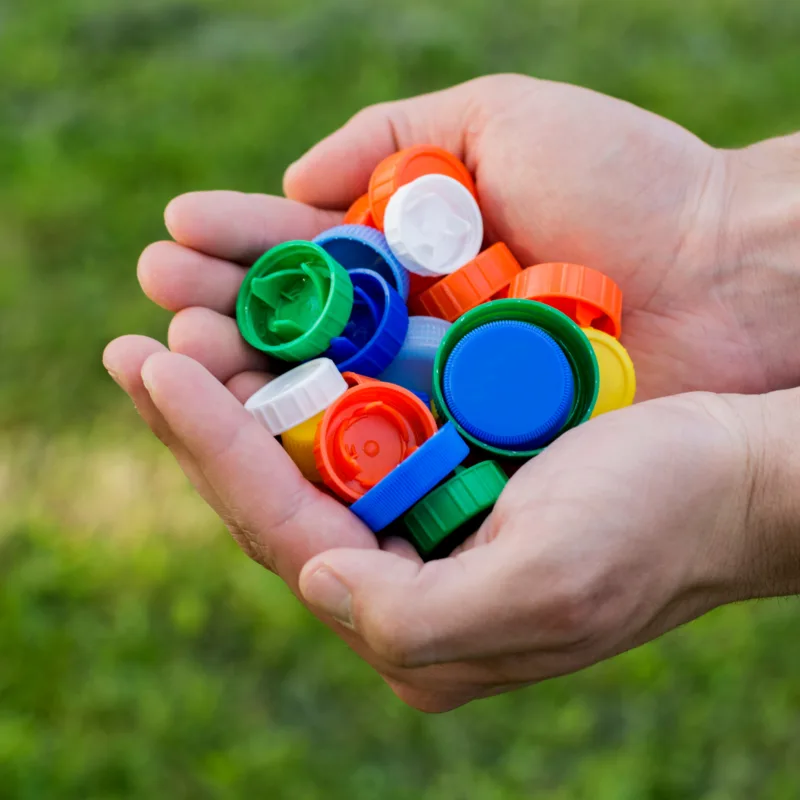
#2 – Spoon and Bottle Cap Catapult
By attaching a plastic spoon to a rubber band and securing a bottle cap to the spoon, children can create a miniature launching device. When they press down on the spoon and release it, the stored energy in the rubber band propels the bottle cap and provides an exciting introduction to basic physics concepts.
- Materials: Plastic spoon, bottle cap, rubber bands, and a small object.
- Instructions: Attach one end of the rubber band to the bottom of the spoon handle and the other end to the base of the spoon. Place the bottle cap on the spoon, press down on the spoon, and release to launch the object.
#3 – Craft Stick and Bottle Cap Catapult
The Craft Stick and Bottle Cap Catapult is a creative DIY project that combines craft sticks and a bottle cap to create a simple yet effective launching device.
By stacking and securing craft sticks together with rubber bands, you form a sturdy base for the catapult. The catapult can launch small objects with surprising force and is a fun way for kids to explore basic engineering principles through hands-on experimentation.
- Materials: Craft sticks, bottle caps, rubber bands, and a small object.
- Instructions: Stack several craft sticks and secure them with rubber bands at each end to create a sturdy base. Attach one end of a rubber band to the top of the stack and the other end to the inside of the bottle cap. Place your launch object in the bottle cap, pull back on the cap, and release to launch.


#4 – Paper Plate Catapult
This ingenious device demonstrates basic principles of physics and engineering, teaching kids about levers and energy transfer as they launch small objects into the air.
With its easy construction and exciting launching action, the Paper Plate Catapult provides hours of fun while fostering a deeper understanding of science concepts.
- Materials: Paper plate, plastic spoon, rubber bands, and a small object.
- Instructions: Cut a small slit on the edge of the paper plate. Attach the spoon to the plate by inserting the handle through the slit. Secure the spoon in place with rubber bands. Place your launch object in the spoon, press down on the plate's rim, and release to launch.

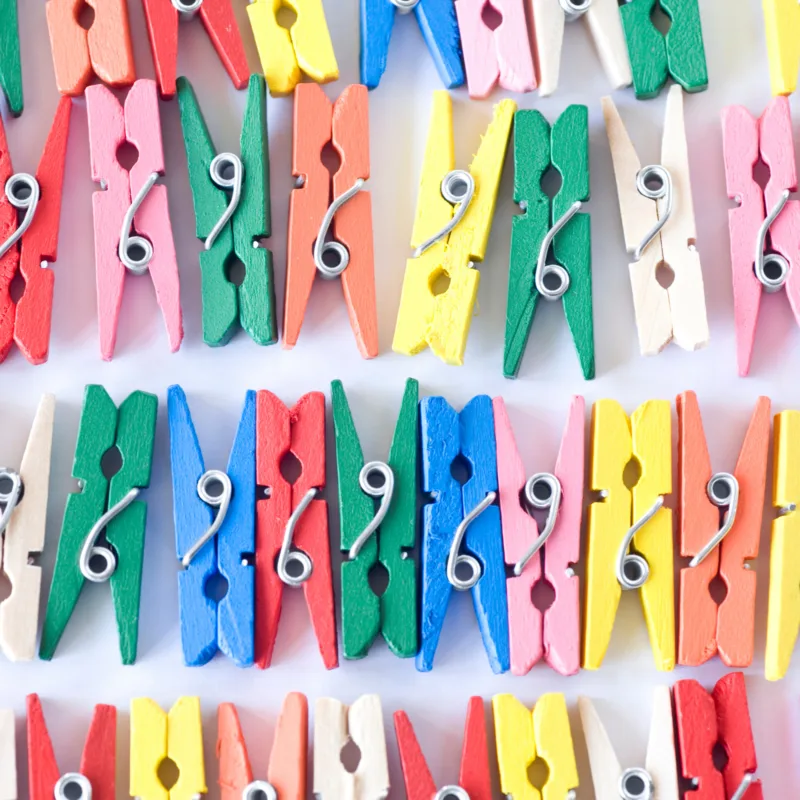
#5 – Clothespin Catapult
By attaching craft sticks to a clothespin and adding rubber bands for tension, children can explore basic principles of physics and engineering while learning how to launch small objects with precision.
This simple yet effective design encourages experimentation and problem-solving as kids adjust the catapult to achieve different distances and angles for their launches.
- Materials: Clothespin, craft sticks, rubber bands, and a small object.
- Instructions: Attach two craft sticks together in an “X” shape. Attach one end of a rubber band to the top of the “X” and the other end to the clothespin. Place your launch object in the clothespin, press down on the clothespin, and release to launch.

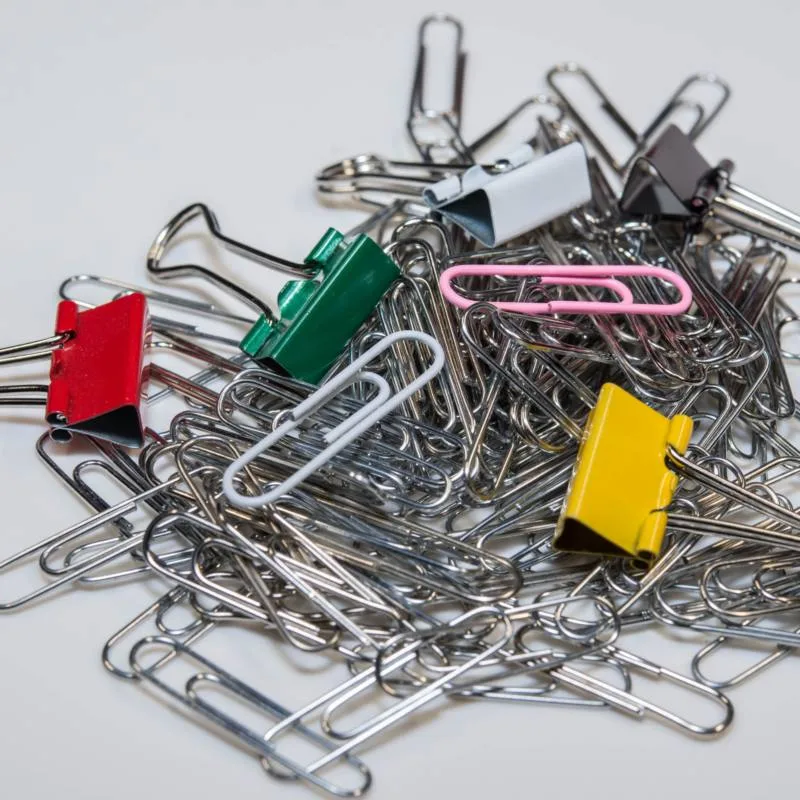
#6 – Binder Clip Catapult
By attaching craft sticks to the arms of a large binder clip and adding a rubber band, it transforms into a simple yet effective catapult. Kids can experiment with different launch angles and object sizes to learn about the principles of physics and engineering while having fun.
- Materials: Binder clip, craft sticks, rubber bands, and a small object.
- Instructions: Attach craft sticks to the arms of a large binder clip, creating a lever arm. Attach a rubber band to the top of the lever arm and the other end to the base of the binder clip. Place your launch object in the clip's jaws, press down on the lever arm, and release to launch.
These catapult designs offer varying levels of complexity, allowing kids to experiment with different materials and learn about how simple machines like levers and springs work.
They can also have fun adjusting their catapults to see how far they can launch objects. Always emphasize safety and responsible play while conducting these activities.
Catapult Competitions and Beyond
Once you've mastered the basics, why not take your catapult-building skills to the next level? Catapult competitions, where engineers and enthusiasts gather to launch all manner of objects, are gaining popularity. From pumpkin chuckin' contests to precision shot-put challenges, there's a catapult competition for everyone.
But the fun doesn't stop there. Imagine using your DIY catapult for educational purposes, demonstrating physics principles to young minds. It's hands-on learning at its finest, and you get to be the catapult captain!
In conclusion, catapult designs have come a long way from their ancient origins. They've evolved from instruments of destruction to tools of innovation, and even DIY projects that entertain and educate. As we look to the future, who knows what astonishing advancements await us in the world of catapults? So, keep your eyes on the horizon and your fingers ready to launch the next era of catapult designs!
Catapults for Kids