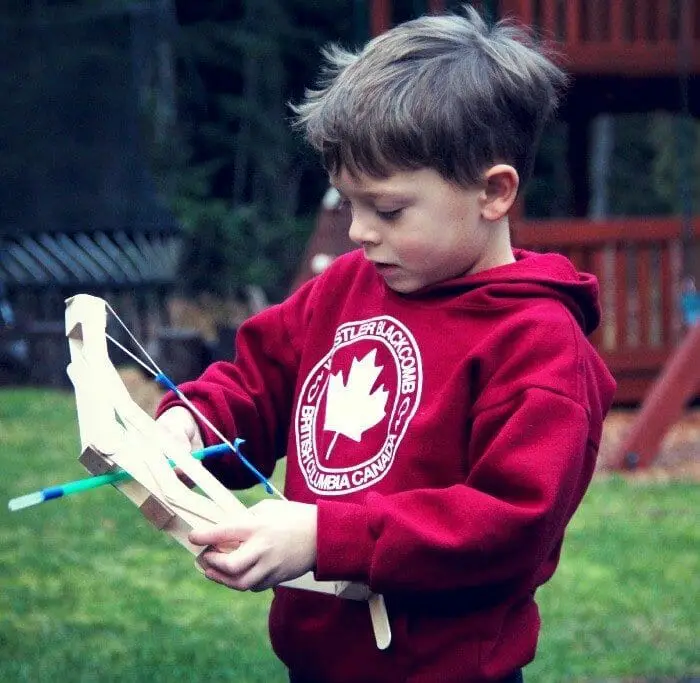
What a perfect time of year to do a fun project based engineering project with kids? My kids recently learned about bridges and caught the engineering bug. This how to make a bow and arrow post will make your kids smile this Valentine's Day (maybe even more than chocolate).
How to Make a Bow and Arrow
You'll find there are many ways to make a bow and arrow. This example is simple and easy for kids to build.

“Failure is so much more interesting because you learn from it. That's what we should be teaching children at school, that being successful the first time, there's nothing in it. There's no interest, you learn nothing actually.” ~ Sir James Dyson
How to Make a Bow and Arrow with Kids
This version of a bow and arrow is a “truss based” bow frame. For the arrow, use a straw with a weight at the tip. The straw should be able to launch 10-15 feet at least. Please be sure to remind your children to avoid aiming the arrow at any sensitive target like a person or breakable object!
Materials Needed to Make a Bow and Arrow
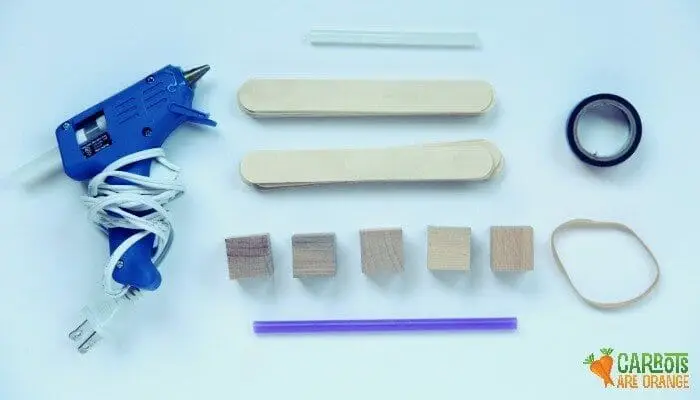
- 12 Craft Sticks
- 2 Half Craft Sticks
- 5 1/2-1 inch wooden blocks
- Glue gun stick
- Sturdy straw
- Glue gun
- Rubber Band
- Tape
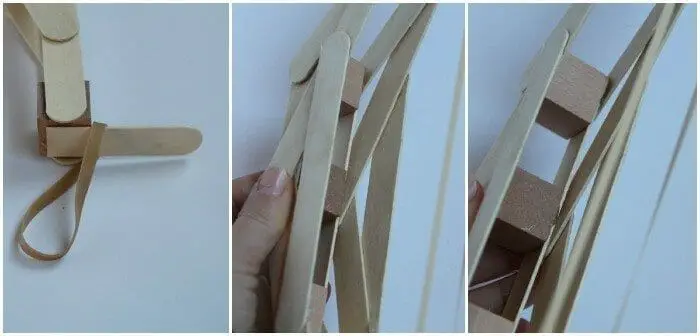
How to Make a Bow and Arrow Approach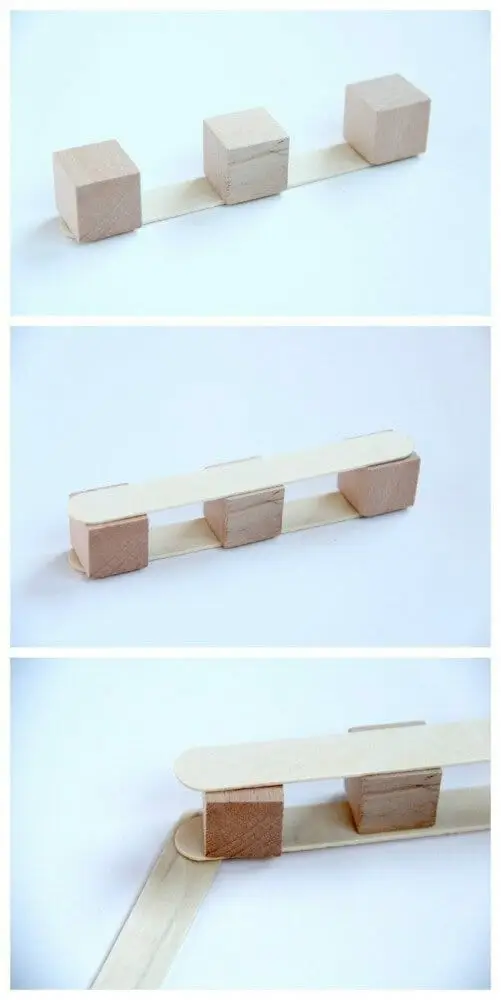 Place a craft stick on a flat surface and hot glue three blocks equidistant from one another.
- Place another craft stick on top and hot glue it onto the blocks
- Get two more craft sticks and glue out from each end of the bottom of the original craft stick
- Now you want to make sure the bow is strong enough to hold the tension of the rubber band. So, you will reinforce the bow by adding three craft sticks on each side in the shape of a wide letter “a” (see the bottom image in the below collage)
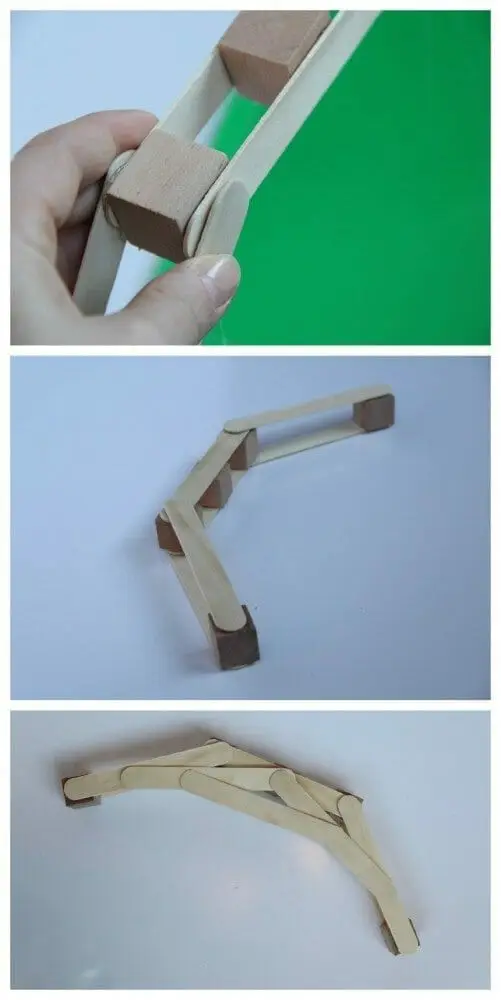
Now it is time to use your two half craft sticks. Hot glue a half craft stick on each end of your bow with the rounded end of the craft stick pointing up on the outside of your bow. You will hook your rubber band around these half craft sticks.
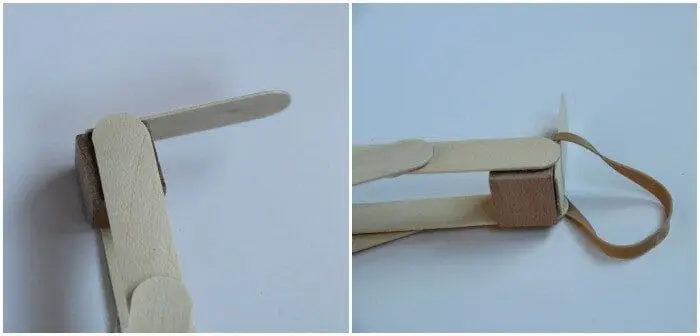
- From here, you stretch your rubber band around each end to get your nice taut rubber band for launching. This is where all the energy is stored for your arrow.
- Tape the rubber band together to strengthen it and make it easier to launch your arrow
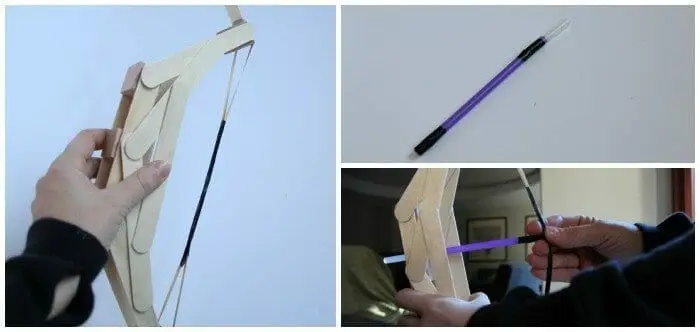
- Now it is time to make your arrow. Grab the straw. Cut a small slit in the end to make sliding the glue stick into the straw a bit easier. The glue stick weights the arrow to give it momentum to shoot through the air.
- Wrap the other end of the straw with tape and cut two slits on each side for the rubber band as you prepare to launch
- Load your arrow and pinch your fingers onto the rubber band
- Pull back and launch the beauty!
Science Behind the Bow and Arrow
A bow and arrow demonstrate physics. Specifically, the concept of energy transformation and momentum. The energy stored in the bow and arrow is called kinetic energy.
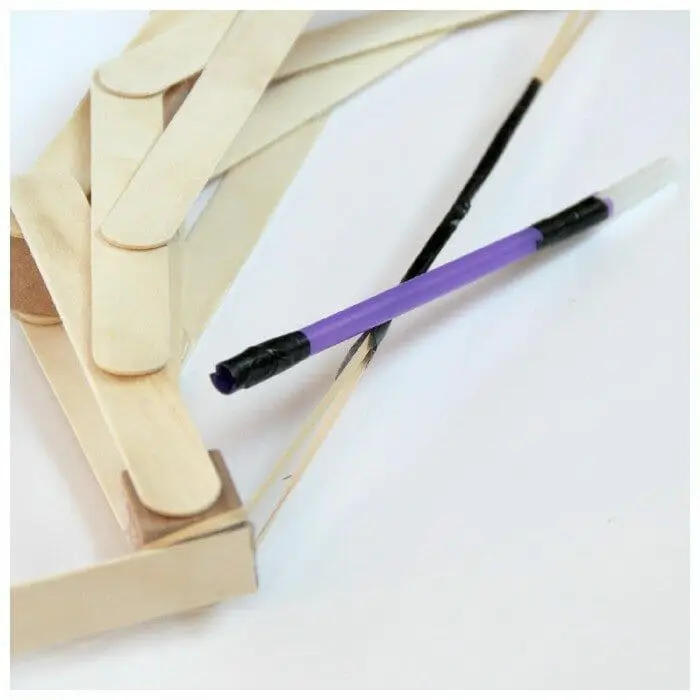
Further Bow and Arrow Experimenting
- Test different materials such as various sized craft sticks, wooden blocks, straws, and rubber bands. How do these changes impact the trajectory or the functionality of the bow and arrow?
- Try pulling back the arrow at different speeds and distances
- What happens when we add a rubber band?
- What if we didn't weigh the arrow with a glue stick? (The air would catch the arrow, slow it down, and prevent it from going any meaningful distance.)
- Make it fun by allowing children to design their own bow and arrow with markers and paint
- Create a target range for children. Make it a game!
I hope you found this tutorial useful and easy to follow! Check out my favorite engineering books for kids for more amazing science and engineering projects for kids!
Marnie

