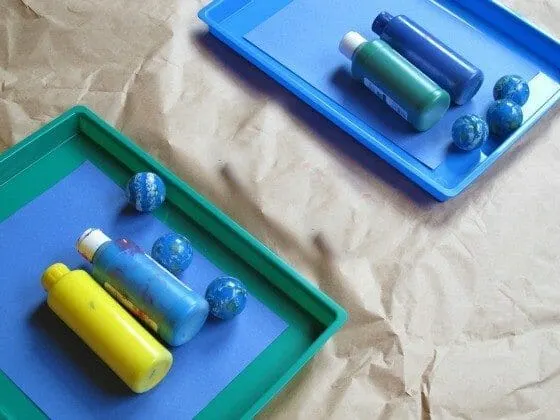
This project evolved in my mind over a few weeks. I wanted to do an art project that integrated and simulated the earth’s rotation. Honestly the result passed my expectations.
Not only was the project fun for my boys, it combined science with sensory and gave me beautiful prints to display in my sons’ art gallery. I’m excited to share it with you.

Earth Day Art Activity Materials
- Craft work tray
- Earth toned paints
- A round object that roll (e.g. a ball)
- Paper
- Small amount of glue
- Sand
- Frame (optional)

Earth Day Art Activity Approach
- Place the tray onto butcher block paper or a mat on the floor or a table
- Place a piece of paper in the tray
- Squirt paint on the paper
- Add a small amount of glue
- Add sand
- Add your round objects (we used earth bouncy balls)
- Invite your child over to the tray
- Demonstrate by turning the tray and allowing the ball to move on its own
- Also roll the balls through the materials
- Once done exploring, allow time to dry

Display Your Earth Day Texture Art
If you want to display in your home, here is how I chose to do it:
- I took a piece of white card stock, traced a circle and then cut it out.
- Once the pieces were dry, I laid the card stock with the hole on top of the earth ball art
- Put both pieces into a frame
- Display as you desire

My boys truly enjoyed the process and I truly enjoyed the gorgeous result. I loved the fact that there is texture to the final piece with the mix of sand and glue creating what looks like mountains and valleys. There was texture with the sand and gooey paints, plus science learning.
We talked about the earth’s rotation, land forms, physics and earth day topics. We ended the activity with a bubble bath. I read them two of our favorite earth day books: Sofia’s Dream by Land Wilson and Green Start: Little Helpers
.
If you want more ideas and inspiration, check out my other Earth Day Activities and my Earth Day Pinterest Board.
Related Reads
Thanks for visiting!
Marnie

