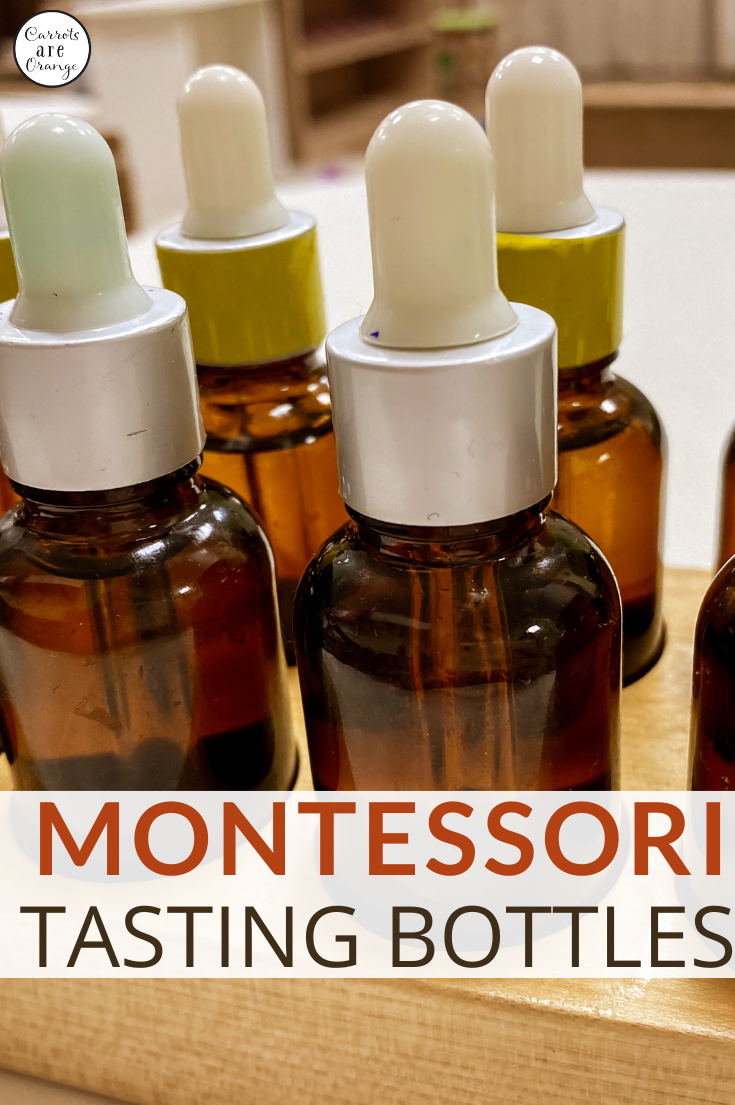
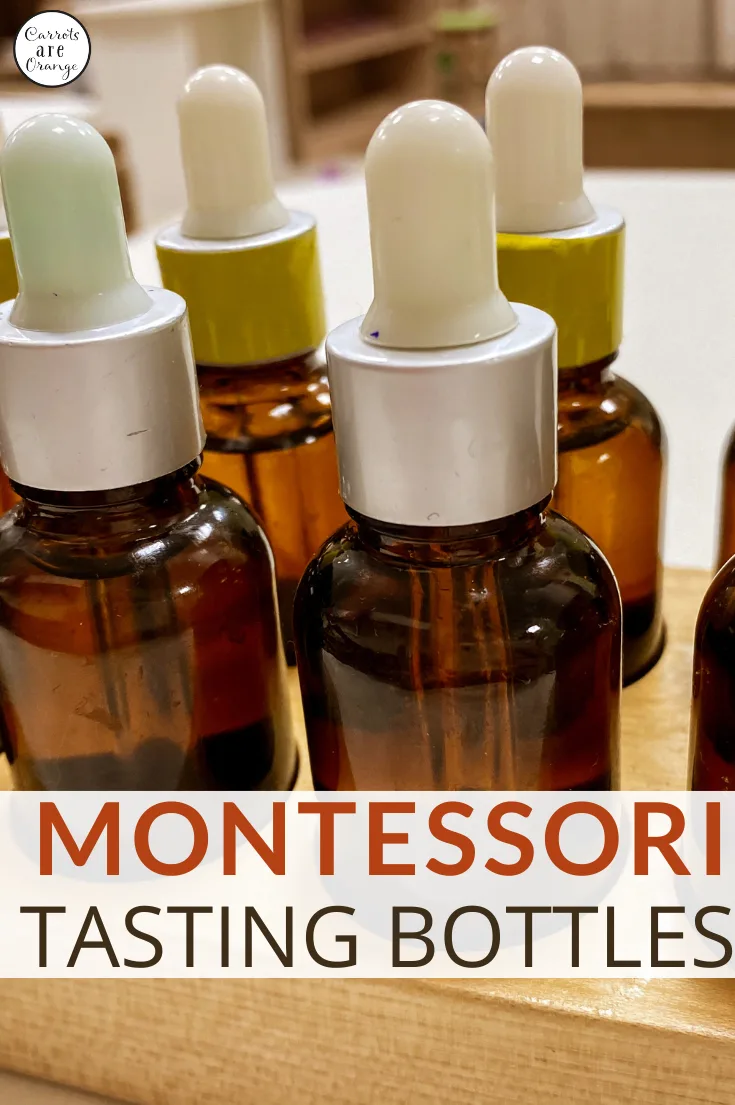
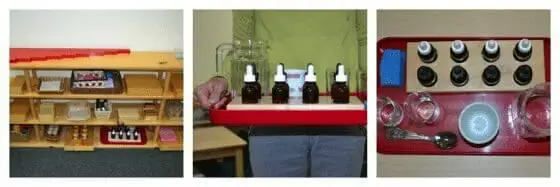
In Montessori sensorial education, tasting bottles are a material used to help children develop their sense of taste and refine their ability to discriminate between different flavors. Tasting bottles consist of a set of small bottles or containers filled with various food or drink samples, each representing a different taste or flavor.
The purpose of tasting bottles in Montessori education is to assist children in refining their sense of taste and expanding their palate. Through tasting different flavors, children develop their ability to discern taste differences, enhance their sensory awareness, and explore the variety of tastes found in the world around them.

Montessori Tasting Bottles have a love/hate relationship in the classroom. The tastes included in the original work are not exactly what most taste buds jump for joy to try out. Still, this gustatory work develops and refines a child's sense of taste in a remarkable way.
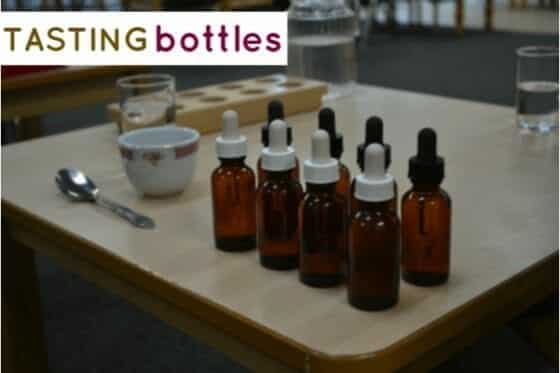

You can buy a beautiful set of Tasting Bottles and Tray for an extremely reasonable price from Montessori Services but this material is quite easy to create.
Montessori Tasting Bottles Lesson

- Invite the child to the sensorial area. Identify exercise. Have the child get a good drink of water.
- Have the child fill a pitcher with water, and then pour a glass for the taster and a bowl for rinsing the spoon.


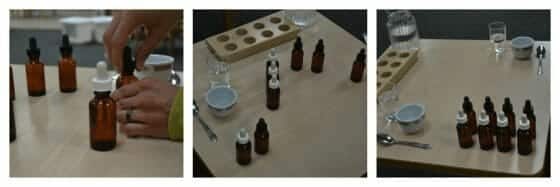
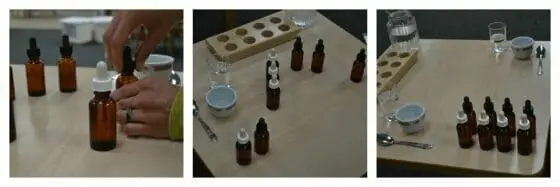
The Tasting Bottles Lesson: Presentation I – Initial Tasting


- Sit facing the child if possible.
- Remove the bottles one at a time with a dominant 3-finger grip.
- Line the bottles up horizontally.
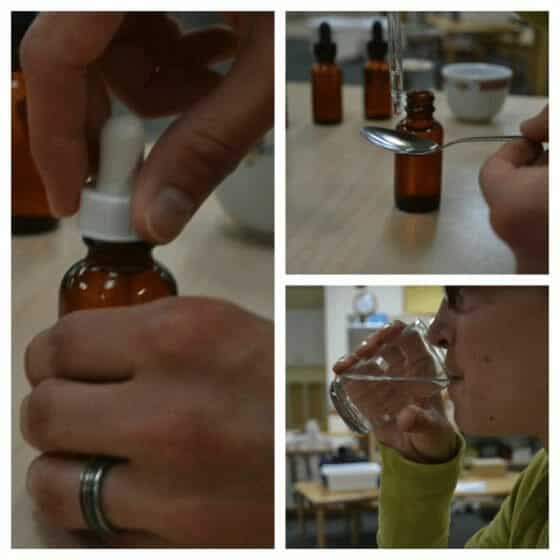
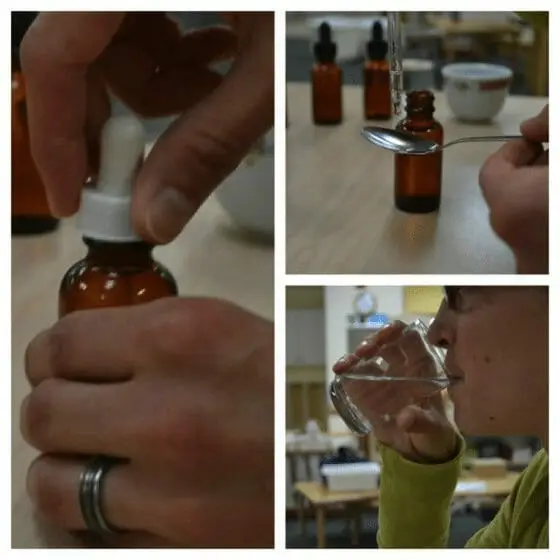
- Pick up the left bottle with a 3-finger grip.
- Open it with a 3–finger grip.
- Squeeze one drop into the spoon.
- Taste it, looking thoughtfully, then take a drink of water.
- Offer the child a turn and take a drink of water: “What did it taste like to you?”
- Close the bottle tightly.
- Move to the next bottle.
- Repeat with remaining bottles.
- Name the tastes: “sweet, salty, sour, and bitter”.
- Put material away (bottle in the box, lid on the box, return to shelf). Wipe up spills and wash cup, spoon, and bowl.
The Tasting Bottles Lesson: Presentation II – Matching


- This presentation requires eight bottles/four pairs
- Remove bottles one at a time with a dominant 3-finger grip
- Place bottles in a horizontal line

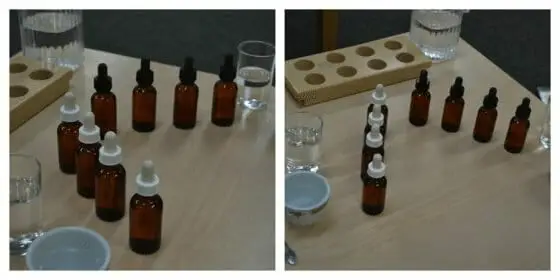
Move bottles into an inverted “V” with 1/2of one pair on one side and the other 1/2 on the opposite side


- Isolate control to the lower left
- “X, would you like to give Y a taste of this? Rinse your mouth first, Y, and then have another drink after you’ve tasted the drop.”
- “Now, Y, would you give X a taste? Rinse your mouth out before and after the taste. Now let’s see which of the bottles in the line tastes the same.”
- Repeat for each bottle/pair
- When all the bottles have been tasted by the children, they choose the matching bottle.
- If they disagree, the control and the bottle each child has chosen can be tasted again.
- The two bottles of the agreement are moved to the left.
- Isolate a control at the far left.
- Repeat the steps until each remaining pair is found.
- After matching, check by tasting again. Taste the left first and then the right bottle of each pair, working from the top down.
- Return the bottles to their box, wipe up any spills, close the lid, and return the bottles to the shelf.
- Wash the bowl and cup used during the exercise.


Tasting Bottle Extensions and Variations
As children become more proficient in taste discrimination, the Montessori guide may introduce additional activities. For instance, they might ask the children to combine flavors and create their own taste combinations, or to explore the taste profiles of different foods during snack times.
Through the exploration of tasting bottles, children engage their sense of taste and develop a more refined understanding of flavors. They learn to discriminate and identify different tastes, understand the concept of sweet, sour, salty, bitter, and umami, and appreciate the variety of flavors found in food and drink.
By providing hands-on experiences with concrete materials like tasting bottles, the Montessori approach promotes sensory exploration, observation, and vocabulary development. Children develop their fine motor skills, taste perception, and an appreciation for the diverse flavors in the world around them.
Additional Tasting Bottles Resources
- Montessori Tasting Bottles from FAC System via Amazon
- Tasting Bottles & Tray from Montessori Services
Related Reads
Best,
Marnie