Are you a teacher, parent, or homeschooler looking to provide your young learners with a hands-on and engaging learning experience using the Montessori approach? Have you also noticed that Montessori materials are expensive?
There is good reason for their expense but often the budget for the materials simply doesn't exist. So, we're on a hunt for as many amazing DIY Montessori ideas out there!
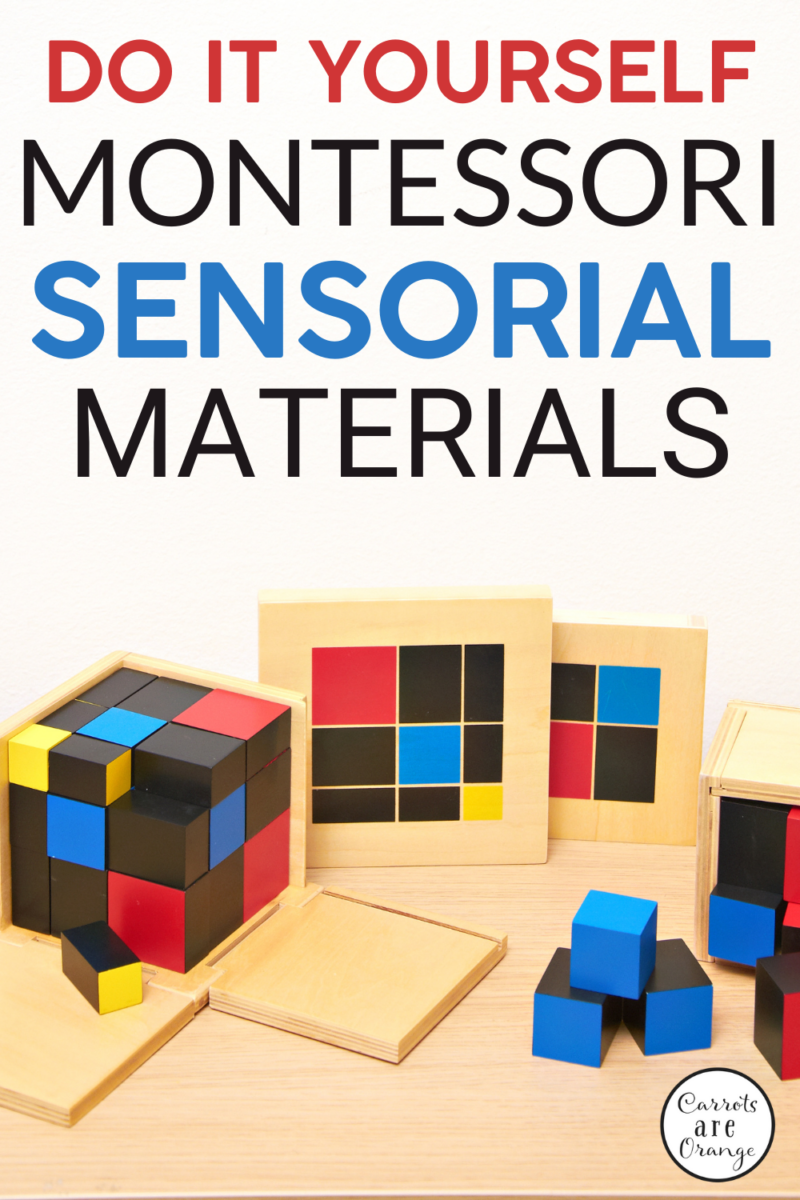

This post focuses on the Sensorial area. DIY Montessori sensorial materials are here to unlock a world of sensory exploration for your children.
These materials not only stimulate their senses but also enhance their cognitive, motor, and problem-solving skills. In this article, we'll guide you through the process of creating your own DIY Montessori sensorial materials, offering creative ideas and step-by-step instructions.
Let's dive in and discover the magic of hands-on learning!
DIY Montessori Sensorial Materials: Why They Matter
Engaging the Senses for Optimal Learning
As the old saying goes, “Tell me, and I forget. Show me, and I may remember. Involve me, and I understand.” DIY Montessori sensorial materials embody this philosophy, allowing children to engage their senses actively.
By utilizing sight, touch, hearing, smell, and even taste, these materials provide a multi-sensory experience that fosters deep understanding and retention of concepts.
Enhancing Cognitive and Motor Skills
DIY Montessori sensorial materials offer more than just sensory engagement. They also play a crucial role in developing children's cognitive and motor skills.
Through manipulating objects, sorting, categorizing, and comparing, young learners sharpen their problem-solving abilities and develop critical thinking skills. These materials provide a solid foundation for further academic and intellectual growth.
Creative Ideas for DIY Montessori Sensorial Materials
Texture Sorting Trays
Are you ready to create a DIY Montessori sensorial material that focuses on the sense of touch? Texture sorting trays are a fantastic option. Here's how you can make them:

- Gather materials: sturdy trays, various textured items (e.g., sandpaper, fabrics, sponges, plastic, wood), and glue.
- Cut the different textured items into small squares or circles.
- Glue each textured item onto a separate section of the tray.
- Invite children to explore the trays, feeling each texture and sorting the items based on their tactile qualities.
Color Matching Bottles
Colors are an excellent sensory element to incorporate into DIY Montessori sensorial materials. Color-matching bottles provide a captivating and educational activity for young learners. Here's how you can create them:
- Collect materials: clear plastic bottles (with secure lids), food coloring or liquid watercolors, water, and glue (optional).
- Fill each bottle with water, leaving some space at the top.
- Add a few drops of different-colored food coloring or liquid watercolors to each bottle.
- If desired, seal the lids with glue to prevent spills.
- Invite children to explore the bottles, matching and sorting them based on their hues.
Color Tablets
Kids will love this DIY Montessori Sensorial activity. Create sets of color tablets using construction paper or cardstock. Cut them into small squares or rectangles, and ensure you have a variety of colors for children to match and explore.
Texture or Touch Boards
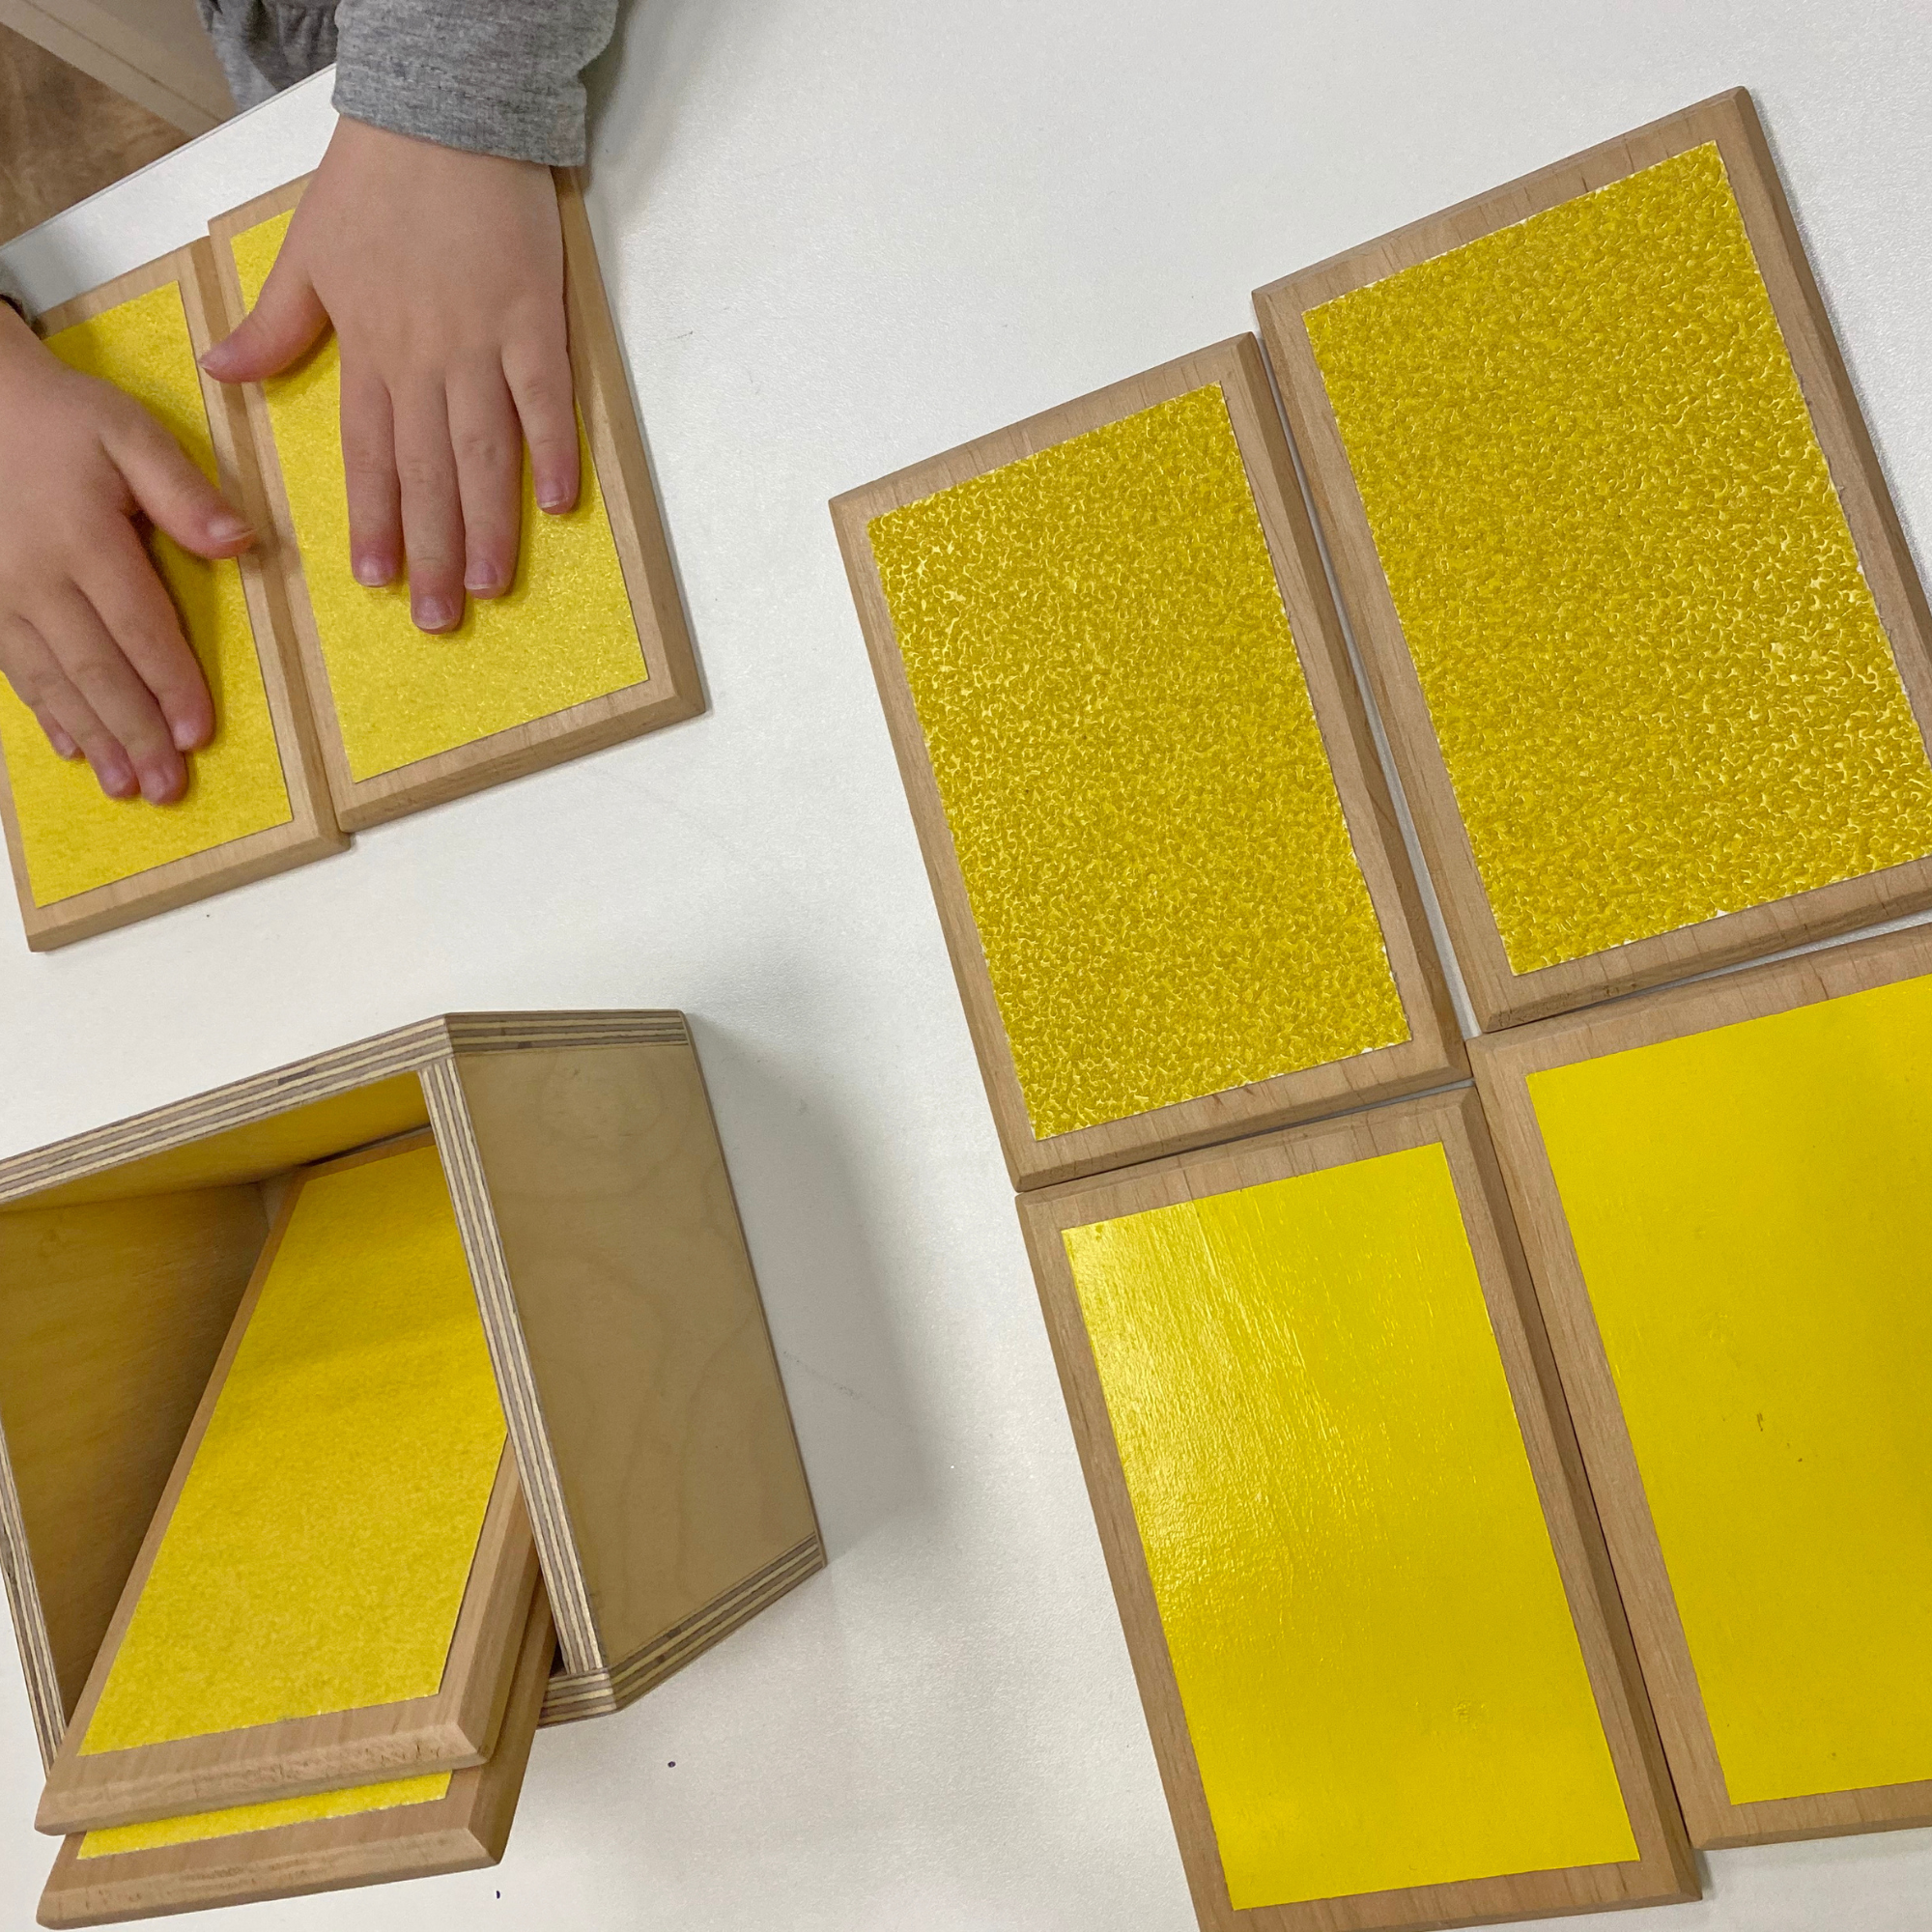
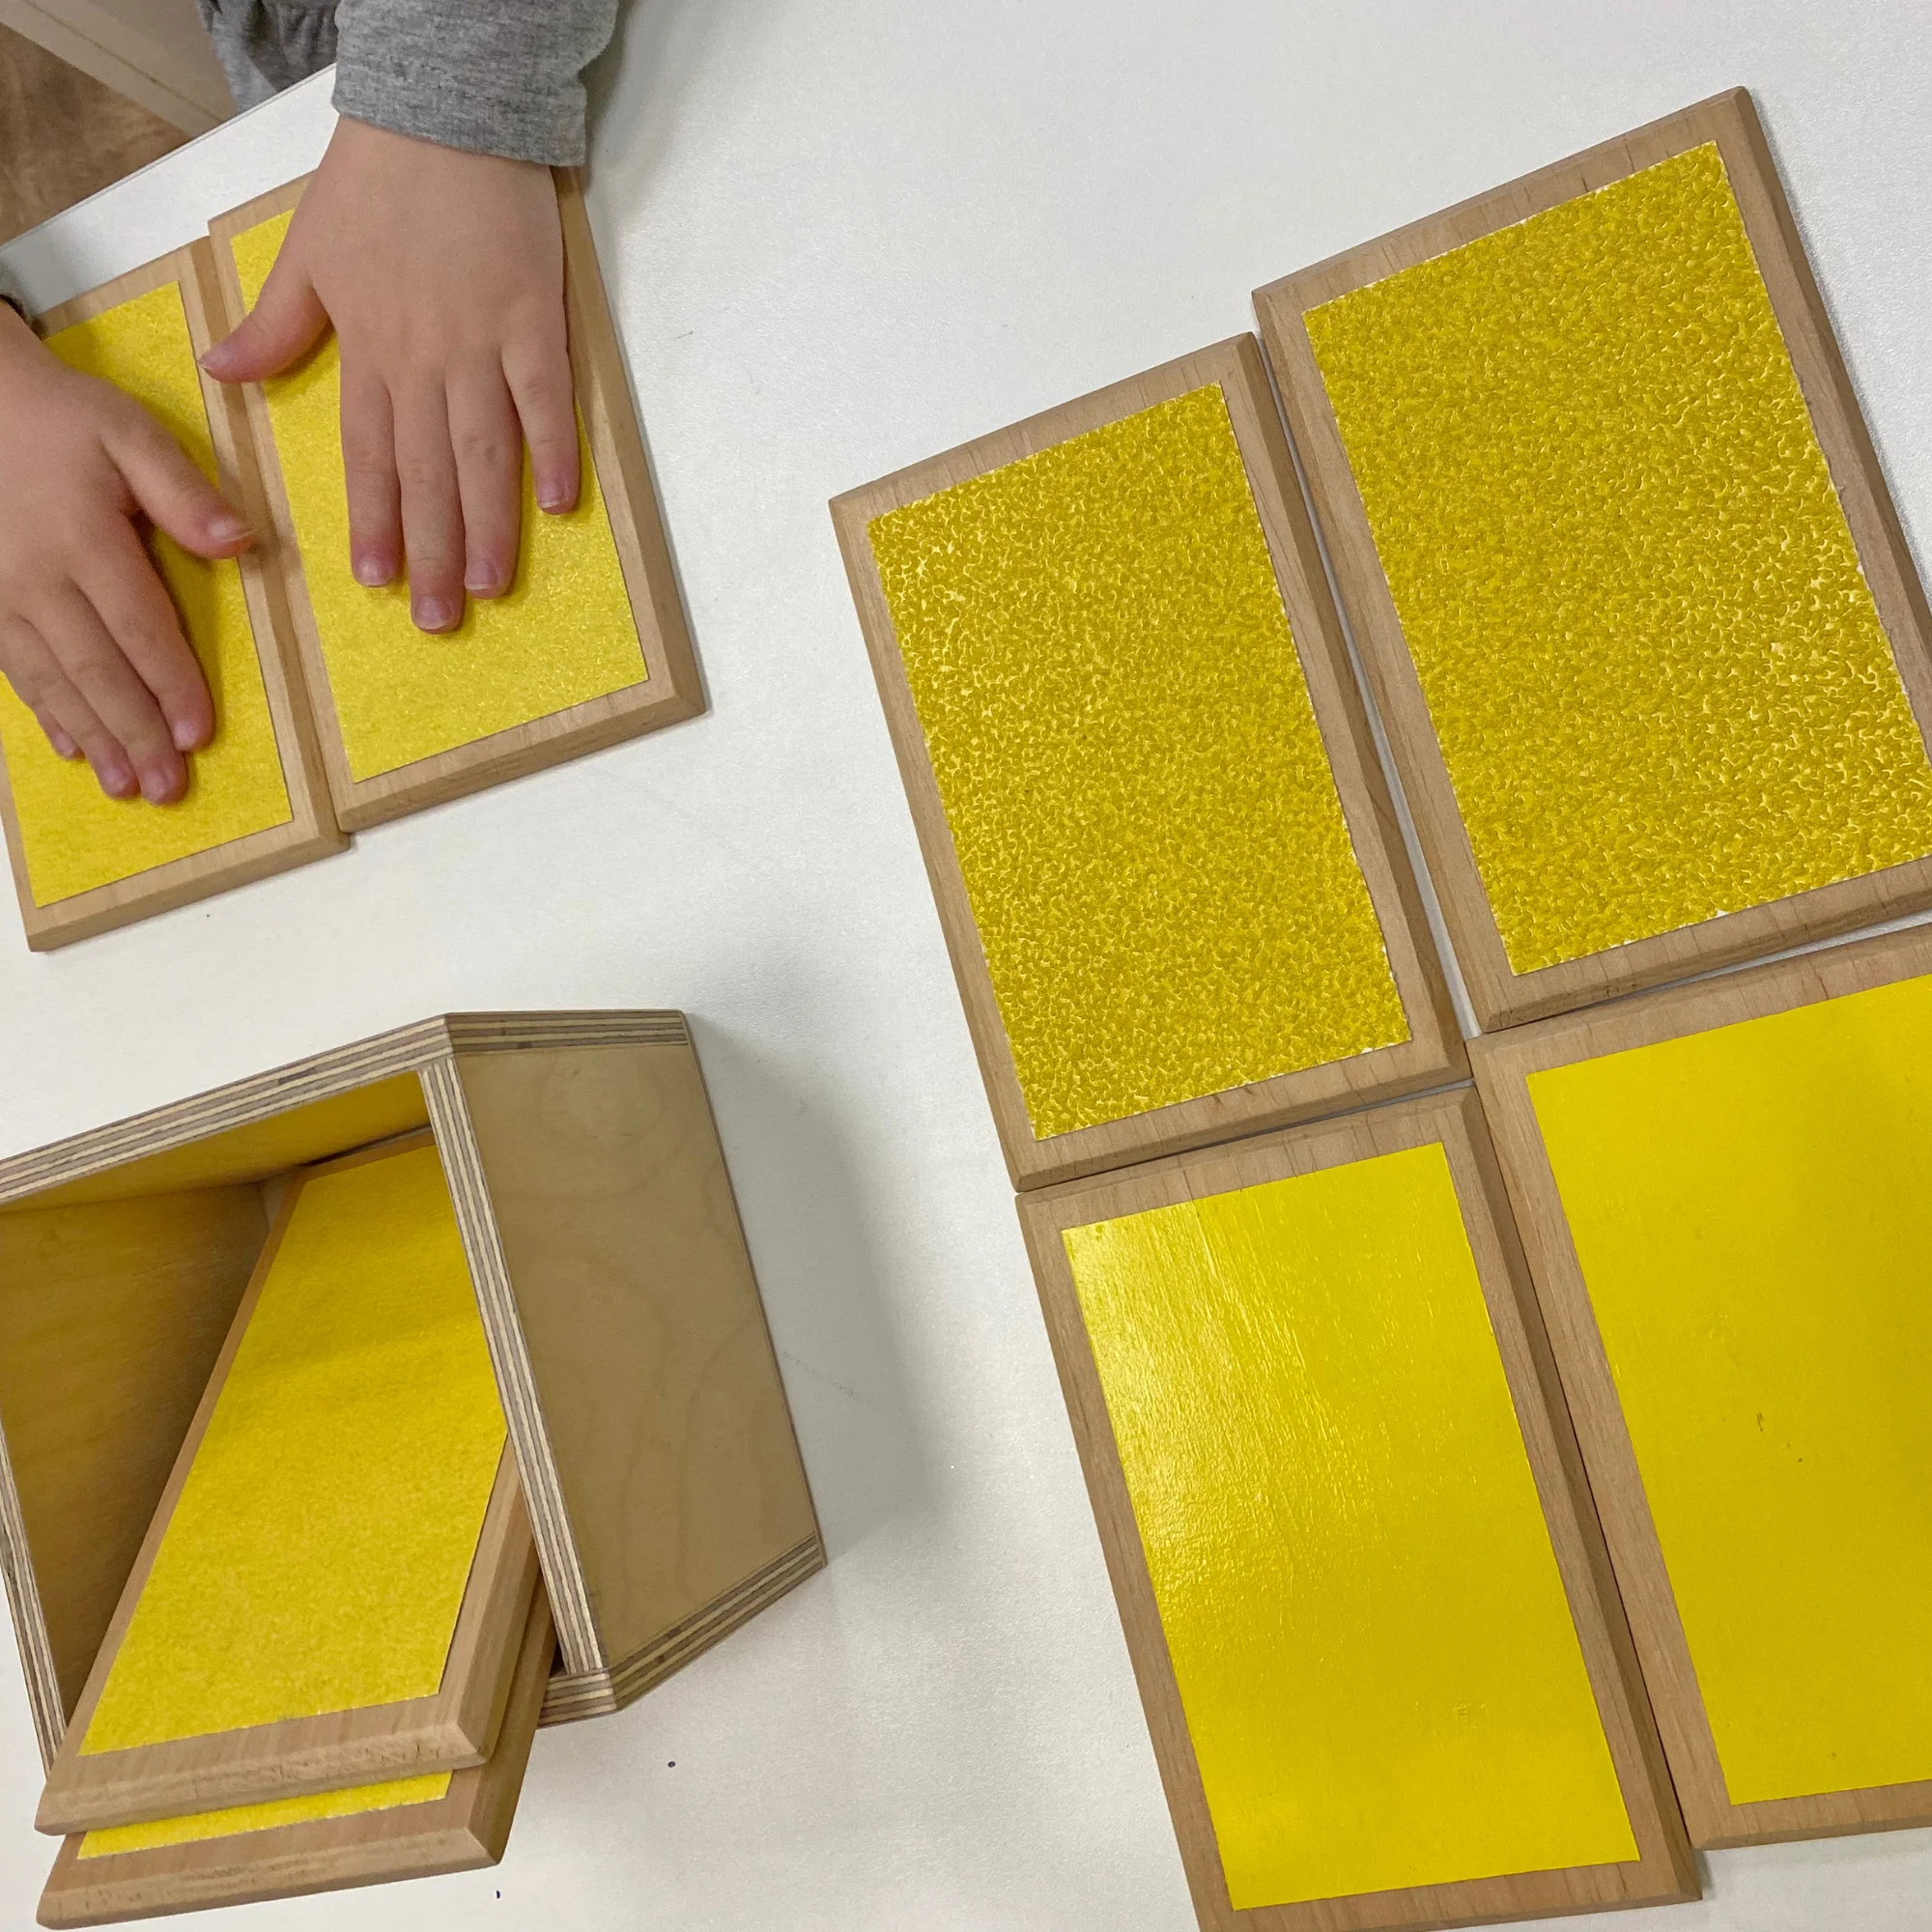
Collect different textured materials such as sandpaper, fabric swatches, sponge, aluminum foil, or fur. Glue each material onto a small wooden board or piece of cardboard to create a touch-and-texture exploration activity.
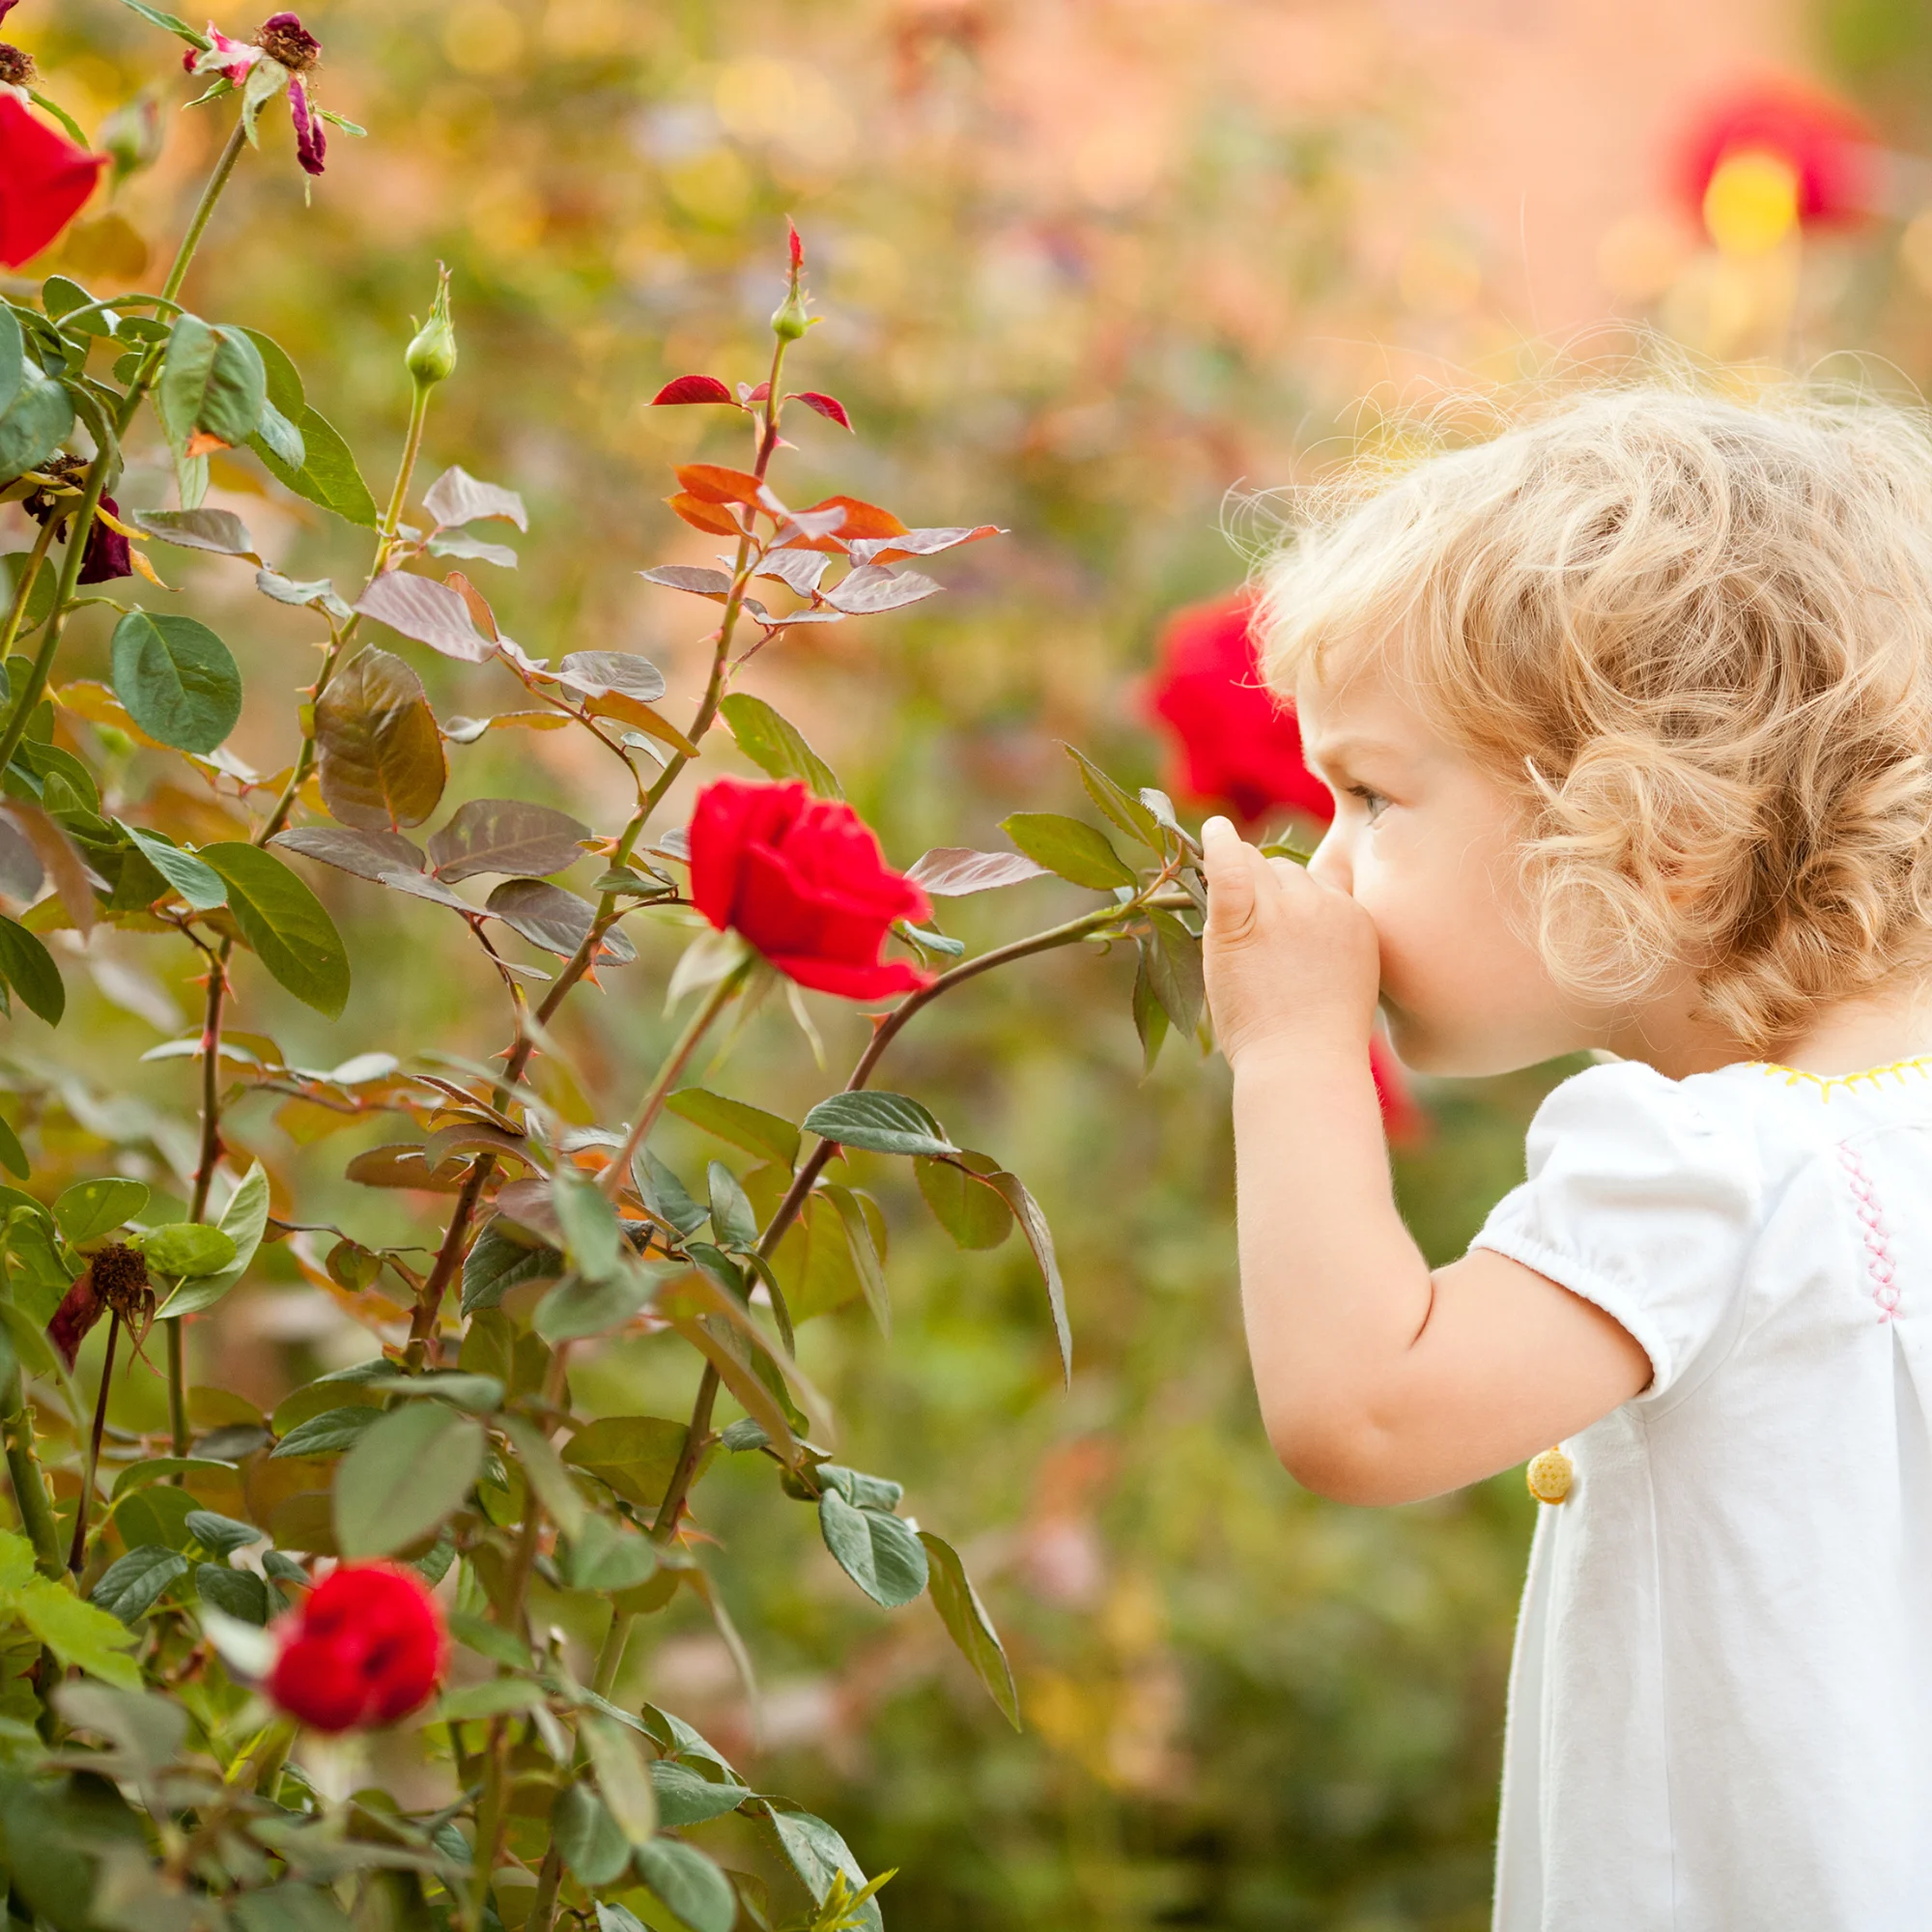
Smelling Jars
Smelling jars are a super fun DIY variation on a classic smelling bottle lesson. Use small airtight containers or jars and fill them with various scented items like spices, herbs, or extracts. Ensure the scents are safe and age-appropriate. Children can open the jars and explore the different smells.
Fabric Swatch Matching
An easy-to-do twist on a classic Montessori sensorial lesson using fabrics! Gather fabric swatches in different patterns and textures. Cut them into identical pairs and create a matching game where children can match the swatches based on their tactile qualities.
Thermic Bottles
Fill small bottles with warm or cool water to create thermic bottles. Children can hold the bottles and explore the different temperatures, comparing warm and cool sensations.

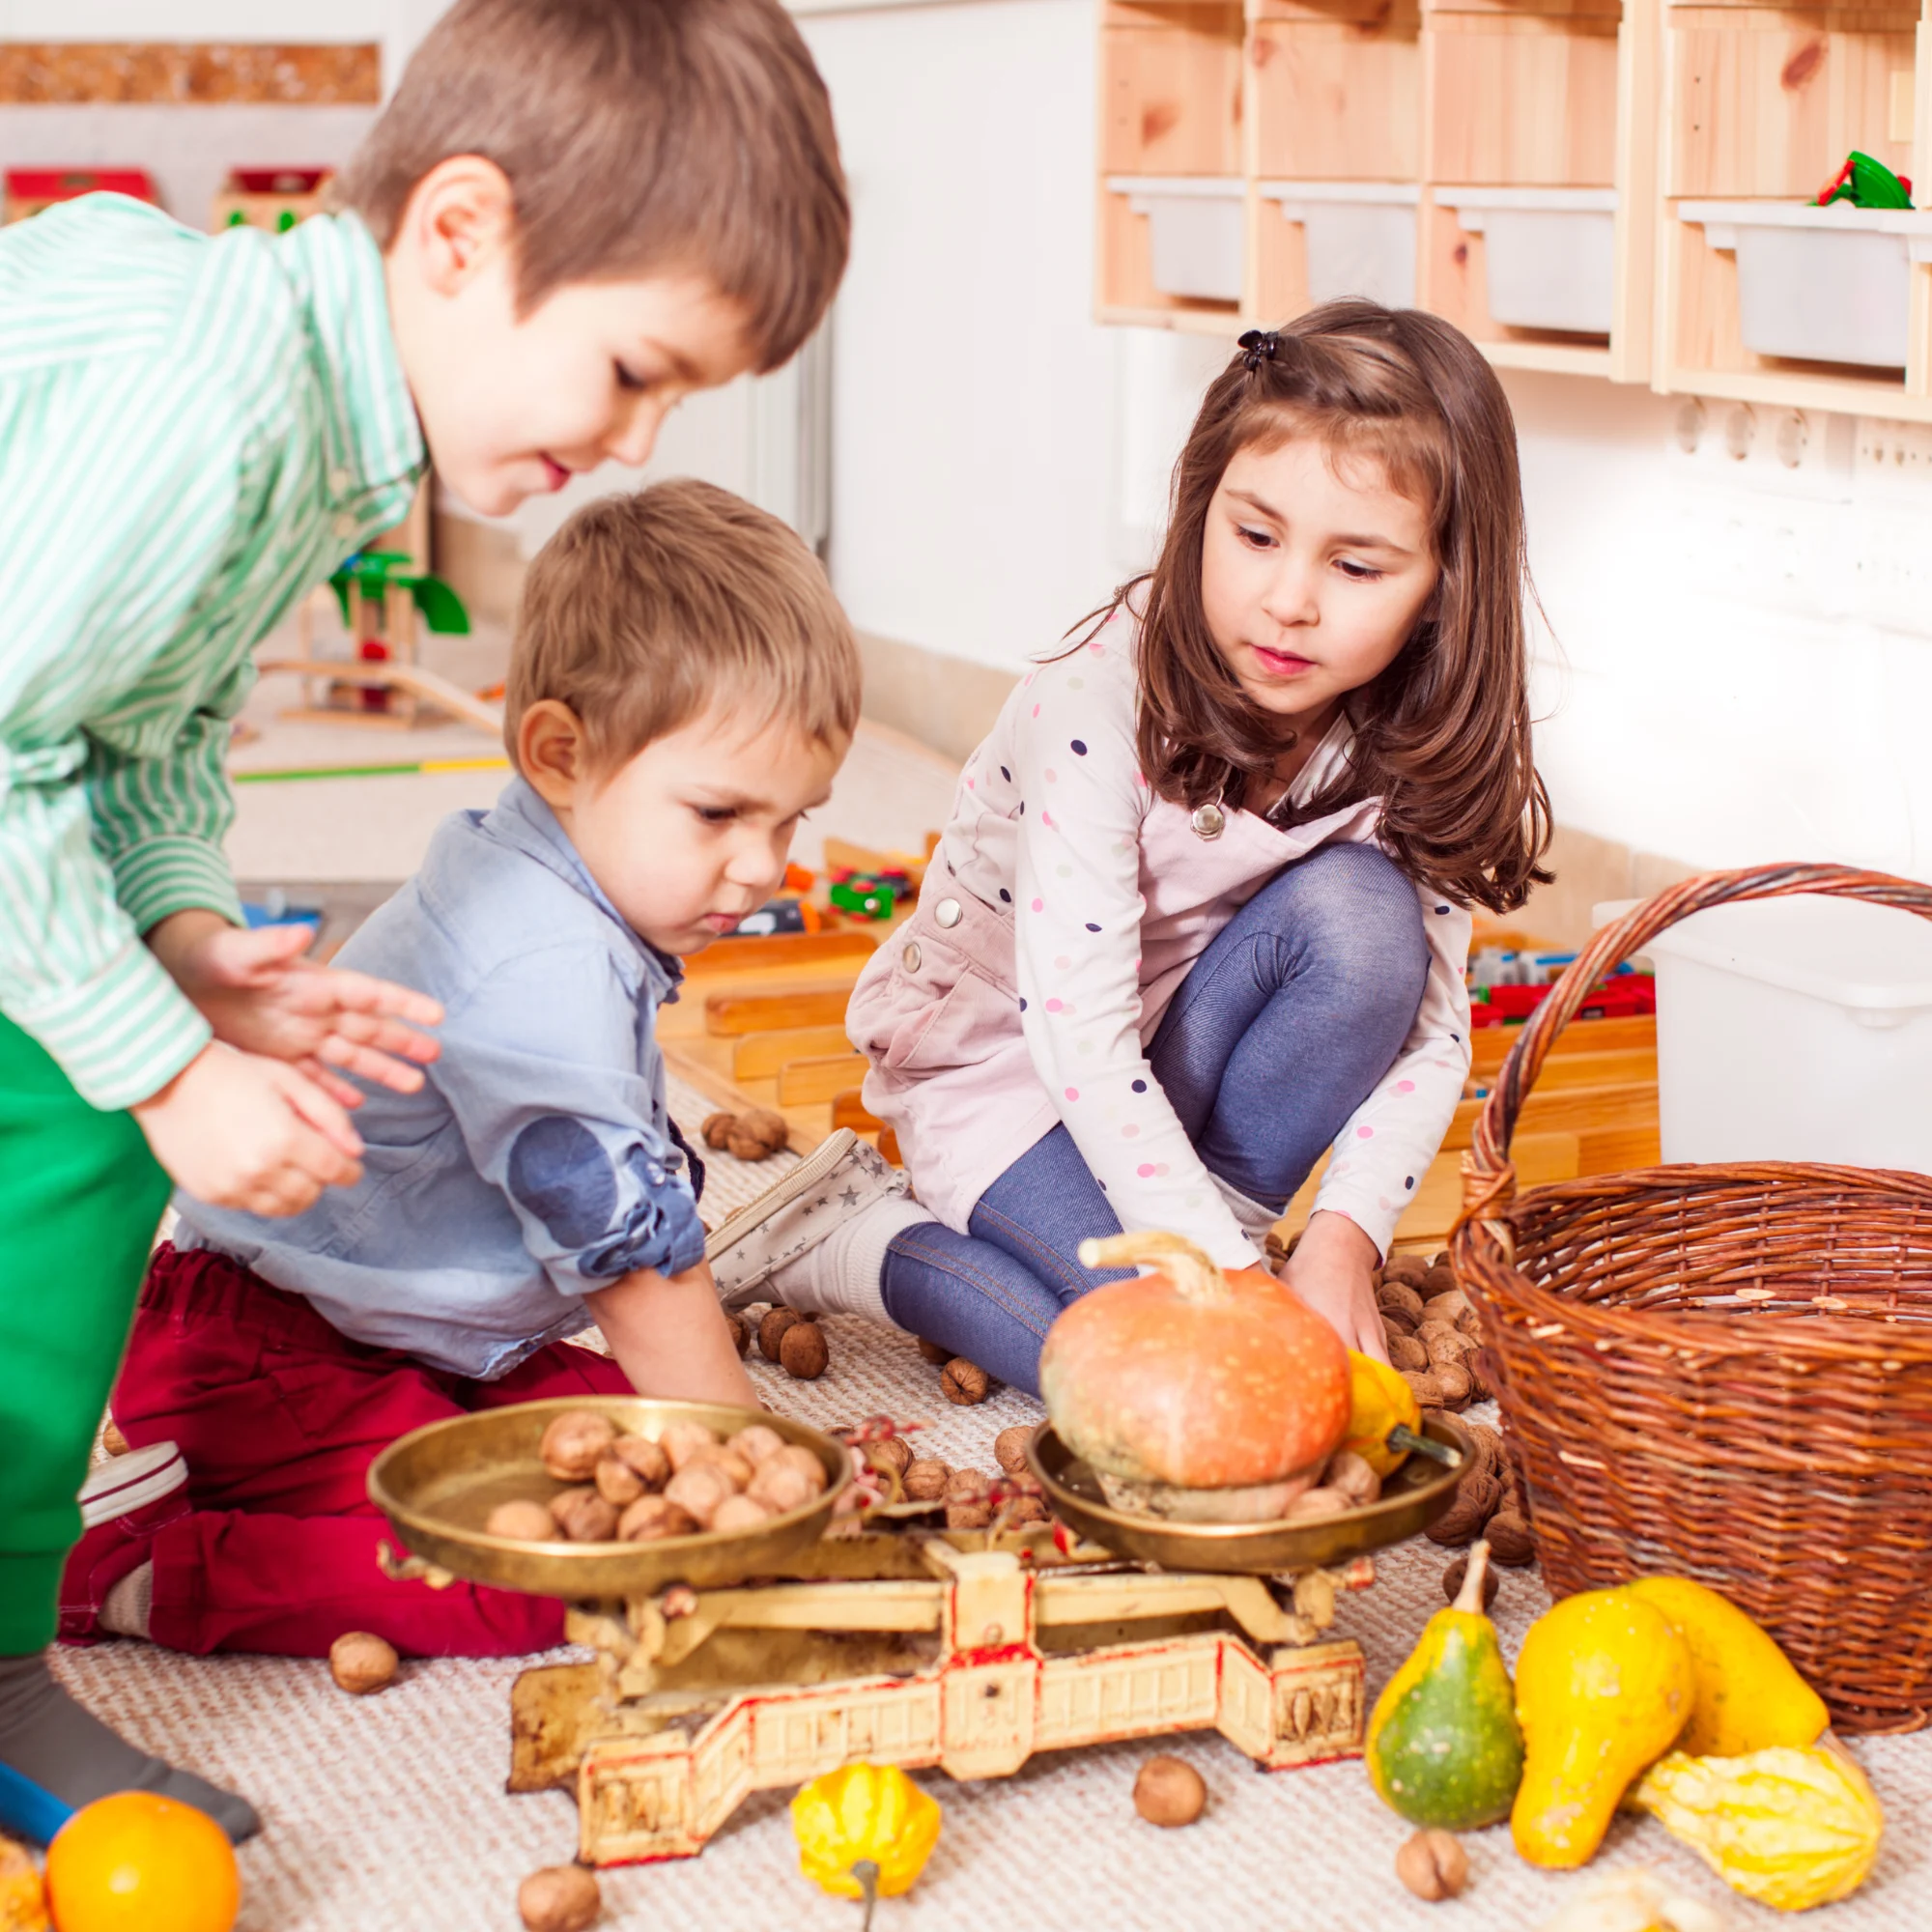
Weight or Balance Scale
Try this DIY extension on baric tablets and baric cylinders. Use a hanger or a wooden stick as the base, and attach two small buckets or containers to each end. Children can explore the concept of weight and balance by placing objects in each container and observing the balance or imbalance.
Step-by-Step Instructions for DIY Montessori Sensorial Materials
DIY Sound Cylinders
Sound cylinders are an essential Montessori sensorial material that focuses on refining children's auditory discrimination skills. Here's a step-by-step guide to creating your own:
- Gather materials: small opaque containers (e.g., film canisters, spice containers), various items that produce distinct sounds (e.g., rice, pebbles, bells, buttons), adhesive putty or tape.
- Fill each container with a different sound-producing item, ensuring they are tightly closed.
- Mix up the containers and invite children to shake them, identifying and matching the sounds.

DIY Tasting Bottles
Tasting bottles are a fantastic way to incorporate the sense of taste into Montessori sensorial activities. Here's how you can make your own:
- Collect materials: small, sealed plastic bottles, different food extracts or flavors (e.g., vanilla, lemon, mint), and water.
- Fill each bottle with water and add a few drops of a different food extract or flavor to each bottle.
- Seal the bottles tightly.
- Invite children to explore the bottles, identifying and categorizing the different tastes.
DIY Binomial Cube
Using wooden blocks or cubes of different sizes, create a binomial cube puzzle. Paint each cube with different colors and create a pattern that children can dismantle and reassemble based on the provided template.
DIY Montessori sensorial materials open up a world of sensory exploration for children, providing them with engaging, hands-on learning experiences. Through these materials, young learners develop their senses, cognitive abilities, and problem-solving skills.
By creating texture-sorting trays, color-matching bottles, sound cylinders, and tasting bottles, teachers, parents, and homeschoolers can foster a love for learning in their children while nurturing their holistic development. So, why wait? Unleash your creativity and embark on this exciting journey of DIY Montessori sensorial materials today!