Learn the Magic of the Montessori Binomial Cube! This post describes how to teach preschoolers math with the Montessori Sensorial Binomial Cube Lesson!
The Binomial Cube physically represents a mathematical equation and lays the foundation for developing later math skills.
Learn more about Montessori Sensorial in this self-paced eCourse
What is the Binomial Cube?
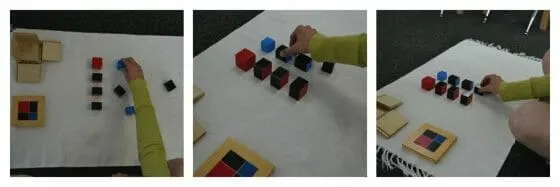
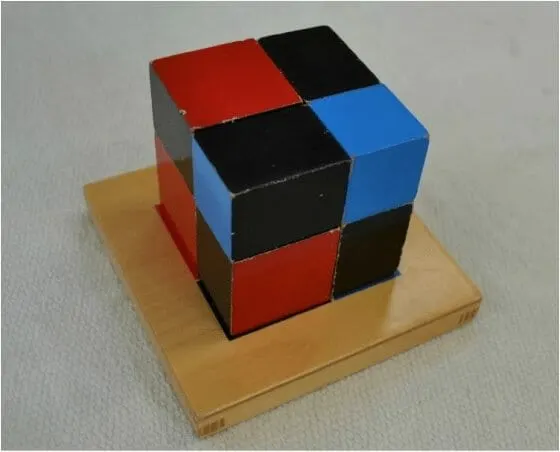
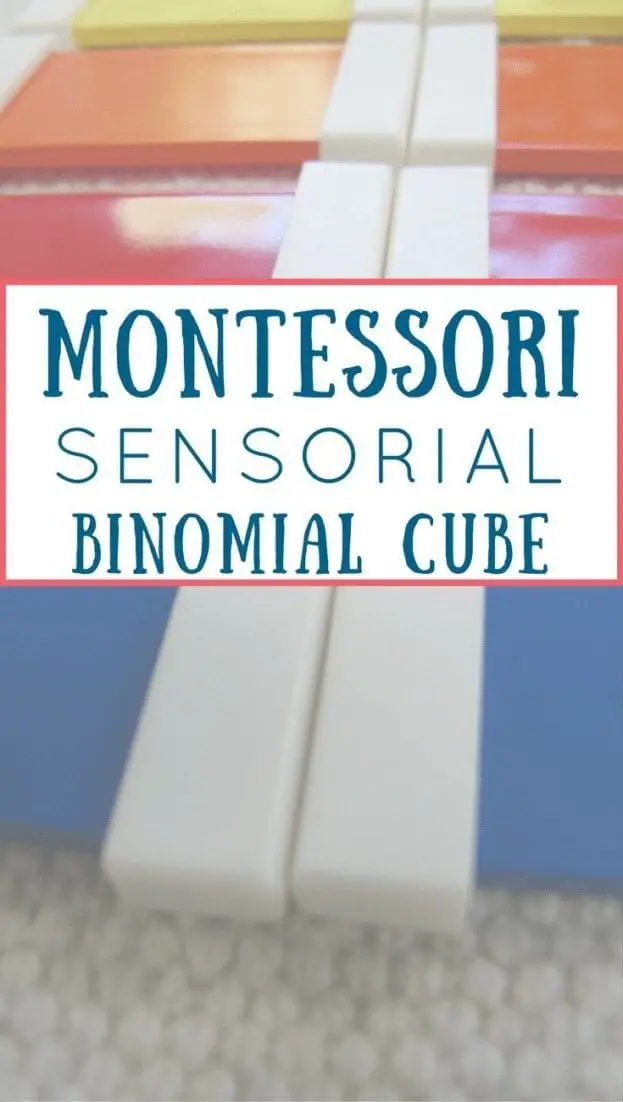
The cube of binomial is part of the sensorial area. It is a multi-pieced material, including eight pieces that create a larger cube. The binomial cube includes one red cube, three black and red prisms, three black and blue prisms, and one blue cube.
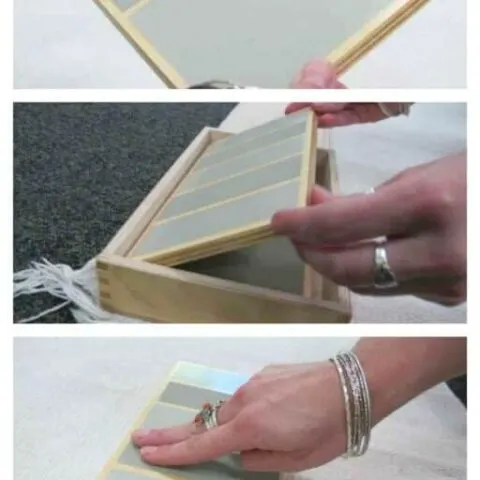
The pieces are stored in a hinged box with two sides that open. The color pattern of the cube is painted on the lid of the box.
The binomial cube physically represents the mathematical formula of (a + b)³ = (a + b) (a + b) (a + b) = a³ + 3a²b + 3ab² + b³.
Montessori Sensorial Binomial Cube Lesson
What are the steps to the Binomial Cube?
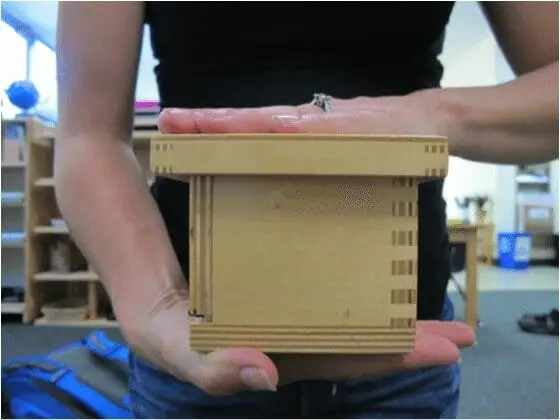
Lift the lid using both hands & place it next to the cube. Grasp the upper edge of each side of the box with 3-finger grip to open.
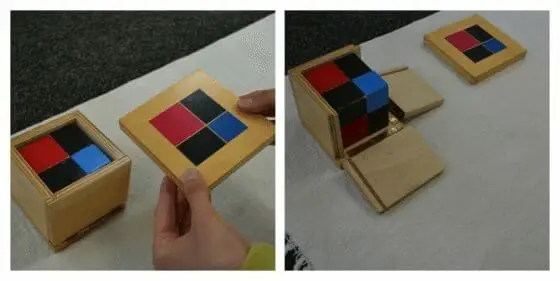
Using a dominant 3-finger grip remove all the cubes beginning at the right front point of the cube. Place randomly on the mat or table.
Sort by color: Start with the red cube and, to the right of the lid, forming a vertical line with the red prisms below it. There should be about an inch of space between each piece so the color can be clearly seen by the child. Repeat with the blue prisms.
PRESENTATION I
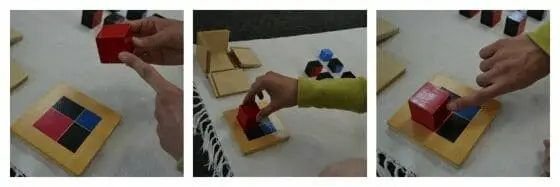
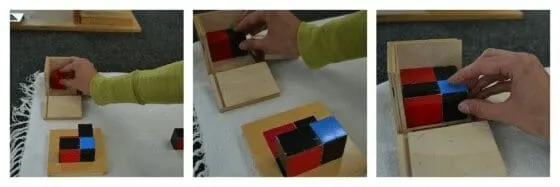
“Now I am going to build the cube. I will start with the red cube.” Place the rectangle on the red square of the lid. Point to the red: “Now I need to match this color.”
- Point to the side bordering it: “And I need to match this color.”
- Look at the line of red prisms and select the appropriate one. Move it with a 3-finger grip.
- Touch the side of the cube on the box and the side of the prism to emphasize that they are the same color: “Same.”
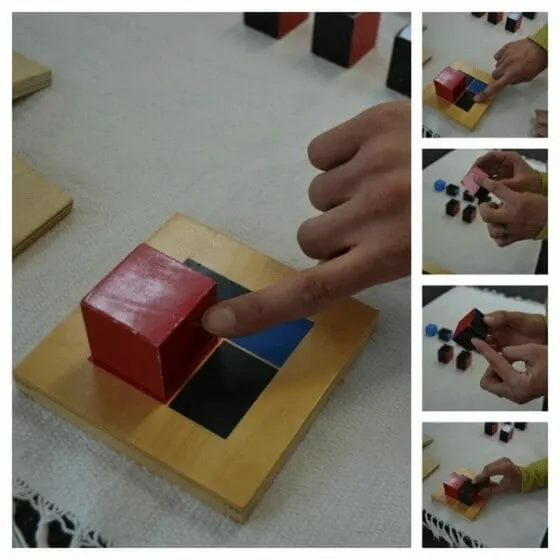
- Place the outer right edge of the prism against the edge of the rectangle and slowly lower the inner edge of the prism down on the rectangle and against the cube to make sure the child sees the colors matching.
- Move to space at the lower left, repeat, then lower right, repeat. Point to both prisms that border the space and the blue square on the lid.
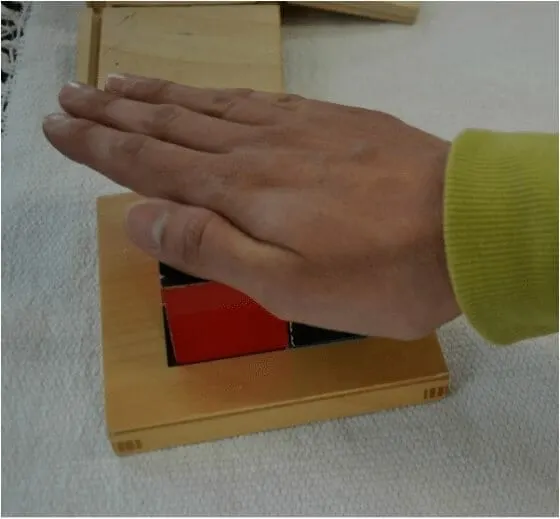
The bottom layer is now complete. Lay right hand gently on the top to emphasize it is flat.
“Now let’s put this layer back in the box. I will start with the red cube.” Place the prisms back in the order the layer was built.
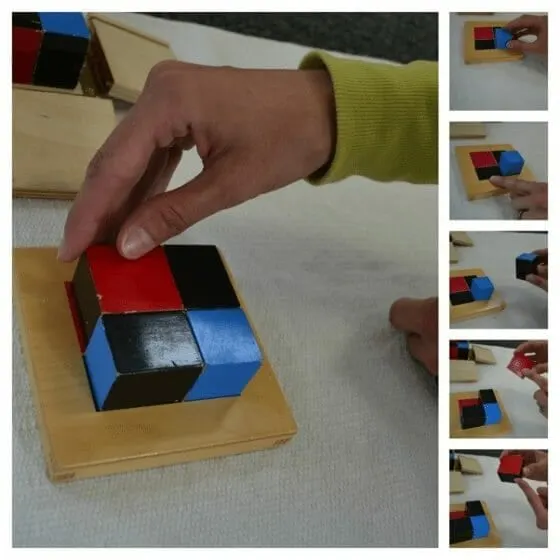
- “Now let’s build the next layer. What matches these colors?”
- Allow the child to choose the next prism if he has caught on to the work.
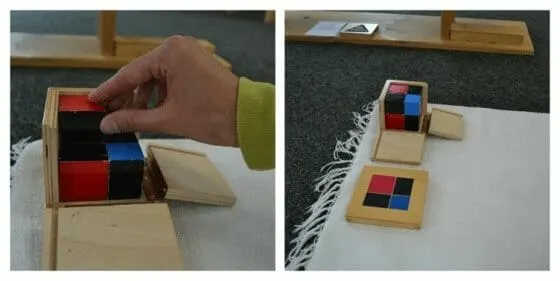
- When that layer is complete, lay hand on top to emphasize it is flat.
“Now, let’s move this layer into the box. We’ll start with the red one.”
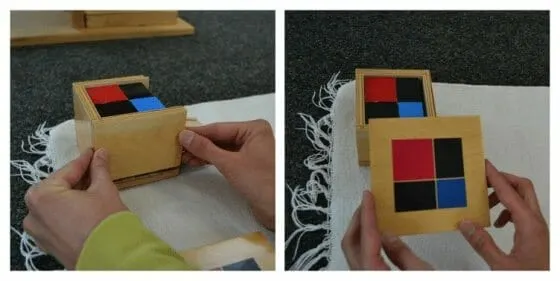
“Now, let’s close the sides. Let’s put the lid on and see if it matches.”
Lower the lid down slowly so the child can see it matches. Offer the child a turn.
PRESENTATION II
Build the entire cube on the lid before putting it away.
PRESENTATION III
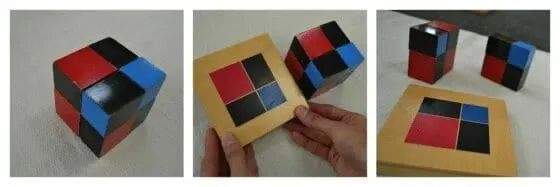
The child can build the cube on the table without using the lid as a base. When finished, cut the cube open vertically, then again from another side to show the colors match. The lid can be visible to use as a reference.
PRESENTATION IV
Turn the lid upside down and allow the child to build from memory.
PRESENTATION V
The teacher chooses a prism, and the child builds from that point.
Related Resource: Check out this AMAZING Preschool Math Bundle!
Related Montessori Math Lessons:
- Learn the Montessori Sensorial Binomial Cube Lesson
- Montessori's Trinomial Cube Introduces Preschoolers to Math
- Montessori Lesson: Learn about Golden Beads
- Montessori Math Number Rod Addition
- 80 + Easy & Engaging Every Day Montessori Math Extensions
- How Montessori Teaches Math – Ten Board Lesson
- How to Use the Montessori Small Bead Frame for Math
- 50+ Montessori Math Resources & Recommendations
- Learn Montessori's Snake Math Game
I hope you found this post useful. Please leave a comment. I love hearing from you!
Marnie

