Are you looking for a way to help children develop language and literacy skills in a fun and unique way? If so, look no further than Montessori sandpaper letters! Montessori sandpaper letters have been praised by educators for centuries and continue to be used extensively in childhood education today.
This creative teaching method can provide engaging learning the alphabet experience for children of all ages. By using materials like sandpaper letters, kids explore the relationship between letter sounds and shapes in a hands-on way.
Not only does this approach foster early language development, but it also offers learners a chance to engage with visual cues. Furthermore, this Montessori material helps develop auditory recognition – making for an enjoyable educational experience that goes far beyond basic book reading.


Let's take a deeper dive into the amazing possibilities introduced by Montessori sandpaper letters! This post includes the Montessori Sandpaper Letters Initial Word Building lesson. It is the 3rd work found within Montessori's Pink Series Language.
Once kids get the idea of this activity, they have a lot of fun with variations and extensions. Once the child masters this material, he is ready to move on to the next lesson in the Montessori language sequence, the Introduction to the Moveable Alphabet.

What are Sandpaper Letters?
Montessori sandpaper letters are a tactile learning tool used in Montessori education to teach children the alphabet and phonics. They are typically wooden or cardboard letters with sandpaper or a similar textured surface affixed to them.
Montessori sandpaper letters are an educational tool used to teach the alphabet and its corresponding sounds to young children. The letters are composed of sandpaper cut into individual shapes with the same upper and lowercase letters connected for tactile recognition.
Each letter is designed to be traced by a child's fingers, allowing them to feel the shape of the letter while simultaneously associating it with its corresponding sound.
Here's how Montessori sandpaper letters are typically used in the classroom:
- Introduction to the Alphabet: Children are introduced to the sandpaper letters as part of their early literacy development. The teacher usually presents the letters one at a time, along with the associated phonetic sound (e.g., “This is the letter ‘a,' and it makes the sound /a/ as in ‘apple'”). The child traces the letter while saying the sound.
- Tactile Learning: The rough texture of the sandpaper provides a sensory experience that helps children internalize the shape and form of each letter. This tactile learning aids in letter recognition.
- Phonics: Montessori sandpaper letters emphasize phonics, helping children understand that letters represent specific sounds. This is a fundamental step in learning to read and write.
- Letter Formation: Tracing the letters with their fingers also helps children develop fine motor skills and learn how to form letters correctly when they begin writing.
- Spelling and Word Building: As children become more proficient with the sandpaper letters, they can use them to build simple words by combining the letters they've learned. This hands-on approach to word formation helps reinforce the connection between letters and sounds.
Children learn about the shape of each letter in a visual and tactical sense as they feel the letter with their hands. When correctly associated with the sound, the child develops early literacy skills, preparing them to read more complex words later on.
Overall, Montessori sandpaper letters are an important part of the Montessori approach to early education, which focuses on individualized learning, hands-on experiences, and a multi-sensory approach to teaching. These tactile letters engage children in a way that makes learning the alphabet and phonics both fun and effective.
What Age Should I Introduce Sandpaper Letters?
What age should you introduce sandpaper letters?
When the child has mastered at least the first 4 consonants and one vowel sound. So, the age range is fairly wide depending on the child's development.
Sandpaper letters are a Montessori educational tool used to teach young children to recognize and form letters of the alphabet through tactile and kinesthetic learning.
The appropriate age to introduce sandpaper letters can vary depending on the child's individual development and readiness. However, here are some general guidelines:
- Around Age 3-4: Many Montessori educators introduce sandpaper letters to children around the age of 3 or 4, typically when they show an interest in letters and sounds. At this age, children are often developing fine motor skills and are curious about language.
- Readiness Signs: Look for signs of language readiness in the child, such as an interest in drawing or tracing shapes and symbols. If a child is showing enthusiasm for learning letters and sounds, it may be a good time to introduce sandpaper letters.
- Individual Variation: Keep in mind that every child develops at their own pace. Some children may be ready for sandpaper letters earlier than others, while some may not show interest until later. It's important to observe the child's cues and adjust the introduction of materials accordingly.
- Supervision and Guidance: When introducing sandpaper letters, it's crucial to provide guidance and supervision. Show the child how to use the letters, demonstrate letter sounds, and encourage them to trace the letters with their fingers. The goal is to make the learning experience enjoyable and engaging.
- Gradual Progression: Start with a few letters and gradually introduce more as the child becomes comfortable. Montessori education often follows a child-led approach, allowing them to explore and learn at their own pace.
- Multi-Sensory Approach: Montessori education emphasizes a multi-sensory approach to learning. In addition to sandpaper letters, consider incorporating other sensory materials like colored sand, clay, or wooden letters to make learning letters a rich and tactile experience.
Remember that the key is to create a supportive and stimulating learning environment where the child can explore and engage with the sandpaper letters at their own pace. Always be patient and responsive to the child's individual needs and interests.


How Do You Teach Sandpaper Letters in Montessori?
Teaching with this language material to children in a Montessori classroom is an effective way of introducing the sounds of letters. Raised sandpaper letters, writing tools, and tactile materials are used in the activity.
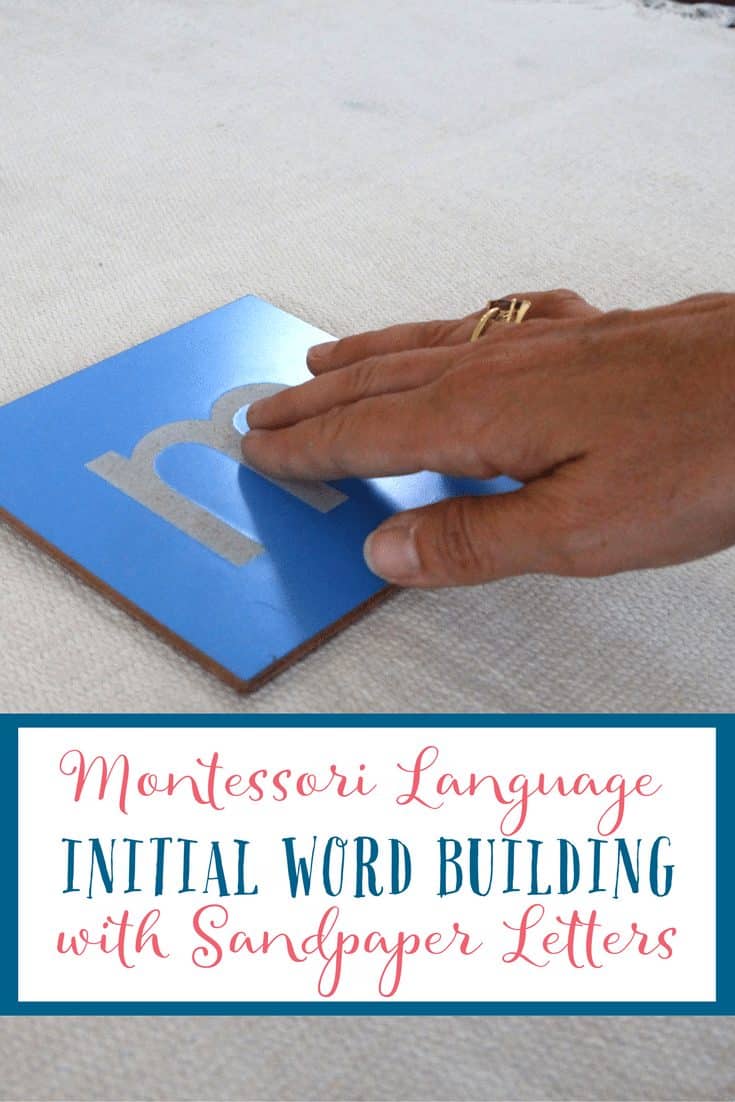
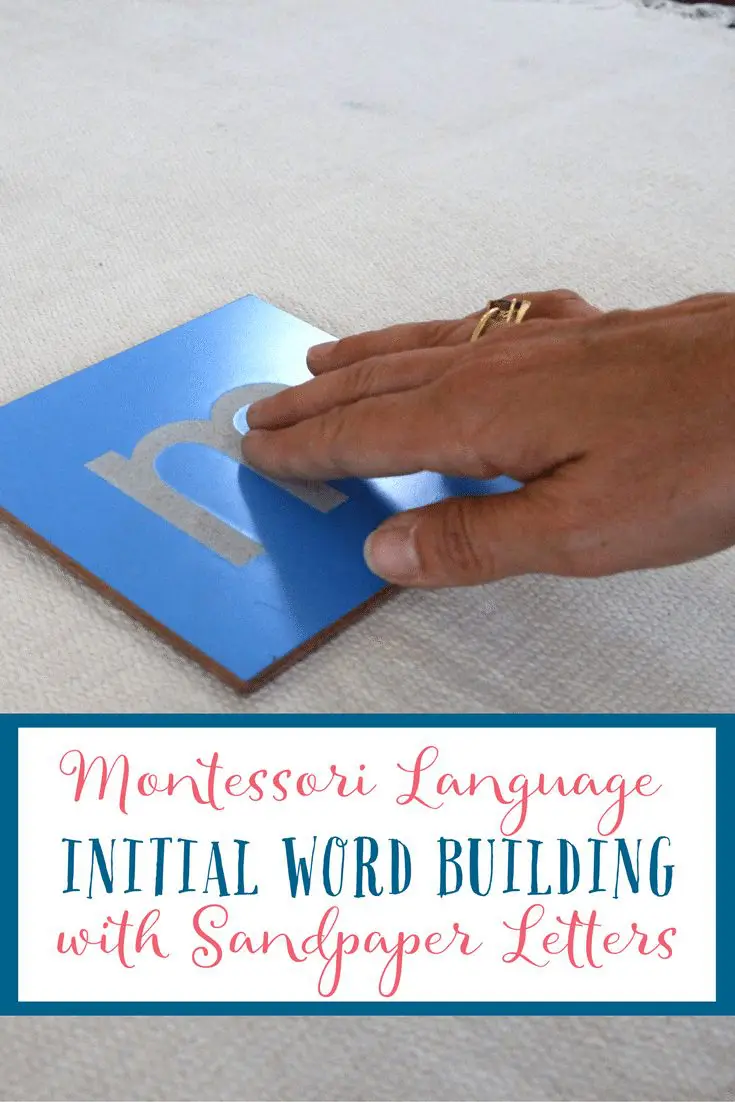
Children trace their fingers over the grooved lines while they are verbally introduced to each letter. So, simultaneously tracing and sounding out the letter gives the child a multi-sensory experience thus preparing for reading and writing.


In addition, this material helps to improve hand-eye coordination as well as building fine motor skills. There is physical movement involved in tracing the letters. So, Montessori teachers supervise as well as offer encouragement and guidance.
The Montessori guide encourages concepts, such as starting at the top of a letter and moving downward when creating each letter shape. This process allows students to experience learning through direct participation within their own natural environment.
Sandpaper Letters Initial Word Building Lesson
Materials
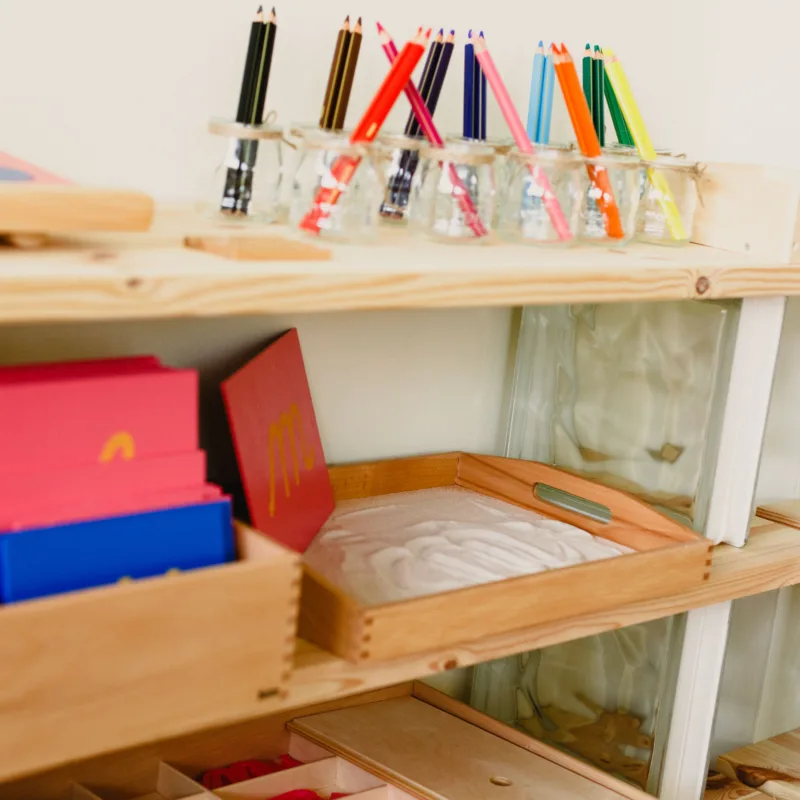
Sandpaper letters are the letters of the alphabet cut out and each mounted on a separate piece of wood. The consonants are mounted on blue wood and the vowels are on pink.
Aims
The direct purpose of the sandpaper letters is to teach the child letter sounds by means of muscular and visual memory.
- To begin forming and reading three-letter short vowel phonetic words.
- Preparation for writing, reading, and spelling.
Prerequisites
The child recognizes 3-4 consonant sounds and one vowel sound.
Sandpaper Letters Initial Word Building Presentation:
- Invite the child to do the work
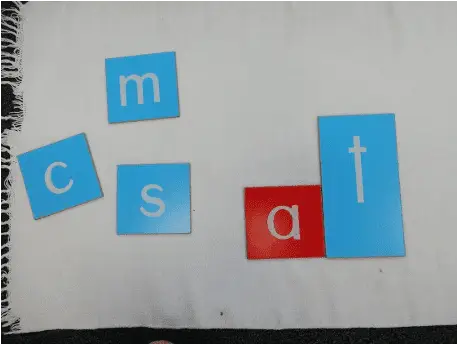
- Bring to the mat the consonant sounds and one vowel sound the child knows, for example (c, s, m, t, a)
How to Teach Sandpaper Letters to Help Kids Easily Grasp Sounds
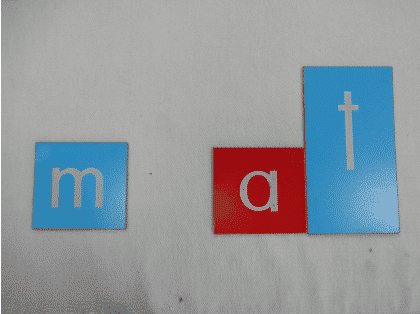
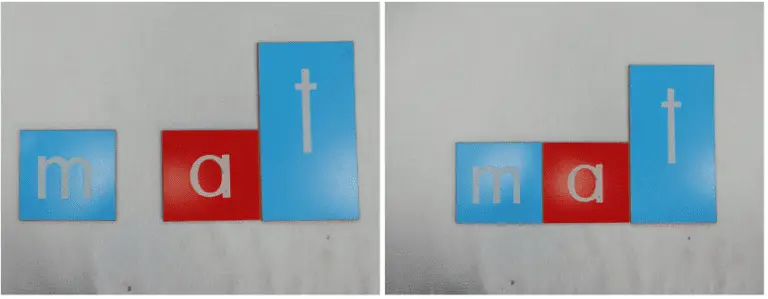
Place the family word (_at), (“a” and “t”) in front of the child. Have the child feel and say each sound as it is placed on the table (“a” “t”).
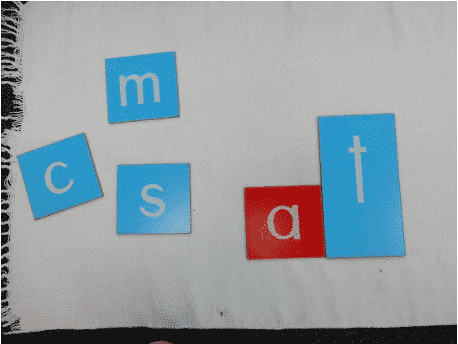
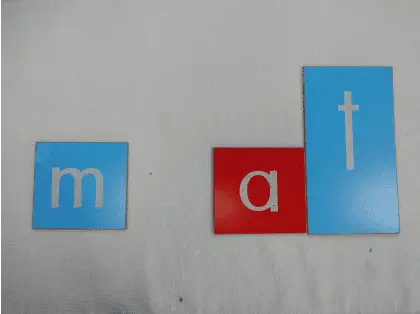
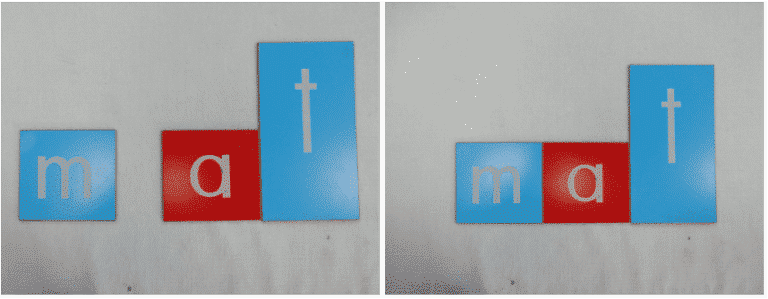
Place the first consonant to the left of (“a” “t”) and say “m” “at.” Repeat each time bringing the “m” closer and saying “m”…”at,” “m”..”at” until all 3 letters touch and form one fluid word.
- Ask the child to sound out each letter without feeling the letters. Then have him repeat more rapidly until he is actually pronouncing the word.
- Remove the (m) and repeat with (“c” “a” “t”).
- Repeat with (“s” “a” “t”). 8. After the child understands that he is reading words, exchange initial consonants many times. The child reads the word formed each time (cat, mat, sat, mat).
- Continue this method by isolating each vowel with sandpaper letters.
Points of Interest:
- Different colors of vowels and consonants
- The sounds
- The shapes of the letters
- Tracing the letters
- Blending
- The act of scanning
- Colors of vowels
- Colors of consonants
- How the letters fit into the box
Control of Error:
- Sandpaper letters are placed on the table surface directly in front of the child.
- No other material is on the table in order to avoid distraction.
Resources
- Montessori Lower & Capital Sandpaper Letters
- Letter Formation Sand Tray
- Cursive Letters
- Templates
- Where to Find Awesome, Cheap Mini Replicas & Figurines