Building a magnetic car is a great way to teach your kids about the basic principles of physics. It's also a fun project that you can do together.
What's more fun than spending a sunny afternoon building something with your kids? How about building a magnetic car that drives?
Not only is this project a ton of fun, but it also teaches your little ones some basic science principles. So gather up some supplies, and let's get started!
Kids love learning about magnetism! Building a magnetic car is simple and packs a big punch with science learning.
Plus, the children have a great time! Magnets? Cars? Sign me up!
This post includes steps on how to build a magnetic car.

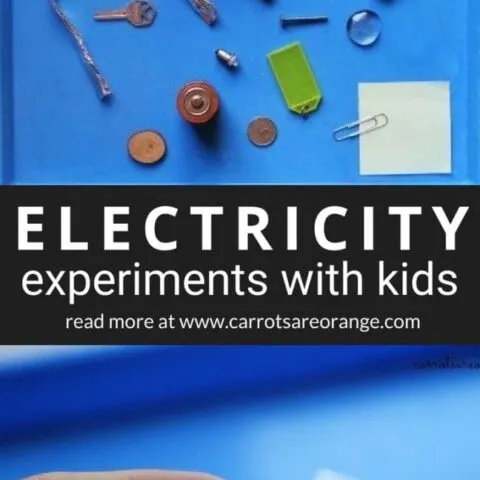
What is Magnetism in Simple Terms?
Magnetism is “a physical phenomenon produced by the motion of electric charge, resulting in attractive and repulsive forces between objects.”


How a Magnet Works:
- A magnet has two ends called poles, a north pole or north-seeking pole and a south pole or south-seeking pole.
- The north pole of one magnet attracts the south pole of a second magnet, while the north pole of one magnet repels the other magnet's north pole.
- So we have the common saying: like poles repel, unlike poles attract.
- A magnet creates an invisible area of magnetism called a magnetic field.
- The north pole of a magnet points roughly toward Earth's north pole and vice-versa. That's because Earth itself contains magnetic materials and behaves like a gigantic magnet.
- Cutting a bar magnet in half is a bit like cutting an earthworm in half! You get two new, smaller magnets, each with its north and south pole.
- (This is, of course, a joke. You don't get two worms if you cut a worm in half. But you do get two magnets.)
- If you run a magnet a few times over an unmagnetized piece of a magnetic material (such as an iron nail), you can also convert it into a magnet.

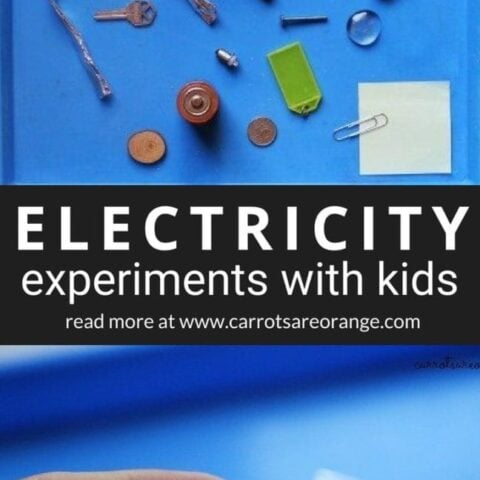
Materials Needed for Magnetic Car
- Two magnets (you can use two bar magnets, or in our case, we used a round magnet and a magnetic wand)
- Small box
- Straw or Dowel
- Clay
- Tape
- Toothpicks (not needed if you use a wooden dowel)
- Wheels (we used lego wheels, but you can use cardstock cut into circles, too)

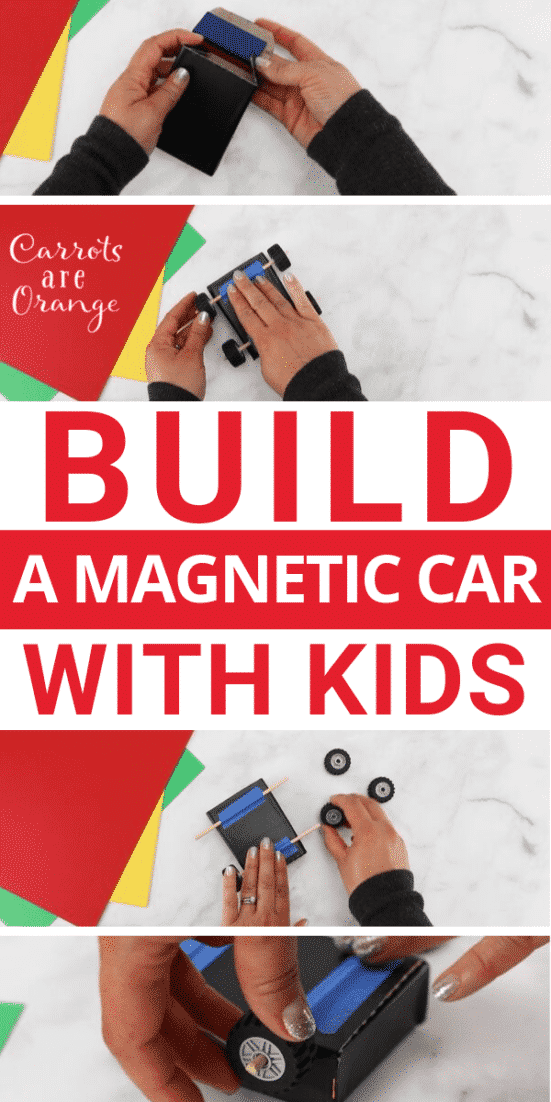
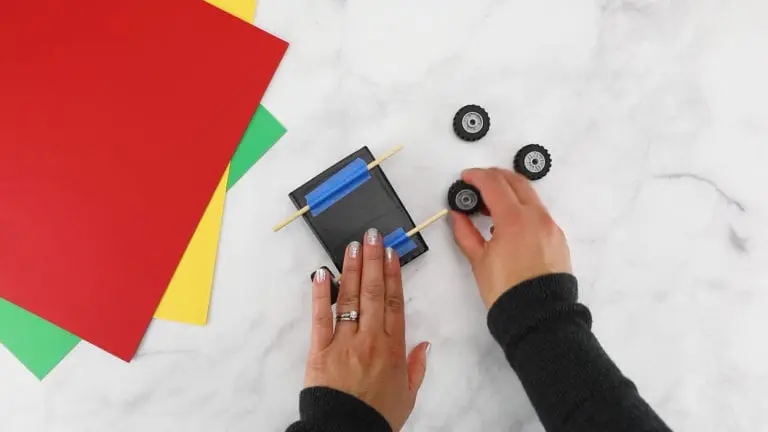
How to Make a Magnetic Car
- Tape a magnet inside the small box
- Cut the straw or the dowel into two pieces to match the size of the box
- Tape down to the outside of the box
- If you are using cardstock to create the wheels, cut out four circles at this point, then push the toothpicks through the straw and attach the cardstock wheels onto the ends.
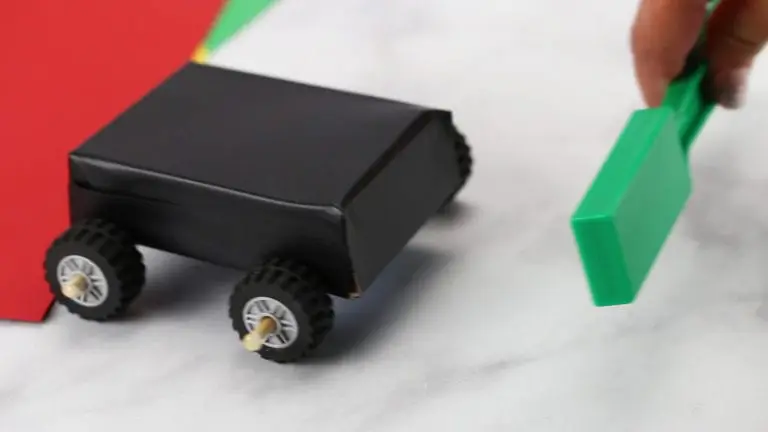
- We used lego wheels, so we attached the wheels to the dowel
- Place the car onto a flat surface and use your second magnet to pull and push the car